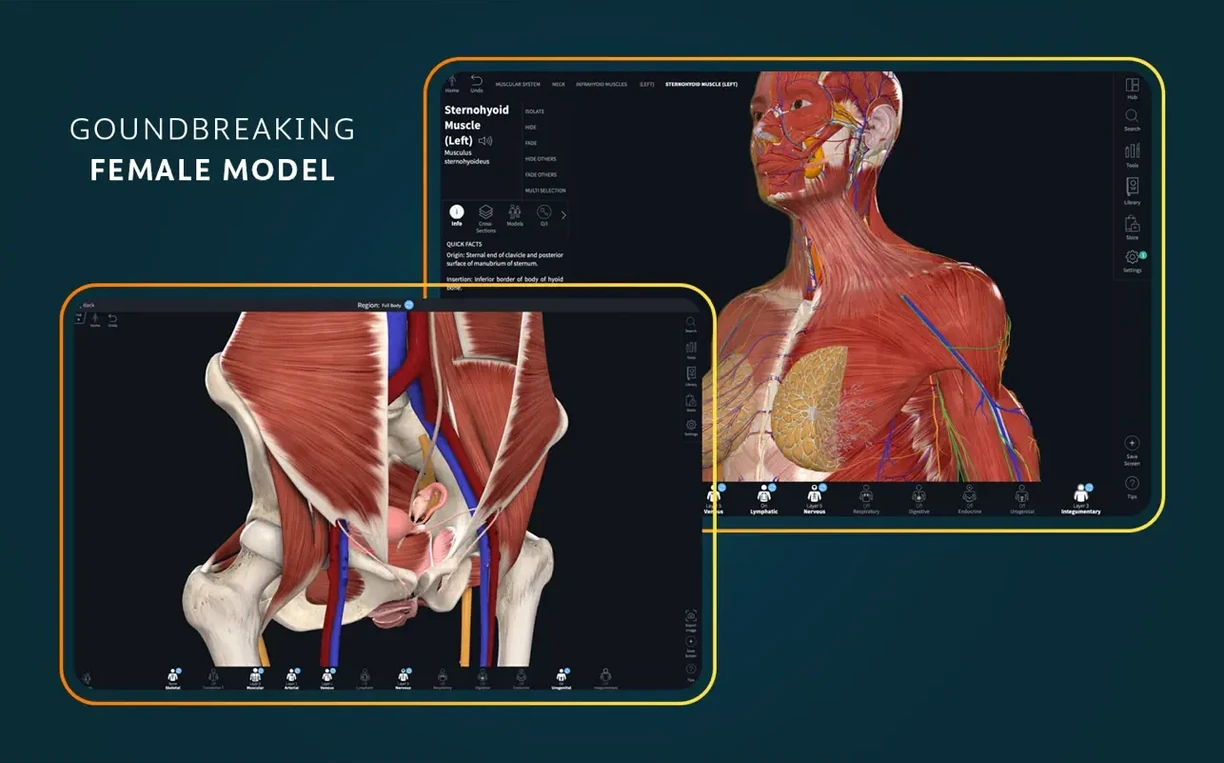
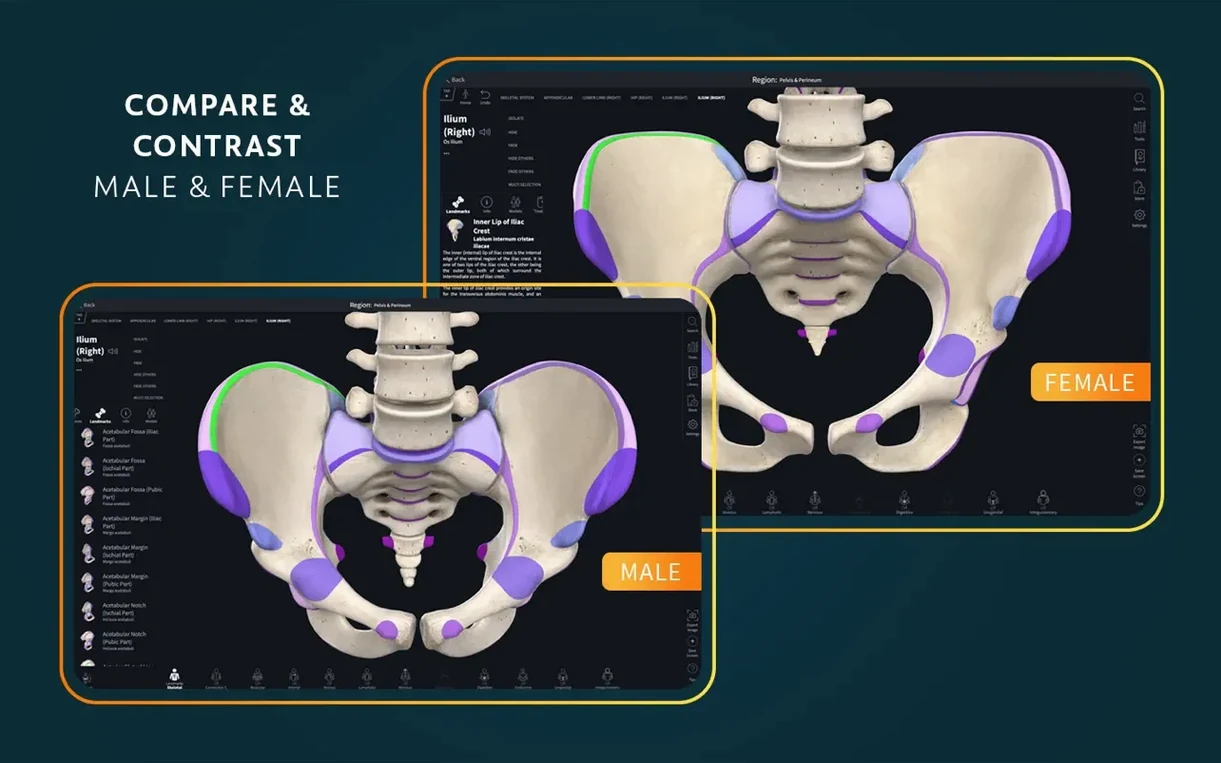
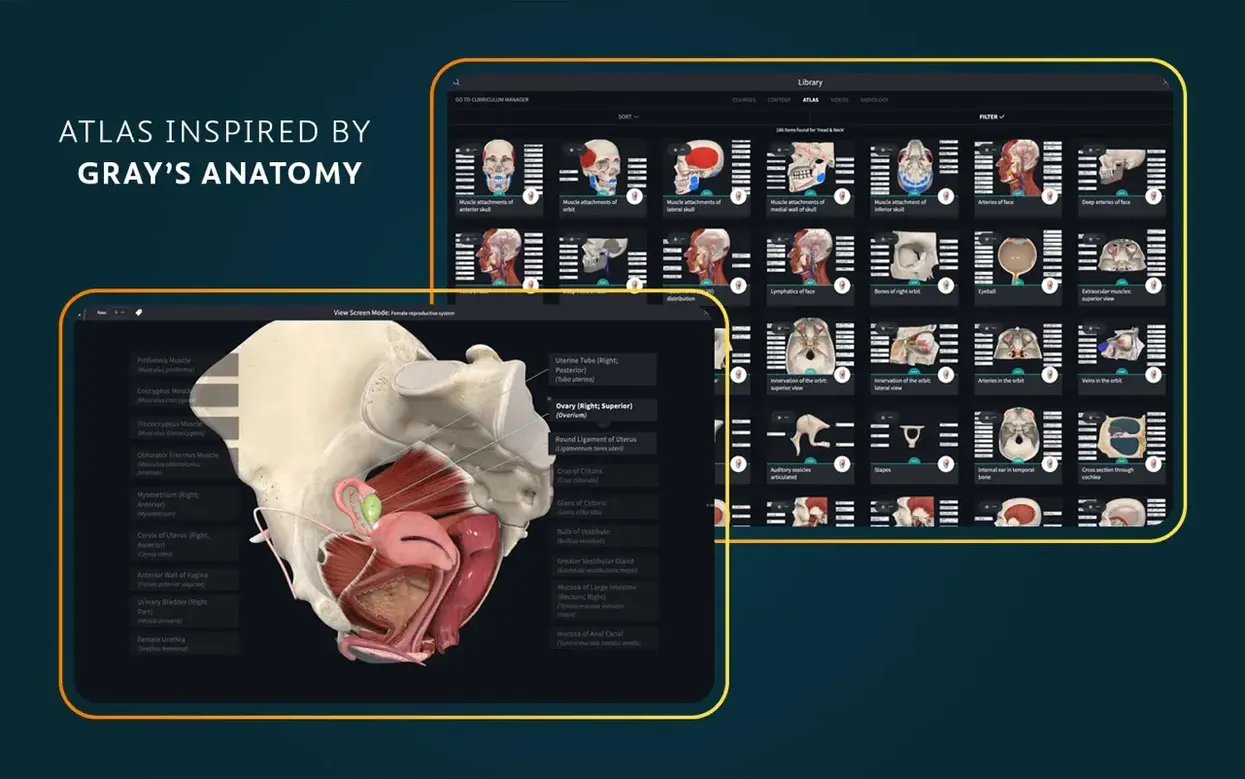
Complete Anatomy is a 3D platform that turns a flat-screen Mac into a layered, manipulable model of the human body.
How the core tools work together
- Build the base view. Start with a full skeletal or connective-tissue model from the atlas of 700+ screens. Rotate, zoom, or isolate a single system in one gesture.
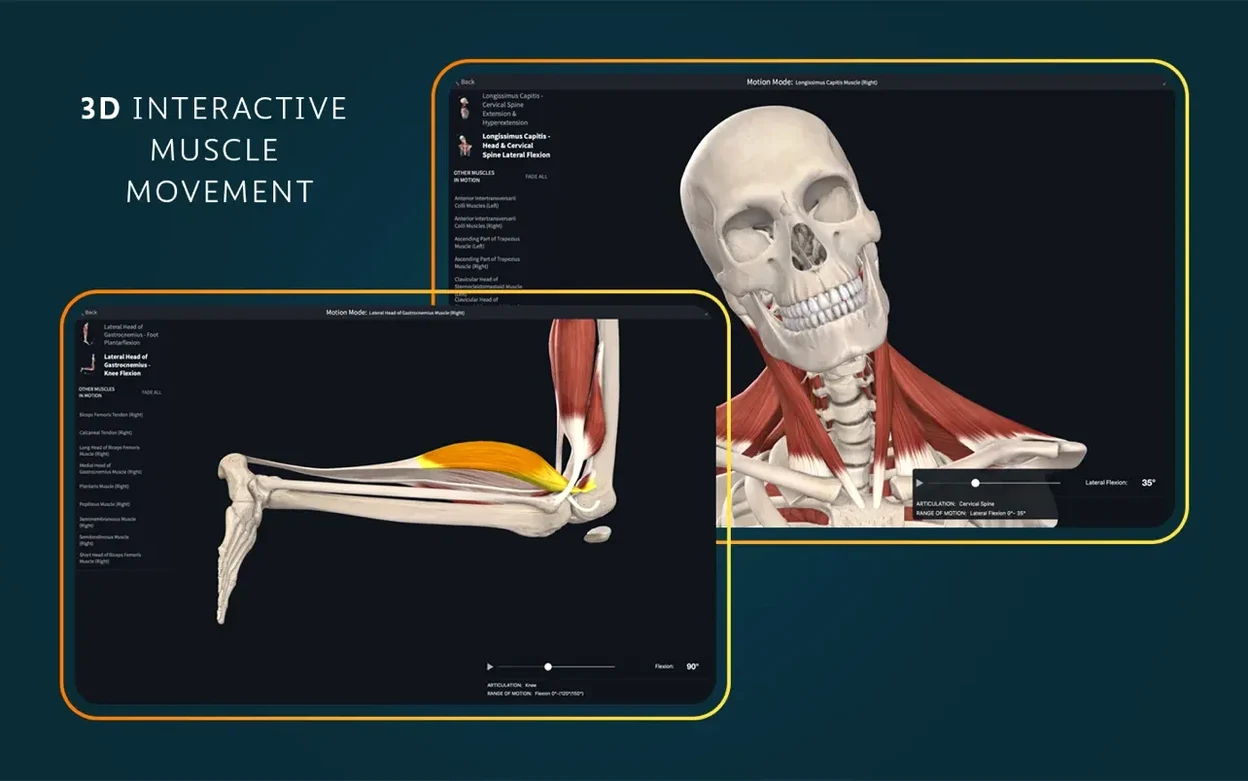
- Add a dynamic layer. Activate real-time muscle movement to see origin, insertion, and action animate as you change the joint angle. No guesswork, no flipping between illustrations.
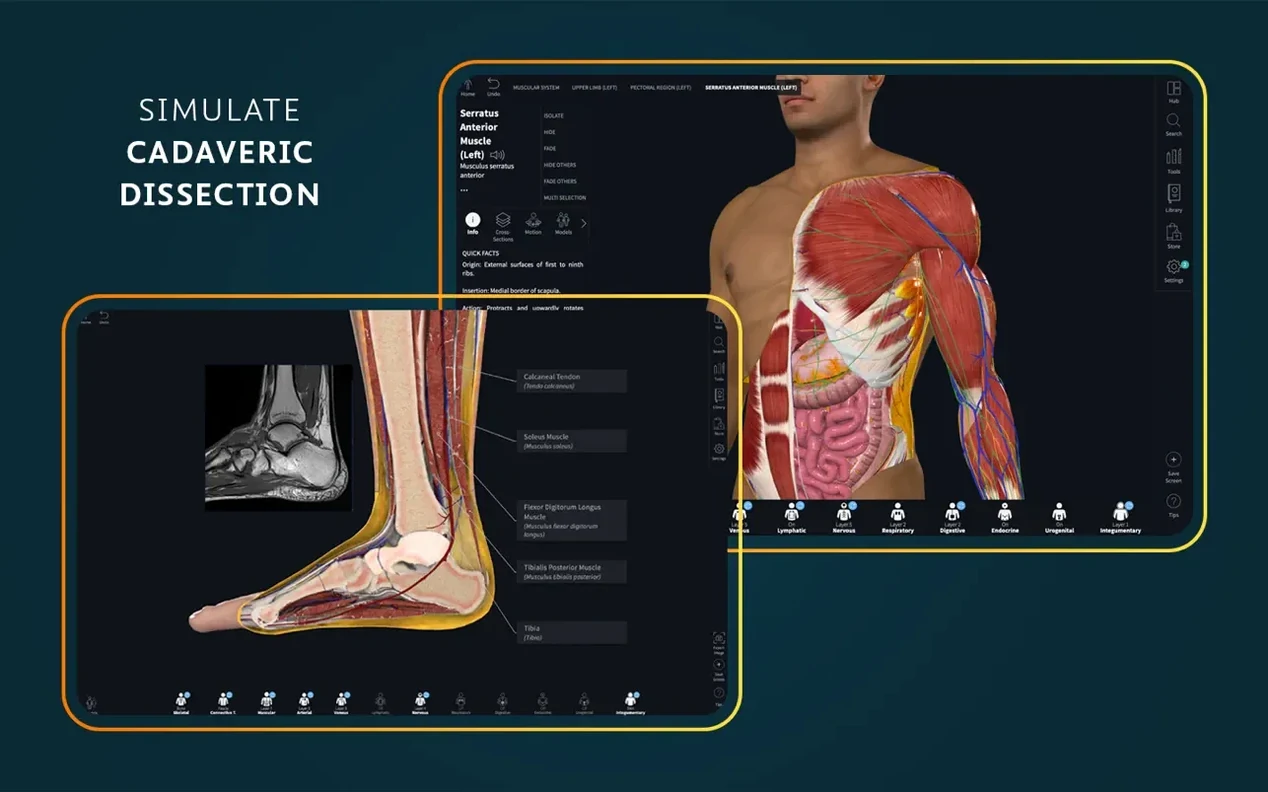
- Slice with precision. Drag the dynamic cross-section tool through any plane. The model rebuilds instantly, which is useful for correlating a structure's shape with its radiological appearance.
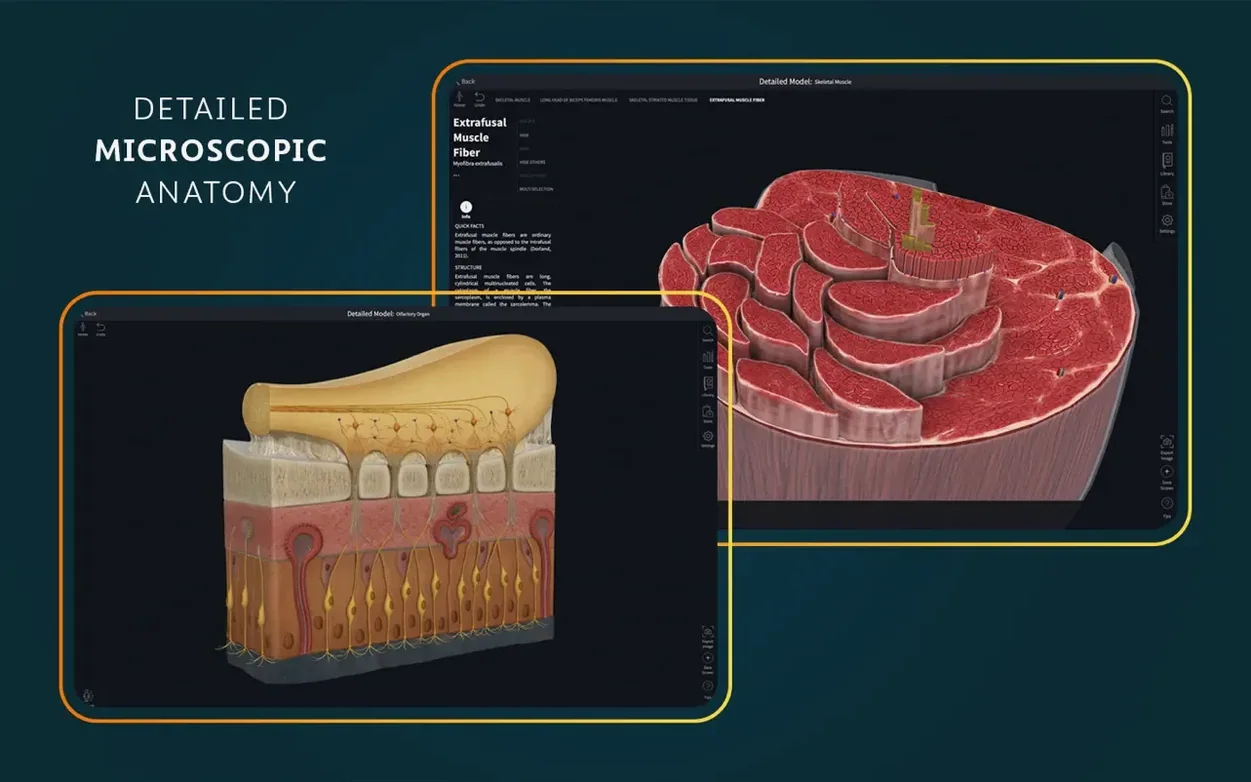
- Go microscopic. Switch to one of 39 microscopic anatomy models to connect gross anatomy with histology in the same workspace.
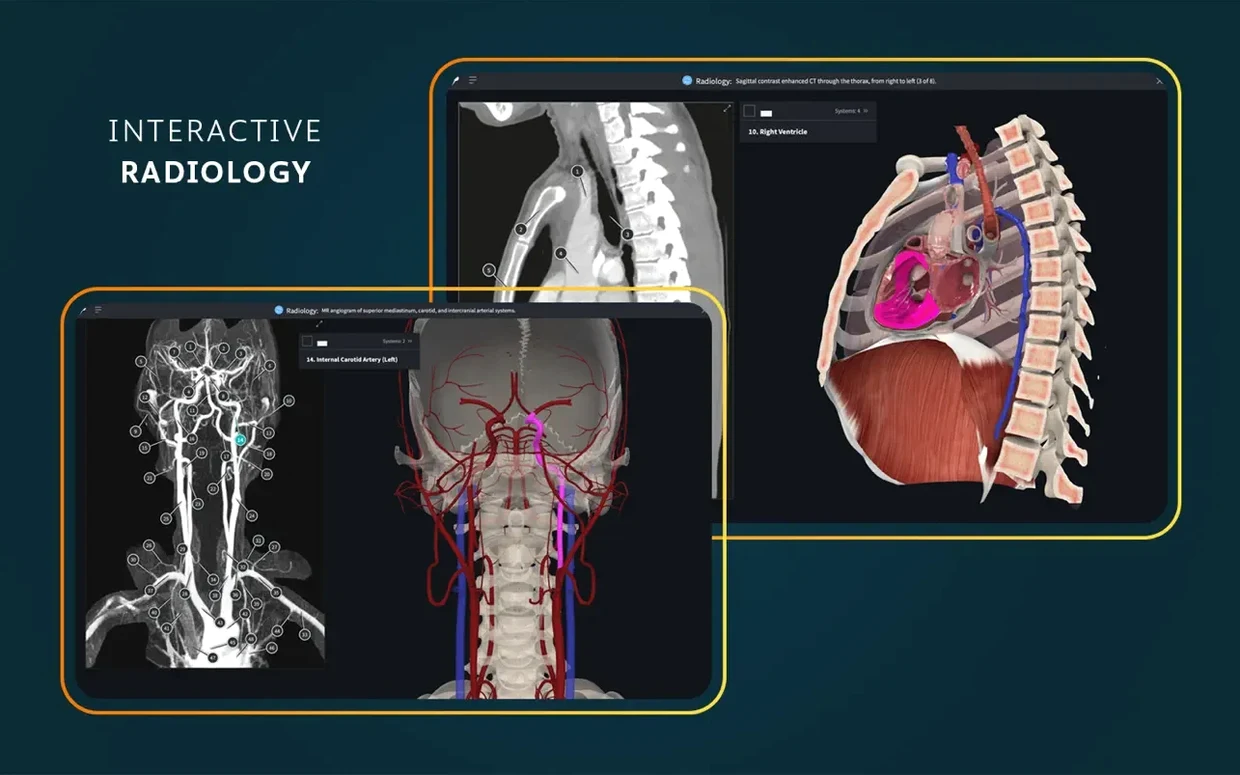
- Cross-check with imaging. Open the radiology view to compare your 3D section against corresponding scans, or use AR mode to place the model in the room and walk around it.
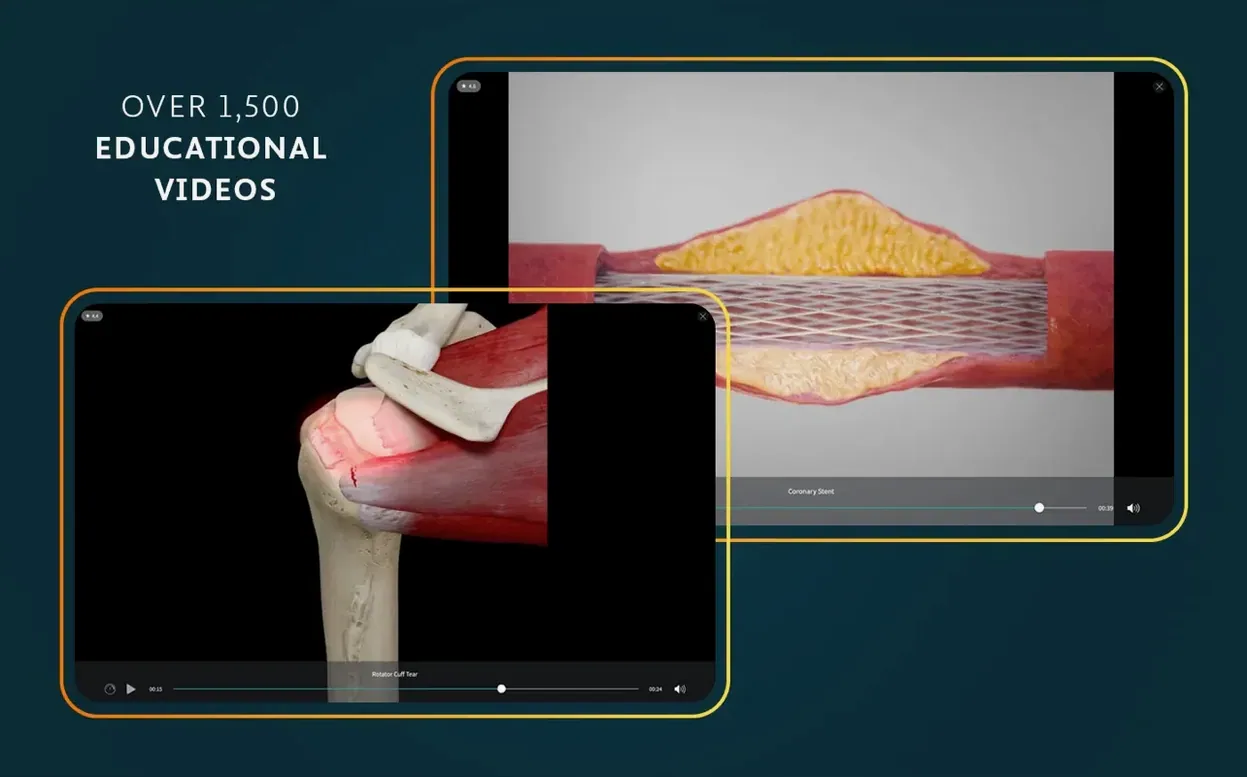
The package includes over 1,500 clinical videos, which sit directly alongside the model instead of in a separate library. A signed-in account is required to access the full feature set. Everything runs natively on Apple Silicon and Intel Macs running macOS 11 or later.
From blank stage to shoulder skeleton in one search
You open the app, sign in, and land on a blank stage. No menus to decode — just a search bar and a list of pre-built screens.
- Pick a starting point. Type “shoulder” and select the full skeletal screen. The model loads in under two seconds, centred and lit.
- Strip it down. Tap the systems tray and hide the lymphatic and nervous layers. You want bones, ligaments, and the beating heart visible in the corner.
- Isolate the rotator cuff. Long-press on supraspinatus; the model fades everything else to 20% opacity. You rotate the view 30° anterior and zoom to fill the screen.
- Animate the motion. Activate muscle movement and drag the arm through abduction. The muscle fibres stretch and contract in sync — you watch the insertion point glide under the acromion.
- Slice and compare. Pull the cross-section tool to mid-humeral level, then open radiology view. The 3D section sits on the left, a matching MRI slice on the right. You adjust the plane once; both views update together.
- Save the state. You bookmark this exact configuration — model, angle, systems, tools — so tomorrow’s review starts where you left off.
The session runs 25 minutes. You never opened a textbook.
Workflow: prepping a cardiac anatomy tutorial
You have 40 minutes to build a short demonstration on ventricular anatomy. Here’s how the pieces fit.
- Load the dissectible heart. From the atlas, open the live cardiac screen. The model beats at a resting 72 bpm. You slow it to 40 bpm for easier narration.
- Peel the layers. Hide the pericardium, then the epicardium. The myocardium stays exposed; you rotate to an apical four-chamber view.
- Annotate on the fly. Use the built-in pen tool to circle the interventricular septum and label the trabeculae carneae. The marks stay pinned to the model, not the screen — they rotate with the view.
- Capture the key frames. Screenshot the four-chamber view, then slice coronally through both ventricles and capture again. Three images total, saved directly to a folder.
- Add clinical context. Open a clinical video on ventricular septal defects. It plays in a panel beside the model; you pause, rewind, and cross-reference the defect location against your sliced view.
- Export and wrap. Drag the three screenshots into your slide deck. Total prep time: 35 minutes. The tutorial moves from gross structure to pathology without switching applications.
Version 12.6.0 is out with general bug fixes and performance improvements.
- macOS 15 or later
- Apple Silicon or Intel 64-bit
Comments 0
Sign in to leave a comment.Sign inCreate an account
No comments yet. If a step is still there after you install it, say so.
More in Office
All in Office Updated
ClickClack - Typing Trainer
Sharpens typing form with drills that respond to your actual habits.
5 steps saved
 Dato
Puts your full calendar and world clocks directly in the menu bar.
9 steps saved
 BusyCal
Merges tasks and appointments into one calendar view with weather-aware sharing.
15 steps saved
 Updated
EndNote
Inserts citations and builds the bibliography inside your document as you write.
16 steps saved
 Updated
Final Draft
Auto-formats script elements and remembers character names so you write without stopping.
22 steps saved
 GoodNotes
Replaces paper notebooks with searchable, rearrangable digital ones.
23 steps saved
 GraphPad Prism
Organizes and graphs repeated experiments without duplicating work.
22 steps saved
 Updated
iA Writer
Strips away formatting so you focus on structure and phrasing, then export to any format.