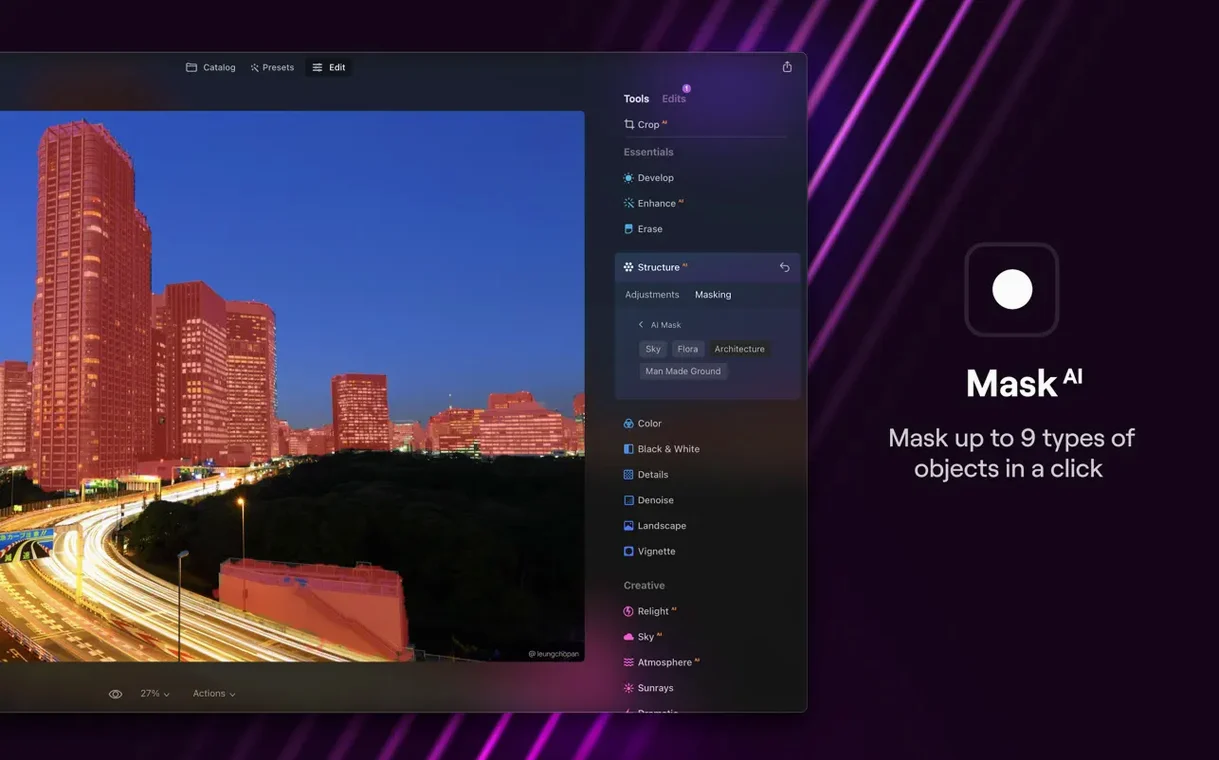
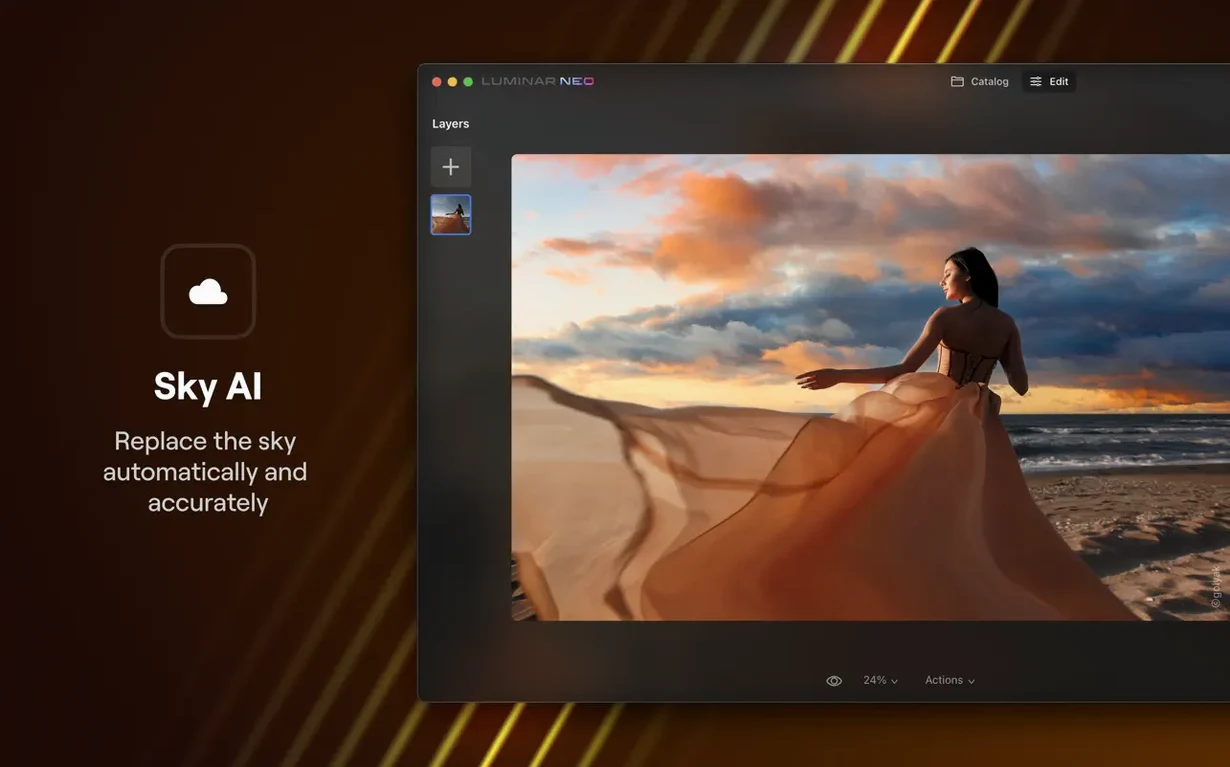
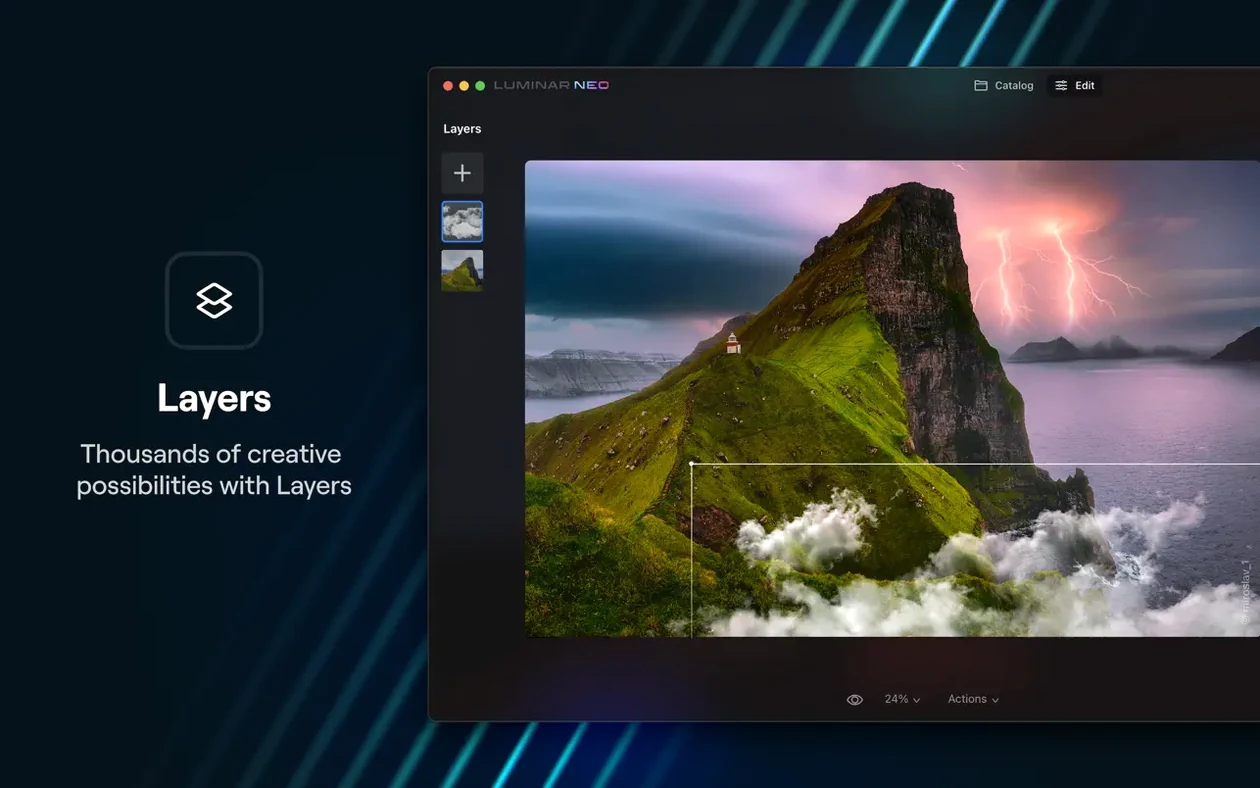
Luminar Neo runs on any Mac with macOS 12.0 Monterey or later, on both Intel and Apple Silicon hardware. Skylum notes the next release drops Monterey support, making macOS 13 Ventura the new minimum, so this version is the last stop for older systems. Plan for 8 GB of RAM at minimum, though 16 GB keeps the layer-based edits fluid.
| Detail | Note |
|---|---|
| Version | 1.26.0 |
| Architecture | Universal (Intel + Apple Silicon) |
| Languages | 12, including English, German, French, Japanese |
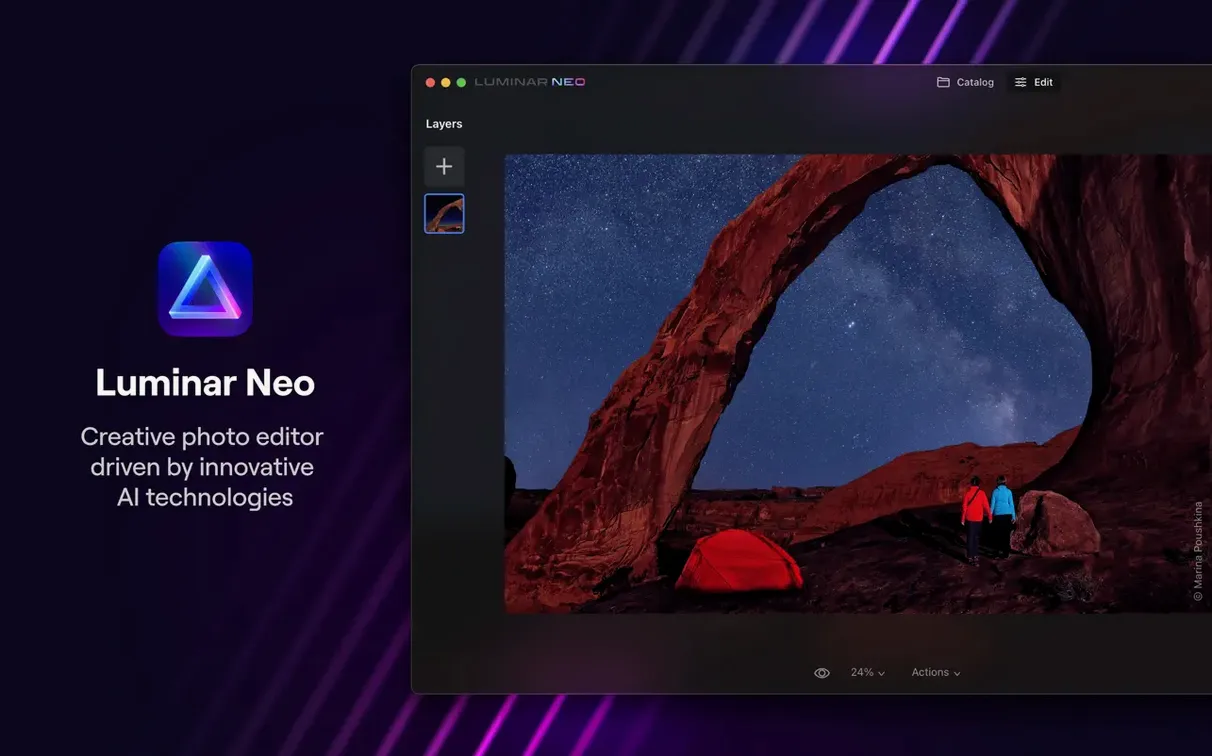
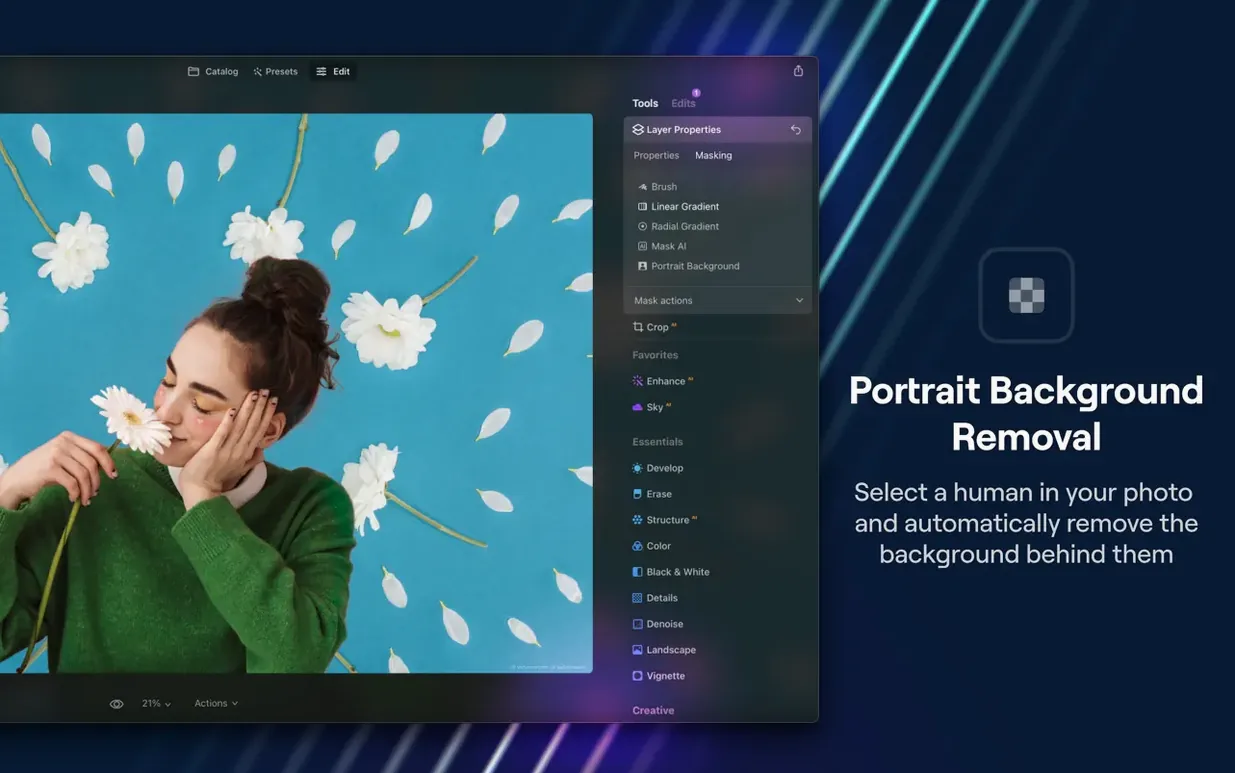
Luminar Neo sits next to your existing photo library manager as a dedicated creative layer. It reads an image, analyses scene depth and content, then offers targeted edits. Drop in a portrait for background replacement, apply atmosphere effects, or let the AI Assistant suggest adjustments from the Presets or Edit tabs. The tool doesn't reorganise your drive — it edits single files with a focus on composition changes that would take a dozen manual steps elsewhere.
How Luminar Neo Compares
Pixelmator Pro covers similar ground — layers, ML-based edits, a one-time purchase model. Where Luminar Neo pulls ahead is depth-aware tools. Portrait relighting and background replacement read a scene's structure instead of just its edges, so a hair-light tweak doesn't bleed into the wall behind the subject. Pixelmator Pro's repair tools are excellent, but the AI Assistant in Neo 1.26.0 shortens the distance between opening an image and a finished edit. For a photographer who wants composition-level changes without masking by hand, Neo fits better.
Affinity Photo 2 is a full Photoshop-class editor — warping, frequency separation, CMYK, extensive export controls. Luminar Neo doesn't chase that feature list. What it offers instead is speed: three clicks for a sky replacement that would take layers, masks, and colour matching in Affinity. The trade-off is control. Affinity gives you every knob; Neo gives you a fast result and lets you nudge the sliders after. Many editors keep both — Affinity for precision retouching, Neo for the creative heavy lifting on a batch of selects.
ON1 Photo RAW adds DAM features Neo deliberately avoids. If you need a managed catalogue with non-destructive edits across a drive full of RAWs, ON1 has the edge. Neo treats each file independently, which appeals to anyone who refuses to lock into a proprietary database. The overlap sits in the creative filters — both apps offer glow, texture, and weather effects. Neo's AI engine, however, makes scene-aware decisions that ON1 still leans on presets to approximate.
Option-Click Sliders and One-Key Before/After Views
- Option-click a slider to reset it instantly — no hunting for a tiny reset arrow.
- Backslash toggles before/after across all active edits, not just the last tool used.
- Right-click any preset name and choose "Apply to New Preset" to build your own starting point from an existing look.
- Drag-and-drop an image file onto the Luminar Neo icon to open it directly in the Edit tab, bypassing the catalogue browser entirely.
- The masking brush supports a colour overlay toggle (the eye icon) — missed by most first-time users and invaluable for checking edge bleed on complex masks.
- Hold Shift while painting a mask line to constrain it to straight horizontal or vertical segments.
Route Scratch Disk to Your Fastest Internal SSD
Open Preferences immediately. Under General, uncheck "Send anonymous usage data" and set the Scratch Disk location to your fastest drive — ideally an internal SSD, not an external spinner. The app writes temporary layer composites and previews there, so an NVMe drive trims seconds off every slider move.
Switch to the Editing tab and enable "Show overlay on brush strokes." The mask colour overlay I mentioned above relies on this being on. While there, set the default zoom behaviour to "Fit to Screen" unless you regularly edit at 100% view for sharpening passes.
In Session, turn off "Restore last session on launch." It sounds helpful, but Neo re-loads every prior image and edit state, which drags startup time. A clean launch gets you working faster.
A Food Photographer’s Saturday Morning
Clara shoots recipe work for a small cookbook publisher. Saturday morning, she returns from the farmers' market with 200 RAW frames: radicchio heads on a wet marble shelf, bread loaves under mixed window light, a basil bunch that caught too much shadow on one side.
She drags a folder onto Luminar Neo and opens the first radicchio shot. The AI Assistant in the Edit tab reads the image and lifts the exposure a quarter stop while cooling the white balance — it spotted the marble's warm reflection. Clara keeps the suggestion but pulls back the texture slider manually to preserve the cut-stem detail. The relighting tool lets her brighten only the left third of the frame where the window light fell short, no dodge brush required.
A bread shot needs background replacement — the stall's plastic sign crept into the corner. Neo masks the loaves in two seconds, and Clara drops in a clean slate-grey backdrop from the built-in library. She saves the result as a new preset called "Bakery Flatlay" for the remaining thirty bread frames.
The basil gets the Atmosphere tool: a whisper of fog lifted from the bottom edge, opacity dialled to 12%. It layers under the sharp leaf veins without softening them. By 10:30, Clara has eighty selects edited and colour-graded, ready for the publisher's layout folder. She hasn't opened another editor or drawn a single manual mask.
- New — AI Assistant is now accessible directly inside the Presets and Edit tabs for quicker, context-aware suggestions.
- Improved — Editing workflow has been tuned to feel faster and more responsive across the board.
- macOS 12.0 Monterey or newer (macOS 13 Ventura recommended for future updates)
- 8 GB RAM minimum; 16 GB RAM recommended
- Intel or Apple Silicon Mac
Questions I get before install
Which macOS versions does Luminar Neo 1.26.0 support?
It supports macOS 12.0 Monterey and newer. The next release will require macOS 13 Ventura or later.
Comments 0
Sign in to leave a comment.Sign inCreate an account
No comments yet. If a step is still there after you install it, say so.
More in Mac Apps
All in Mac Apps Lunar Pro
Syncs every external display’s brightness to the room, just like a MacBook screen.
5 steps saved
 MacBooster
Clears junk, scans for malware, and frees up memory from a single panel.
21 steps saved
 Updated
Loopback
Routes audio between any apps and devices on your Mac without cables.
4 steps saved
 Updated
MacCleaner Pro
Finds exactly what ate your disk space and removes leftover app clutter.
15 steps saved
 Loop Mash Up Pro
Triggers loops and samples alongside Logic Pro without touching the arrangement.
22 steps saved
 MacDroid Pro
Mounts an Android phone as a writable Mac disk, no cloud upload needed.
5 steps saved
 Updated
MacFamilyTree
Manages evidence and citations to build a family history that holds up to scrutiny.
16 steps saved
 Logic Pro
Puts a full studio of instruments, loops and mixing tools into one Mac app.