
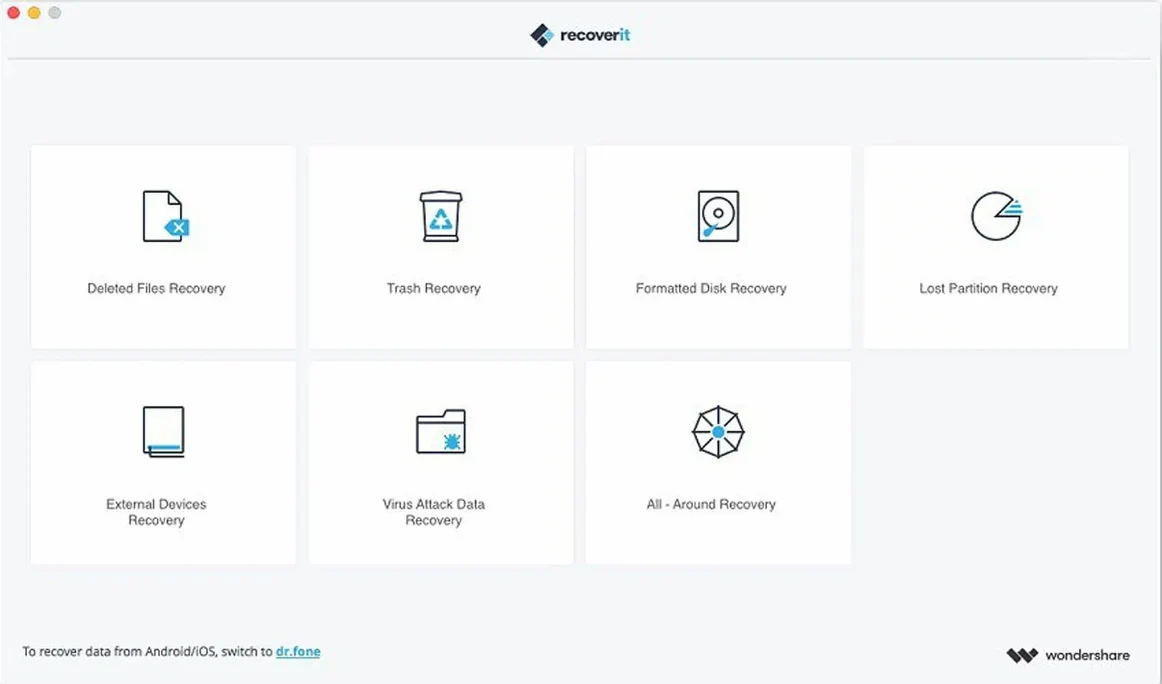
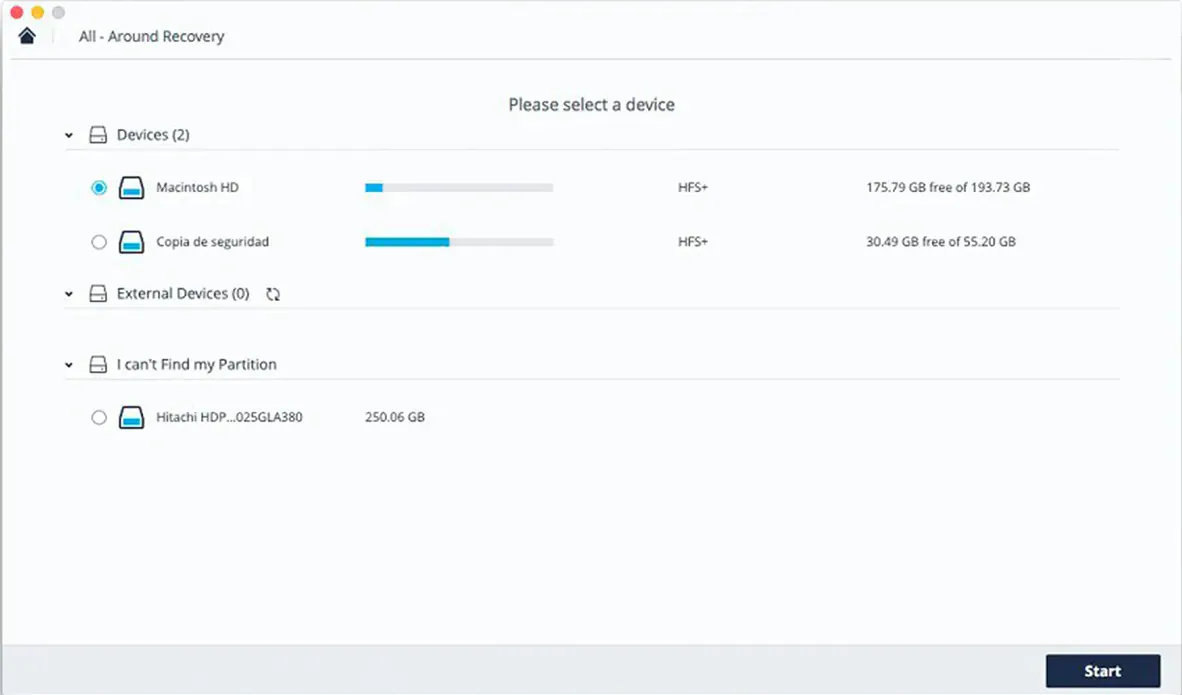
Version 14 settles into a quiet rhythm of refinement. For the experienced user, the draw isn't flash — it's the partition-loss recovery and the way the deep scan handles a drive that no longer mounts. If macOS can't see the volume, Recoverit often still can.
You'll want the preview panel. Before committing to a full restore, check file integrity frame by frame for video, or page by page for documents. It eliminates the guesswork of recovering a corrupted block.
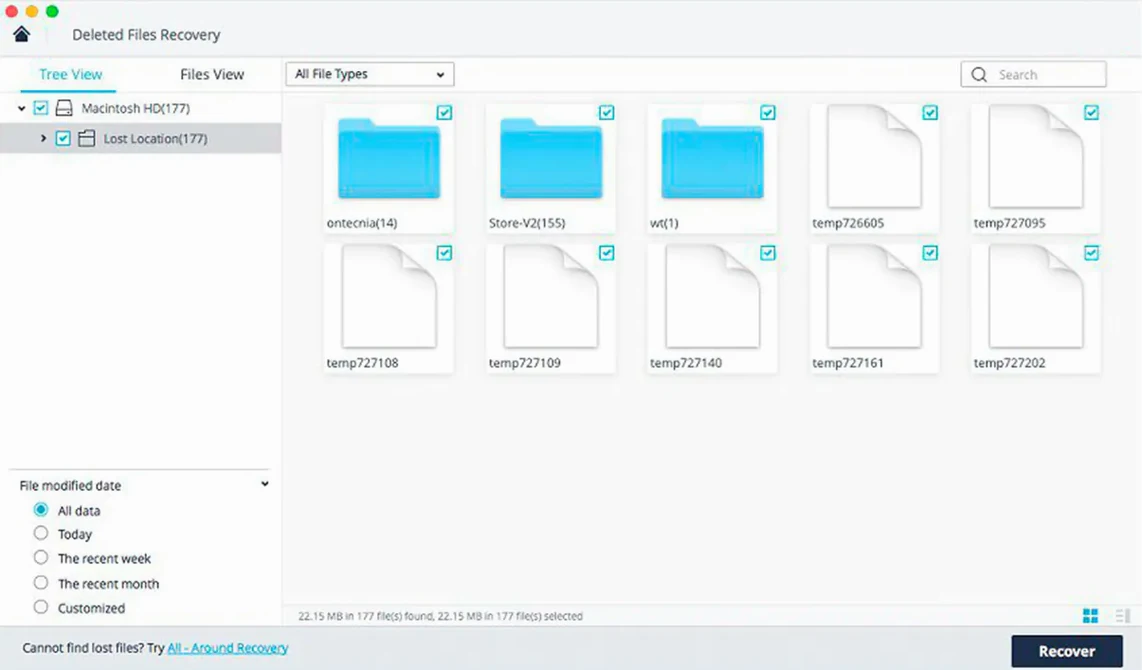
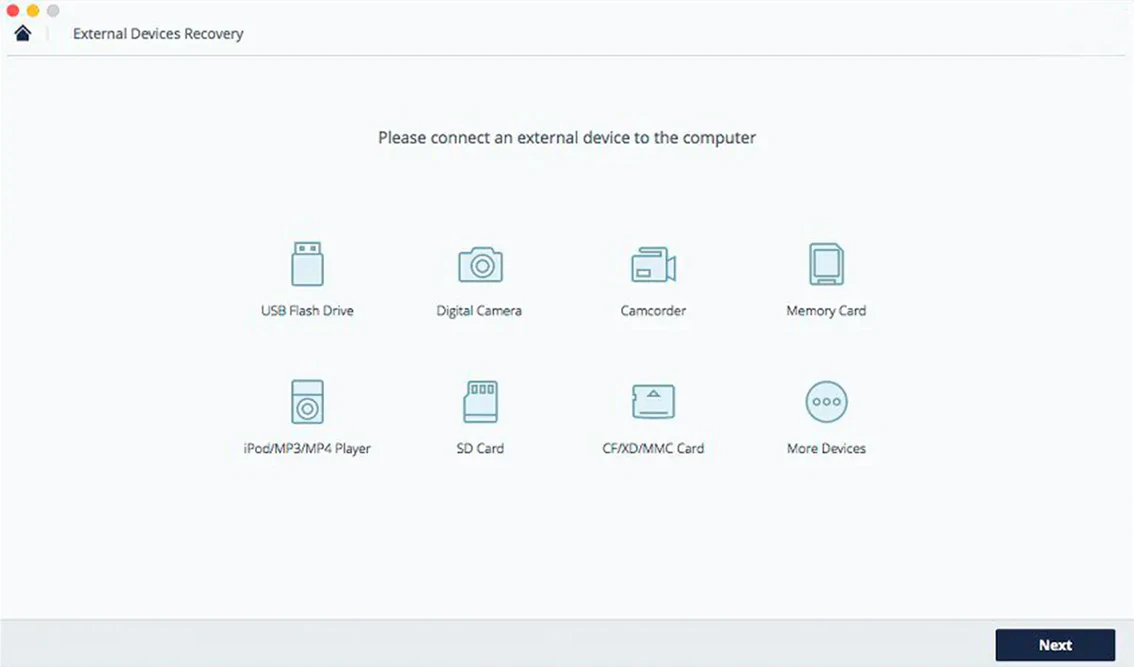
Support spans more than just your internal SSD. External HDDs, USB sticks, and memory cards formatted in unreadable file systems all fall within its reach. The tool constructs a virtual file tree from raw data, so folder structures often survive the scan intact.
Install-Overwrite Panic and Other Recovery Killers
The same errors surface in almost every first recovery attempt. Knowing them ahead of time changes the outcome.
- Installing the app on the drive you're trying to recover. Every write operation overwrites something. Download Recoverit to a separate volume — an external drive or a secondary internal disk — before you launch it. If you only have one Mac and no external storage, stop using the machine immediately and boot from a recovery partition instead.
- Waiting too long after deletion. macOS reclaims freed space without warning. The longer you use the drive after a loss, the more sectors get reused. Start the scan the moment you realise a file is gone.
- Running only the quick scan and assuming failure. Quick scan reads the file table. When the table entry is gone, the file looks missing. Deep scan reconstructs files from raw signature data — it takes longer but finds what the quick pass skips. Too many people cancel after five minutes.
- Recovering files back to the source drive. Select a different destination. Writing recovered data onto the same volume risks overwriting the very clusters you haven't finished scanning yet.
- Ignoring the file type filter. Scanning a 2 TB external drive returns thousands of items. Narrow the results to your actual loss — video, document, archive — before you start hunting. It saves hours of scrolling through system cache files you never needed.
How Recoverit Stacks Up Against Similar Mac Apps
Three names dominate the macOS recovery space. Each solves a slightly different problem.
Disk Drill
Disk Drill offers a cleaner interface and byte-level backups for free, which Recoverit doesn't match. But Recoverit pulls ahead on partition-loss scenarios. When a volume disappears entirely — not just a file — Disk Drill sometimes can't see it, while Recoverit's deep scan reconstructs the full partition table. For accidentally formatted external drives, Recoverit is the stronger pick. For routine undeletes from a healthy volume, Disk Drill feels faster and lighter.
Lazesoft Mac Data Recovery
Lazesoft handles the basics well and demands fewer system resources during a scan. Its weakness shows with video files. Fragmented media — especially AVCHD footage from cameras — often returns incomplete. Recoverit's file-repair engine attempts reconstruction of broken MP4 and MOV containers. If you're recovering a project timeline, that difference matters. For simple document recovery from a USB stick, either app works; for media-heavy workloads, Recoverit justifies its footprint.
DMDE
DMDE is a forensic tool disguised as a consumer app. It gives you raw sector access and hex-level control. The learning curve is steep. Recoverit wraps the same low-level recovery logic in a guided workflow that doesn't require understanding partition geometry. DMDE wins on price and granularity. Recoverit wins when you need results by lunchtime and don't want to read a manual. The choice hinges on whether you want control or speed.
Turn On Live Previews Before You Lose a Drive
The defaults work, but a few adjustments improve the hit rate. Open preferences before you select a drive.
- Enable "Preview while scanning" — off by default, it lets you check files as they appear instead of waiting for the scan to finish. For a single lost document, you can stop early and recover immediately.
- Turn on RAW photo recovery explicitly. The general photo filter catches JPEGs and PNGs. Camera RAW formats (CR2, NEF, ARW) need the dedicated switch. If you shoot with a DSLR or mirrorless camera, this is the setting that saves your shoot.
- Adjust the file-signature list. Recoverit scans for dozens of file types by default. Trim it to what you actually lost. Fewer signatures mean a faster deep scan and less noise in the results list.
- Set the auto-save interval. Long deep scans can run for hours. If the app or machine restarts mid-scan, a saved session resumes where it stopped. Bump the interval to every 10 minutes.
A Wedding Photographer's Saturday Evening
Clara shoots 120 GB of RAW files across two cards every weekend. Saturday night she imports to an external SSD, formats both cards in-camera, and starts culling. This Saturday, the external SSD refuses to mount. Disk Utility sees the hardware but not the volume. The drive holds an entire wedding — ceremony, speeches, first dance. No backup exists yet.
She connects the SSD to a secondary MacBook Air, launches Recoverit, and selects the unmounted drive. The quick scan returns nothing — the partition table is gone. She switches to deep scan, narrows the file-type list to ARW and CR2 only, and enables preview-while-scanning.
Eighteen minutes in, thumbnails start populating. Folder names are intact: ceremony, cocktail hour, reception. She selects the ceremony folder, previews the first five frames to confirm they're whole, and recovers them to a spare internal drive. By the time the full scan completes three hours later, the client's gallery is safe and culling can begin.
What made the difference wasn't luck. It was knowing not to initialize the drive, not to run a repair tool first, and not to wait until morning. The drive stayed untouched from the moment it failed, and Recoverit read what Disk Utility couldn't see.
- macOS 10.14 or later
- Intel processor
Comments 0
Sign in to leave a comment.Sign inCreate an account
No comments yet. If a step is still there after you install it, say so.
More in Mac Apps
All in Mac Apps Wondershare Filmora
Trims clips, straightens horizons, and adds text overlays on a simple timeline.
4 steps saved
 Updated
Wirecast Pro
Replaces a hardware switcher with a software control room for live video production.
5 steps saved
 Wipr
Strips ads, trackers, and cookie popups from Safari pages before they download.
19 steps saved
 WinZip Mac Pro
Shrinks files, locks them with encryption, and gets them where they need to go.
4 steps saved
 Updated
Wins
Arranges and snaps application windows into layouts without dragging edges pixel by pixel.
10 steps saved
 Winclone Pro
Backs up only the blocks that changed in your Windows partition for faster, smaller snapshots.
5 steps saved
 WidgetWall
Adds a collection of functional widgets and stickers right onto your desktop.
6 steps saved
 Updated
WhatCable Pro
Decodes a USB-C cable's hidden speed and power ratings from its e-marker chip.