Screen recordings pile up fast — raw captures, voiceover mistakes, clipped callouts that need redoing. ScreenFlow handles both sides of that problem: it records the screen and gives you the editing tools to turn the take into something finished, without leaving the app.
| Detail | Info |
|---|---|
| Developer | Telestream |
| Current version | 10.5.2 |
| Platform | macOS 10.15 or later, Apple Silicon and Intel 64-bit |
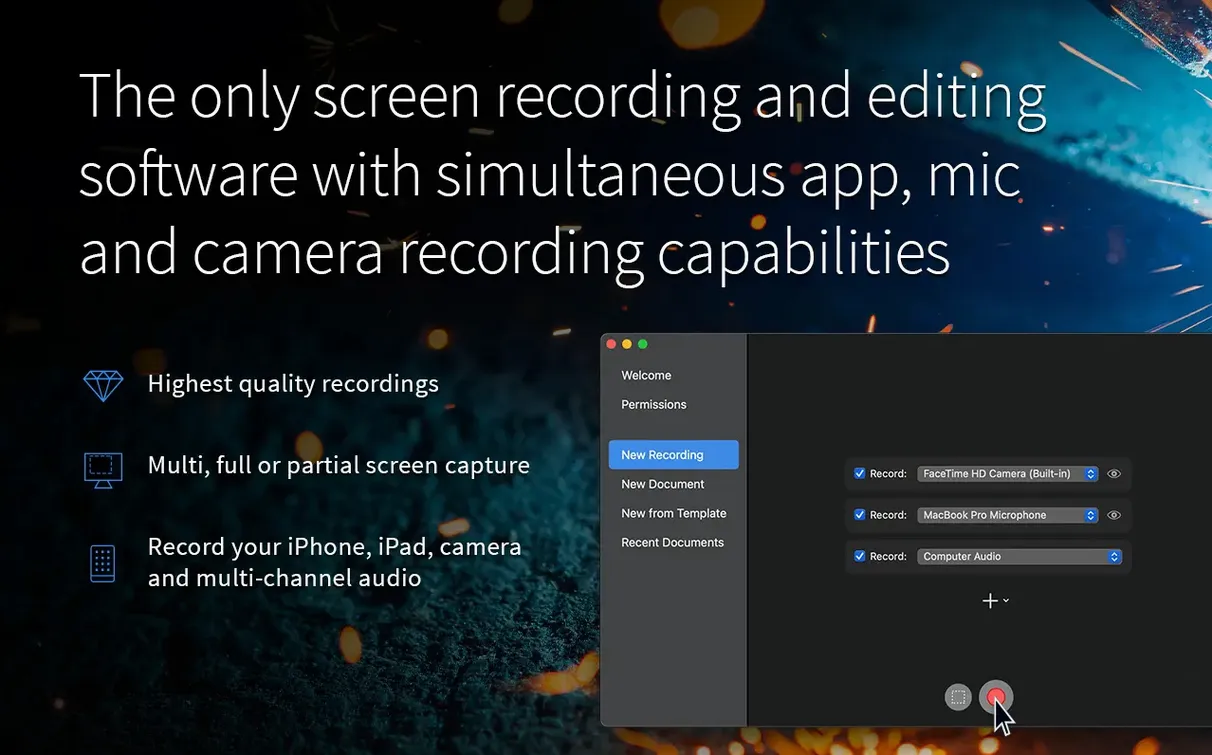
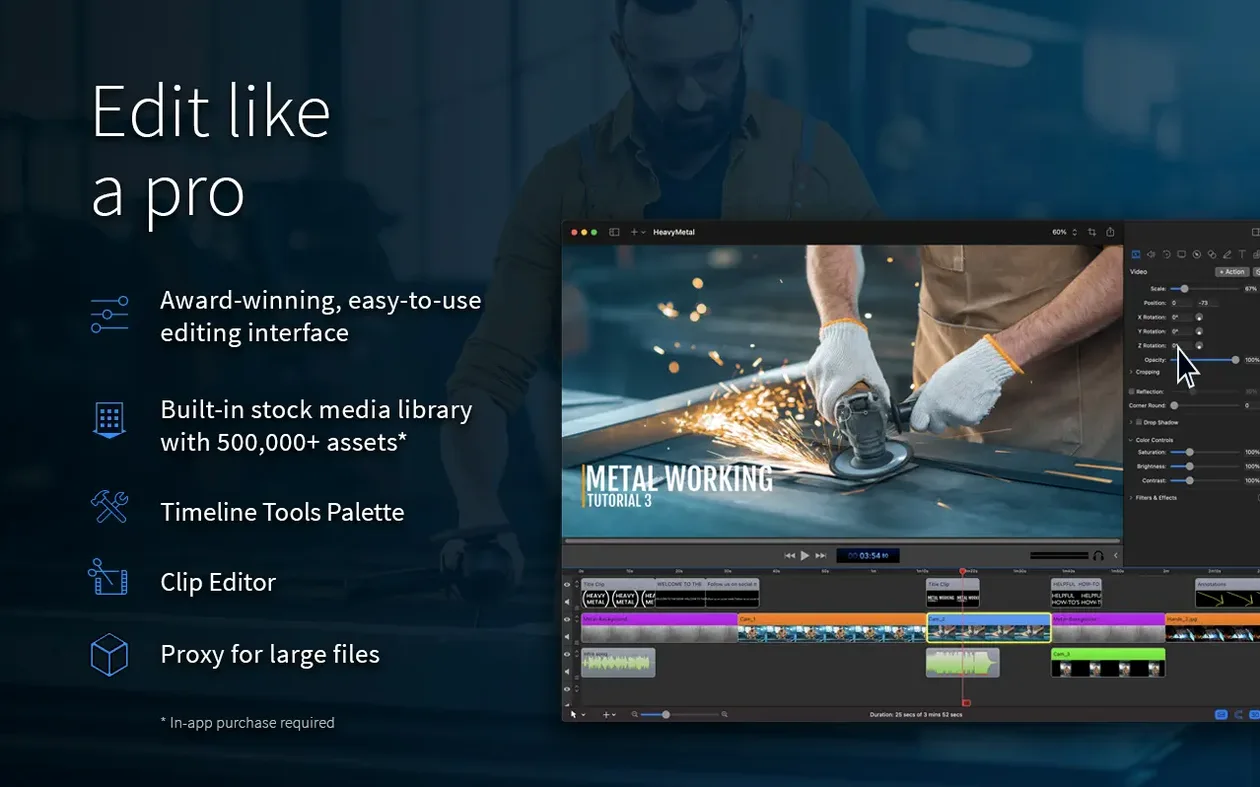
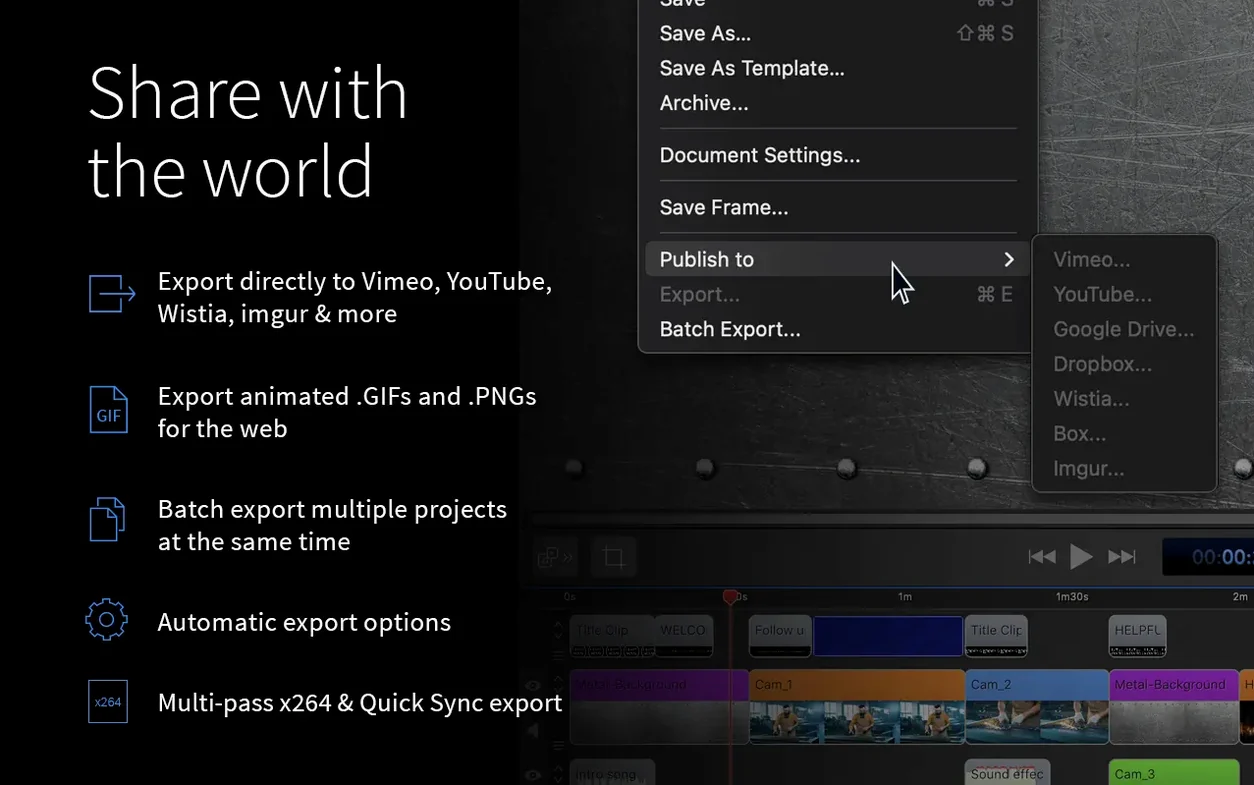
It fits next to the tools you already use. Capture camera video, iPhone or iPad video, microphone input, multichannel audio, and computer audio in one pass. Then edit with zoom and pan, callouts, annotations, subtitles, chroma key, and motion effects. When the edit is done, share straight to Vimeo, YouTube, Wistia, Facebook, Google Drive, Dropbox, Box, or Imgur. The 10.5.2 update also fixes a crash on macOS 26.2 or later and repairs exports with chroma key for certain screen recordings.
Kernel Extension Blocks Computer Audio Capture
Even a focused app like ScreenFlow can trip you up if a few settings aren't right. Here are the ones I see most often with clients.
Computer audio not captured. This happens because ScreenFlow relies on a kernel extension to grab system sound. After a macOS update, that extension sometimes gets blocked. Go to System Settings > Privacy & Security, look for a prompt about Telestream software near the bottom, and click Allow. Restart the app. If the option doesn't appear, reinstall ScreenFlow and check again immediately after.
Recordings are choppy on Apple Silicon. The app runs natively, but high-retina canvas recordings can still saturate the media engine. Drop the recording framerate to 30 fps in the New Recording setup panel, or record a smaller region instead of the full display. Close other GPU-heavy apps — photo editors, browsers with dozens of tabs — before you hit record.
Exported video looks washed out. This is usually a colour profile mismatch. ScreenFlow works in sRGB. If your source footage is shot in a wide-gamut profile, add a Colour Adjust filter in the video properties tab and pull saturation back up by 10–15%. Export to ProRes 422 first, then compress a final MP4 from that master. The two-step chain preserves more colour information.
Workflow: Recording a Software Demo with Callouts
Here's a start-to-finish path for a typical task — recording a three-minute software walkthrough with zoom highlights and text callouts.
- Set the stage. Quit everything you don't need showing. Open the app you'll demonstrate. In ScreenFlow, pick New Recording. Set the capture region to 1920×1080, framerate 30 fps. Enable Computer Audio and your external mic. Leave Camera Recording off for now — you can add a face-cam later if you want.
- Record in sections. Hit Record, pause between major steps with Command-Shift-2. Pausing rather than stopping keeps everything in one timeline without creating multiple documents. Narrate each click as you make it. If you flub a line, pause, take a breath, and repeat the sentence cleanly. You'll trim the bad take later.
- Trim and split. Stop the recording. The clip appears on the timeline. Skim to the first mistake, press T to split, delete the bad segment. Drag the remaining clips together. Keep your timeline tight — no dead air longer than half a second.
- Add zooms. Find the first spot where you need to emphasize a UI element. Click the Zoom & Pan button (the magnifying glass). Drag a box around the button or menu you're explaining. ScreenFlow auto-adds a smooth zoom at the playhead. Adjust the duration by dragging the action bar edge to about 1.5 seconds.
- Place callouts. Open the Annotations tab. Drag a Text box onto the canvas where the zoom lands. Type a short label — two or three words. Set the font to something clean (Inter or SF Pro at 28pt), background to a dark pill with 70% opacity. Trim the callout's timeline bar to match the zoom duration exactly.
- Export for review. When the timeline is clean, choose Export. Pick MP4, H.264, 1080p. Under the Dimensions tab, confirm 1920×1080. Export to a review folder. Upload the file to a shared drive or Vimeo straight from the Share menu.
The whole sequence — from launch to export — takes under twenty minutes once you've done it twice.
How ScreenFlow Compares with Similar Mac Apps
ScreenFlow vs. OBS Studio. OBS Studio records and streams for free, and its scene-compositing is unmatched. But OBS is a broadcaster, not an editor. It hands off to another app the moment you need to trim, add text overlays, or adjust audio levels. ScreenFlow keeps recording and editing in one timeline. For a tutorial maker who publishes polished videos, that single-environment approach saves an export-import roundtrip on every project. If you only need live streaming or raw capture dumps, OBS is enough. If you edit everything you record, ScreenFlow removes a step.
ScreenFlow vs. Camtasia. Camtasia shares the same all-in-one philosophy: record, edit, export. The difference is platform heritage. Camtasia runs on both Windows and macOS; ScreenFlow is built solely for macOS. That narrower focus shows in performance — ScreenFlow's timeline scrubbing on Apple Silicon is tighter, and its ProRes export pipeline is deeper. Camtasia's asset library (intros, music, icons) is larger out of the box. Choose ScreenFlow when you want a lean Mac-native chain with better codec options; choose Camtasia when you need cross-platform project portability or a bigger stock library.
ScreenFlow vs. QuickTime Player + iMovie. The free macOS combo covers basic needs: QuickTime captures the screen, iMovie edits. But QuickTime records no system audio without third-party routing, and iMovie tops out at two video tracks with limited keyframing. ScreenFlow grabs computer audio natively, handles multiple video and audio tracks, and adds chroma key, motion blur, and ripple edits. The gap is scale — if you publish one short clip every few months, the built-in tools suffice. Once you're producing regular training content or client deliverables, ScreenFlow's dedicated feature set earns its place.
- Fixed — Crash on macOS 26.2 or higher.
- Fixed — Exports with Chroma Key for certain screen recordings.
- Fixed — Manage button under licenses pointing to a non-existent URL.
- macOS 10.15 or later
- Apple Silicon or Intel 64-bit Mac
Questions I get before install
Does ScreenFlow work on Apple Silicon Macs?
Yes. ScreenFlow supports Apple Silicon and Intel 64-bit Macs running macOS 10.15 or later.
What can ScreenFlow capture at the same time?
It can capture camera video, iPad or iPhone video, microphone input, multichannel audio input, and computer audio in a single recording.
Where can I export finished videos from ScreenFlow?
You can share exports directly to Vimeo, YouTube, Wistia, Facebook, Google Drive, Dropbox, Box, and Imgur.
Comments 0
Sign in to leave a comment.Sign inCreate an account
No comments yet. If a step is still there after you install it, say so.
More in Mac Apps
All in Mac Apps Updated
Screen Studio
Records your screen and gives you editing tools to finish the take in one app.
22 steps saved
 Updated
Screens 5
Lets you reach and arrange remote screens through Siri, Shortcuts, or the menu bar.
10 steps saved
 Sensei
Monitors hardware health, performance, and storage directly from the menu bar.
18 steps saved
 Updated
Serato DJ Pro
Mixes tracks live with controllers, effects and smart key matching.
17 steps saved
 Serato Studio
Turns a DJ workflow into a beat-making environment built around stems and cue points.
19 steps saved
 Shadowrocket
Routes your Mac's network requests through different proxies based on custom rules.
19 steps saved
 RightFont
Lets you preview and activate fonts without opening Font Book.
19 steps saved
 Shottr
Floats a fast, local markup tool over your screen without switching contexts.