
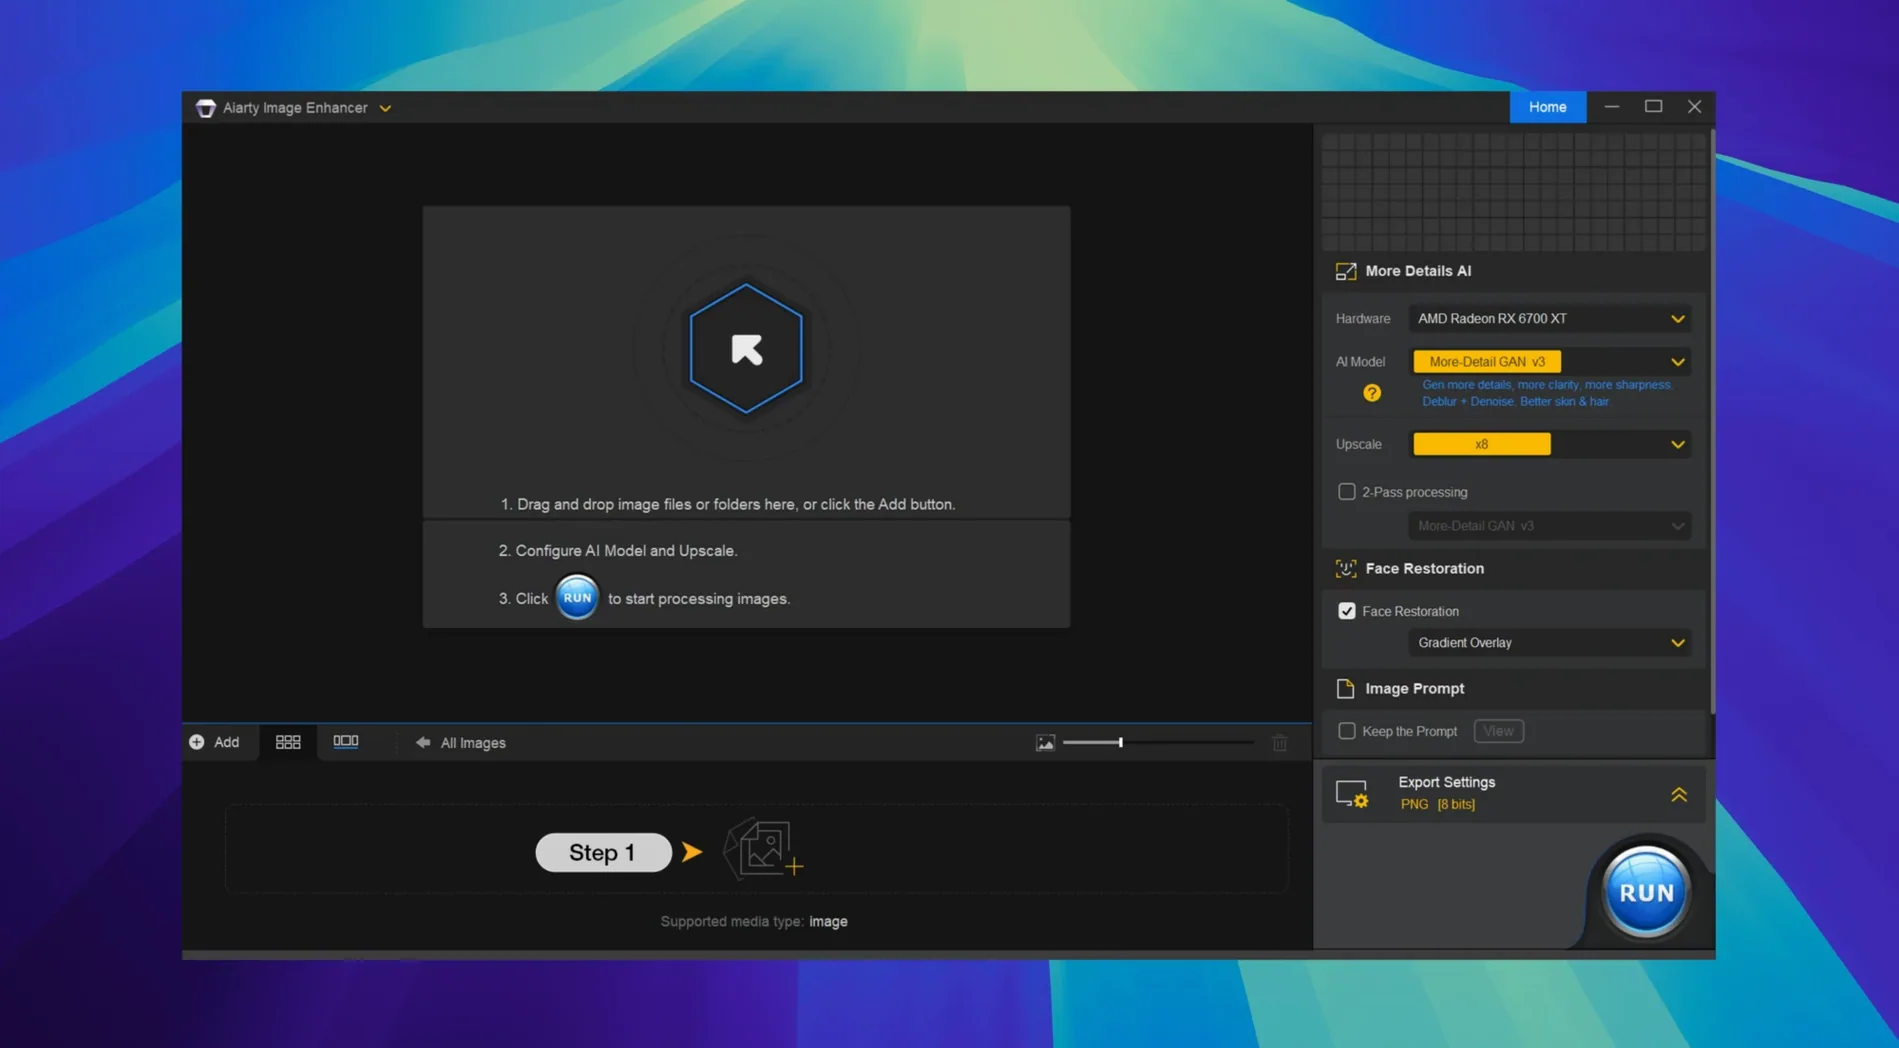
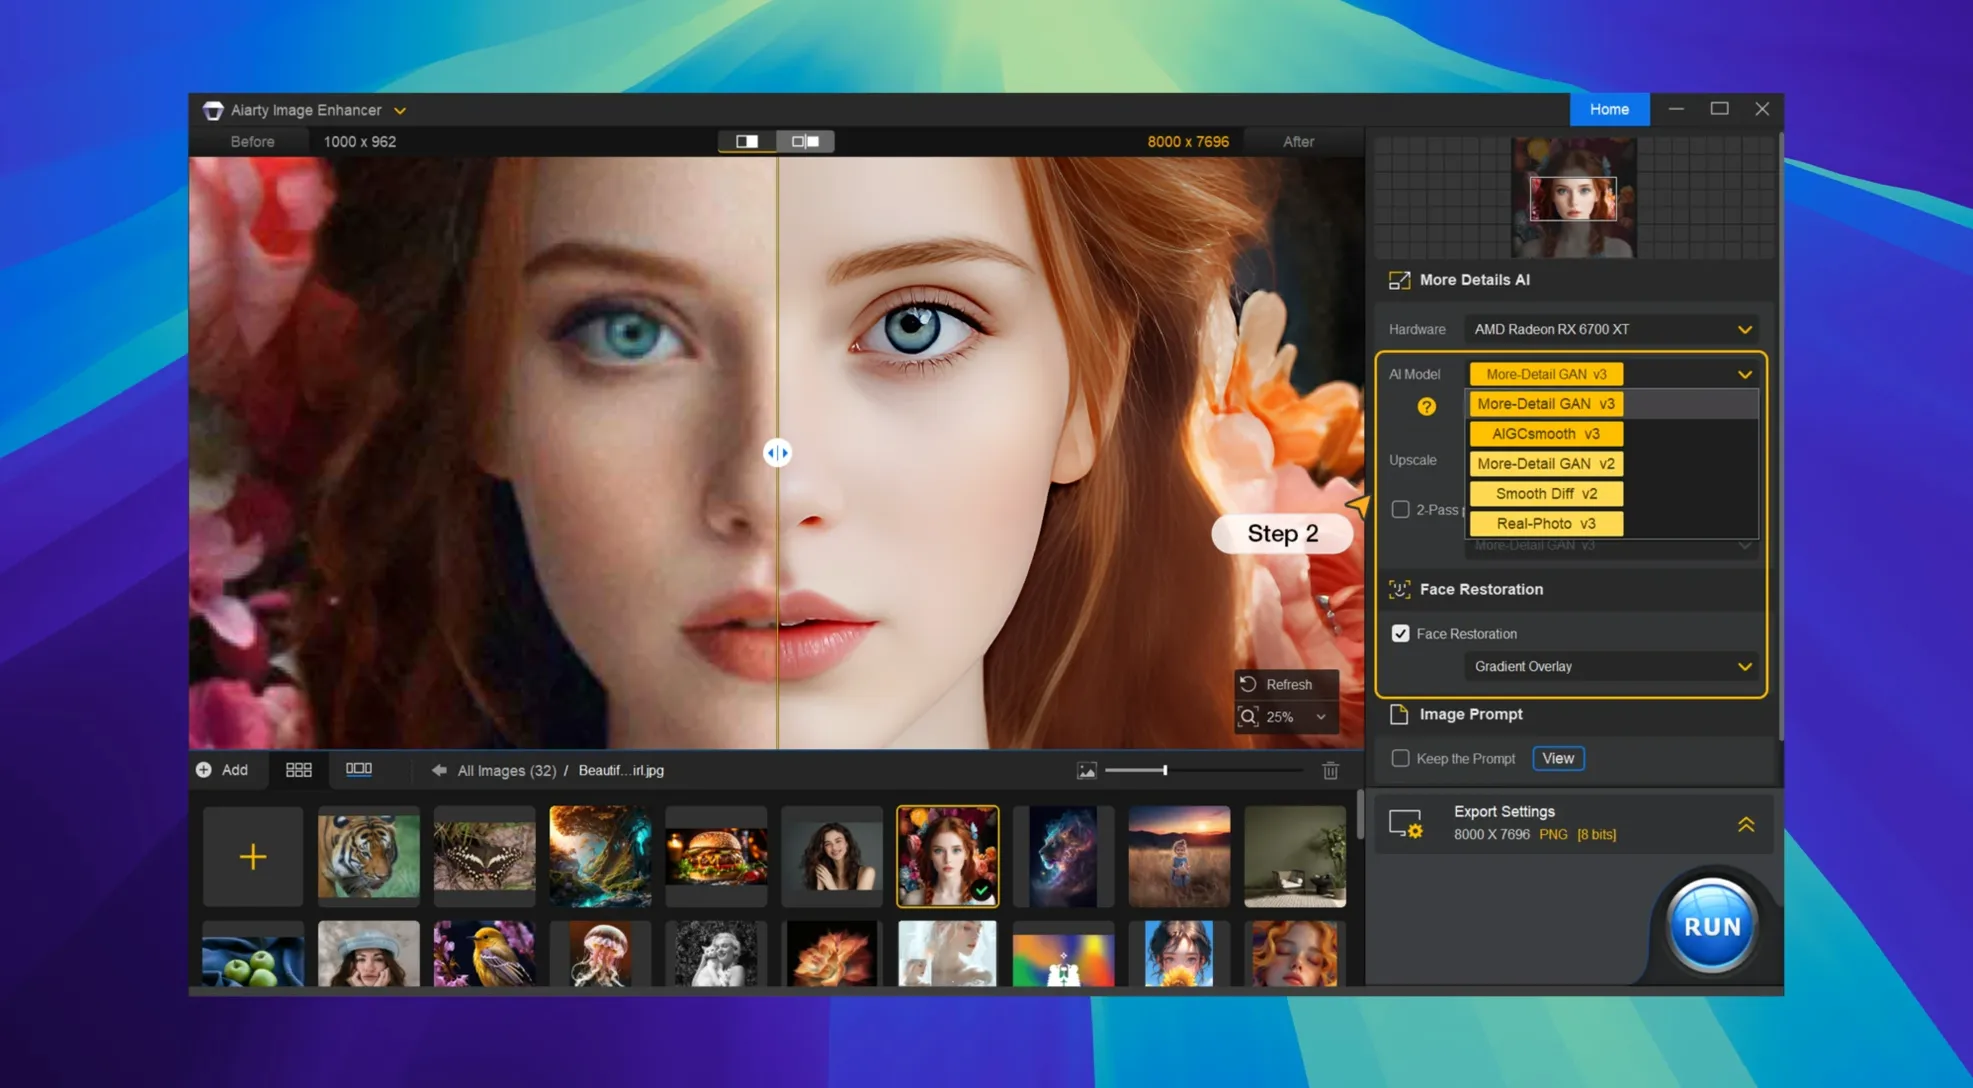
- Skin recovery — The generative model redraws pores, eyelashes, and fine facial textures that compression strips away, so portraits look like fresh captures instead of smeared copies.
- Hair and fabric reconstruction — Individual strands and textile weaves get re-synthesized. What started as a blurred patch becomes defined material you can crop into.
- 32K upscaling — The engine processes JPEG, PNG, TIFF, WebP, BMP, AVIF, and RAW files, outputting dimensions that hold up on large-format prints and high-density displays.
- RAW denoise and deblur — Sensor noise and soft focus get cleaned at the pixel level before upscaling, so you start with a solid foundation and avoid amplifying artefacts.
Each step targets a specific defect that generic enhancers leave behind. The deep-learning pipeline runs natively on Apple Silicon and Intel Macs, treating restoration as a sequence of solvable problems rather than a single filter pass.
Glance at the Dock Badge for Finished Job Counts
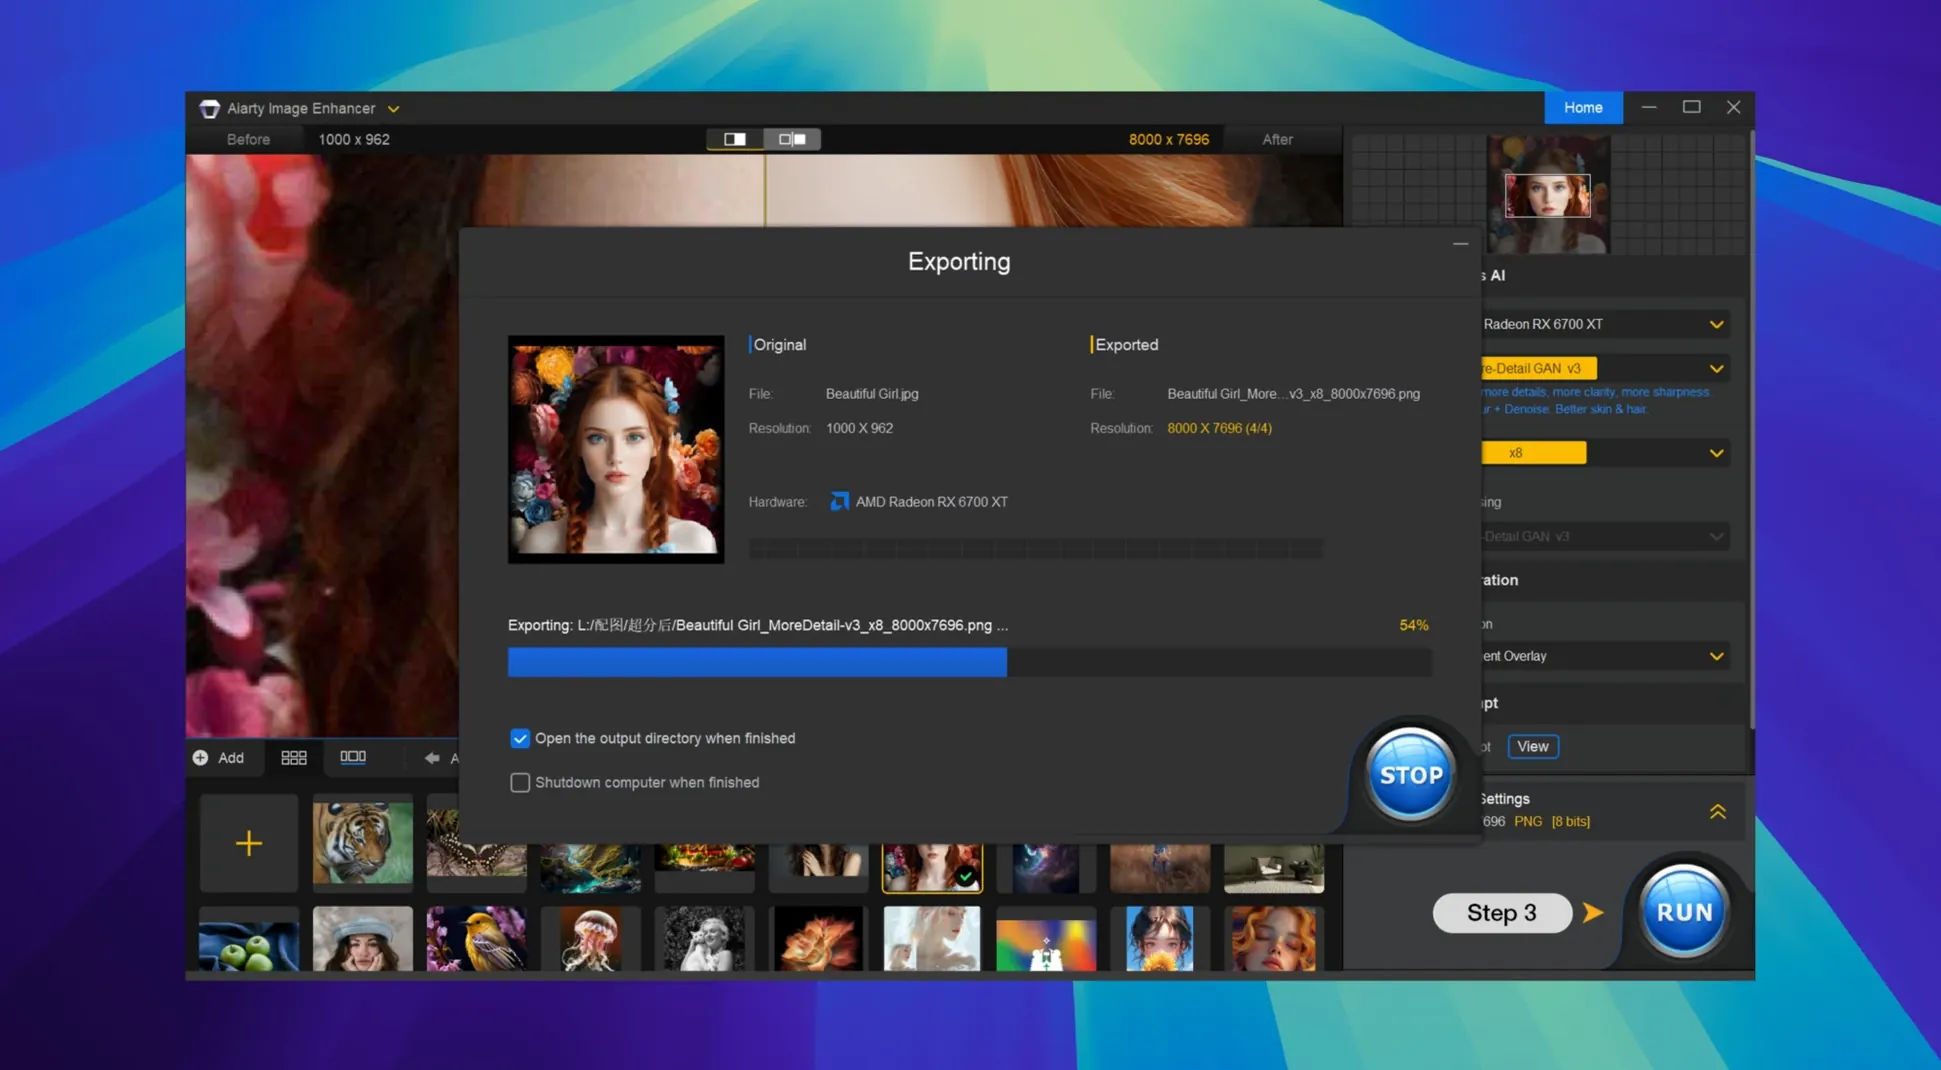
The notification badge on the dock icon counts finished jobs — glance at it between other tasks instead of switching windows. Drag a folder onto the app and it queues every supported image inside, no import dialogue required. During batch runs, the progress panel shows per-image thumbnails with real-time before/after splits you can scrub mid-process.
Model selection remembers your last choice per file type. Drop a RAW file, and it defaults to the denoise model; drop a compressed JPEG, and it switches to deblur-plus-generate. EXIF metadata stays intact through version 3.14, so aperture, focal length and camera profile survive the round-trip.
A few shortcuts worth knowing:
- Spacebar preview — select any output thumbnail and press Space for a full-resolution Quick Look without leaving the app.
- Right-click a finished image to reveal it in Finder, copy it to clipboard, or share it directly to Messages or Mail.
- Command-comma opens preferences, where you set a default output folder so completed files never clutter your desktop.
Drop Watched Folders Between Lightroom and Your Catalog
Aiarty Image Enhancer works as a dedicated processing station, not a plugin. Export from Lightroom Classic or Capture One into a watched folder, let the app enhance the batch, then pull the outputs back into your catalog. Version 3.14 tightens this loop with EXIF passthrough, so metadata carries cleanly through the interchange.
On macOS, the app respects system colour profiles and picks up your display's P3 gamut without manual configuration. Save a preset of model, scale and output format, then trigger it from Shortcuts: the app registers an action that accepts image files and returns enhanced versions — useful for automating web shop product shots or daily archival scans. Finder tags applied to source images persist on generated files, keeping your organizational system intact.
For anyone experimenting with adobe ai image enhancer comparisons, Aiarty complements rather than competes with the Adobe ecosystem. Run denoise and upscale here, then finish tonal adjustments in Lightroom — two specialized tools passing clean TIFFs between them.
A Full Workflow: Old Negative to Gallery Print
Here is one concrete path from start to finish, using Aiarty as the restoration core.
- Capture: Scan a 35mm negative at 3200 DPI to a 16-bit TIFF. The scan carries dust specks, film grain and a slight focus falloff at the edges.
- Initial denoise: Drop the TIFF into Aiarty with the denoise model active, output set to same dimensions. Grain reduces to a fine, even texture without the plastic-skin effect that blanket noise reduction creates.
- Deblur edges: Run a second pass with the deblur model, masking attention to the corners where the scanner lens softened. The deep-learning pipeline reconstructs edge contrast without haloing.
- Upscale for print: Set output to 4× linear dimensions, enable generative detail, and let the model rebuild film grain at the new resolution. For a 3200 DPI original, this pushes a 35mm frame toward gallery-sized prints approaching 32K on the long edge.
- Tonal finish: Open the enhanced TIFF in Lightroom Classic. Metadata — including the original scan date you embedded — transfers intact. Apply curves and a final unsharp mask tailored to the paper stock.
The whole sequence runs locally, no cloud upload, and the app uses every Neural Engine core available on Apple Silicon.
- macOS 11 or later
- Apple Silicon or Intel 64-bit processor
Comments 0
Sign in to leave a comment.Sign inCreate an account
No comments yet. If a step is still there after you install it, say so.
More in Mac Apps
All in Mac Apps Aiarty Video Enhancer
Upscales, deblurs, and cleans up video clips and their audio in one pass.
18 steps saved
 AIMP
Plays and organizes a local music collection without streaming dependencies.
9 steps saved
 Affinity Publisher
Assembles multi-page spreads and exports tagged, accessible PDFs from one layout.
7 steps saved
 AirBuddy
Shows charge levels and connection modes for nearby Apple devices at a glance.
10 steps saved
 Affinity Photo
Processes RAW photos and retouches pixels non-destructively in dedicated personas.
6 steps saved
 Airflow
Casts video files from a Mac to a Chromecast without converting formats.
13 steps saved
 Airfoil
Sends audio from any single Mac app to speakers around the house.
17 steps saved
 Affinity Designer
Builds logos, layouts, and print-ready artwork with spot colour support.