Every Mac screen ships with a baked-in resolution and brightness range. BetterDisplay Pro 5.0.6 strips those limits away. It overrides EDID data so your display behaves the way you need it to — not the way Apple guessed you wanted.
DDC and HDMI-CEC work on any 64-bit Intel Mac
Yes. The app runs on any 64-bit Intel Mac or Apple Silicon machine running macOS 26 or later. DDC and HDMI-CEC control work across both architectures, so panel brightness and input switching respond from the menu bar. XDR/HDR brightness upscaling, however, is exclusive to compatible Apple Silicon Macs. If you move between a MacBook Pro with an XDR display and an Intel iMac, you will notice the feature gap immediately.
Sharpening filter makes scaled text crisper on 1440p panels
The sharpening filter got a meaningful bump — text on scaled resolutions looks crisper, especially on 1440p panels running at non-native sizes. Multi-display DDC commands execute faster now, which matters when you dock a laptop and three monitors wake up at once. The new Stream video filter automation triggers colour profiles when playback apps launch, so you do not switch manually between editing and watching modes. Device control configuration is simpler to set up, too.
Enable Launch at login and native resolution per display
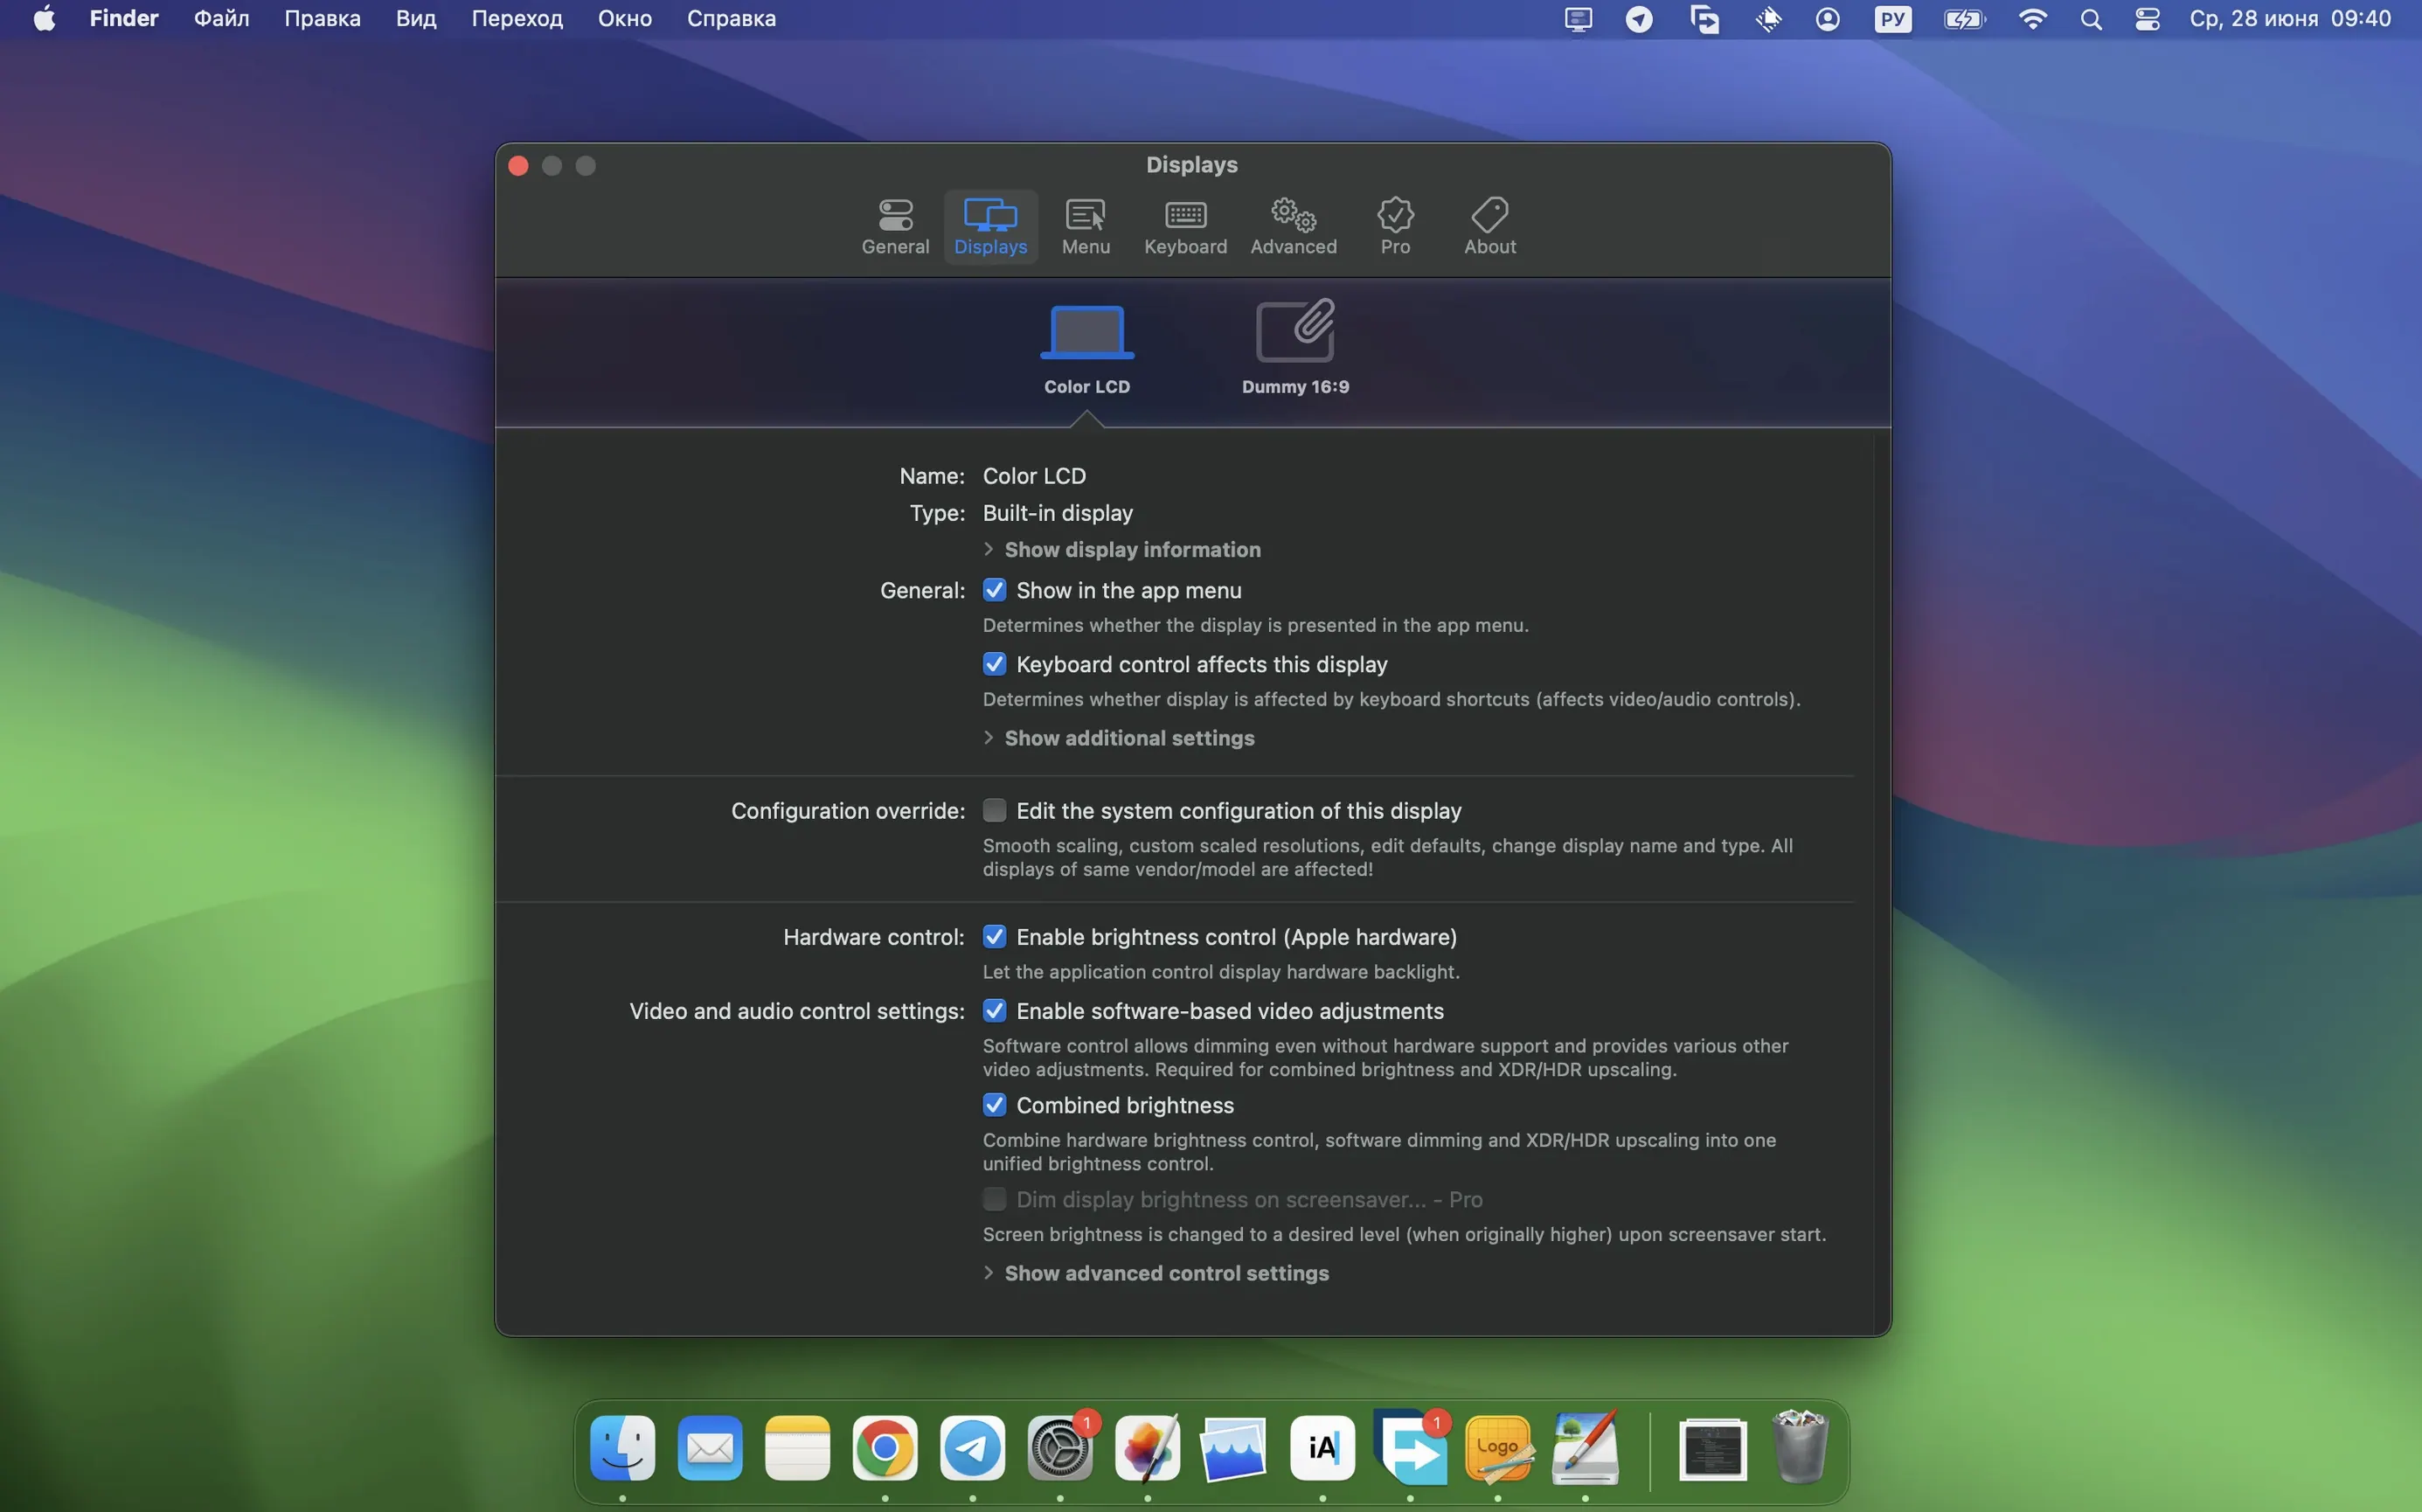
Open Preferences and tick Launch at login. The app sits in the menu bar; you want it running before any display wakes. Next, head to the Displays tab and enable Use native resolution for each connected panel. The default HiDPI scaling sometimes picks a softened mid-point that wastes pixel sharpness on 4K screens.
Turn on DDC control for every external monitor. By default, betterdisplay pro does not engage DDC until you allow it per display. Once enabled, brightness keys on your keyboard or Touch Bar talk directly to the panel hardware — no more fumbling with monitor OSD buttons.
If you own an Apple Silicon Mac with an XDR or HDR panel, switch on XDR brightness upscaling. The default SDR ceiling lifts, and HDR content metadata pushes peak luminance higher than macOS permits on its own. Set a separate SDR brightness limit so Finder and Safari do not blast at HDR levels.
Learn the per-display menu bar dropdown to skip System Settings
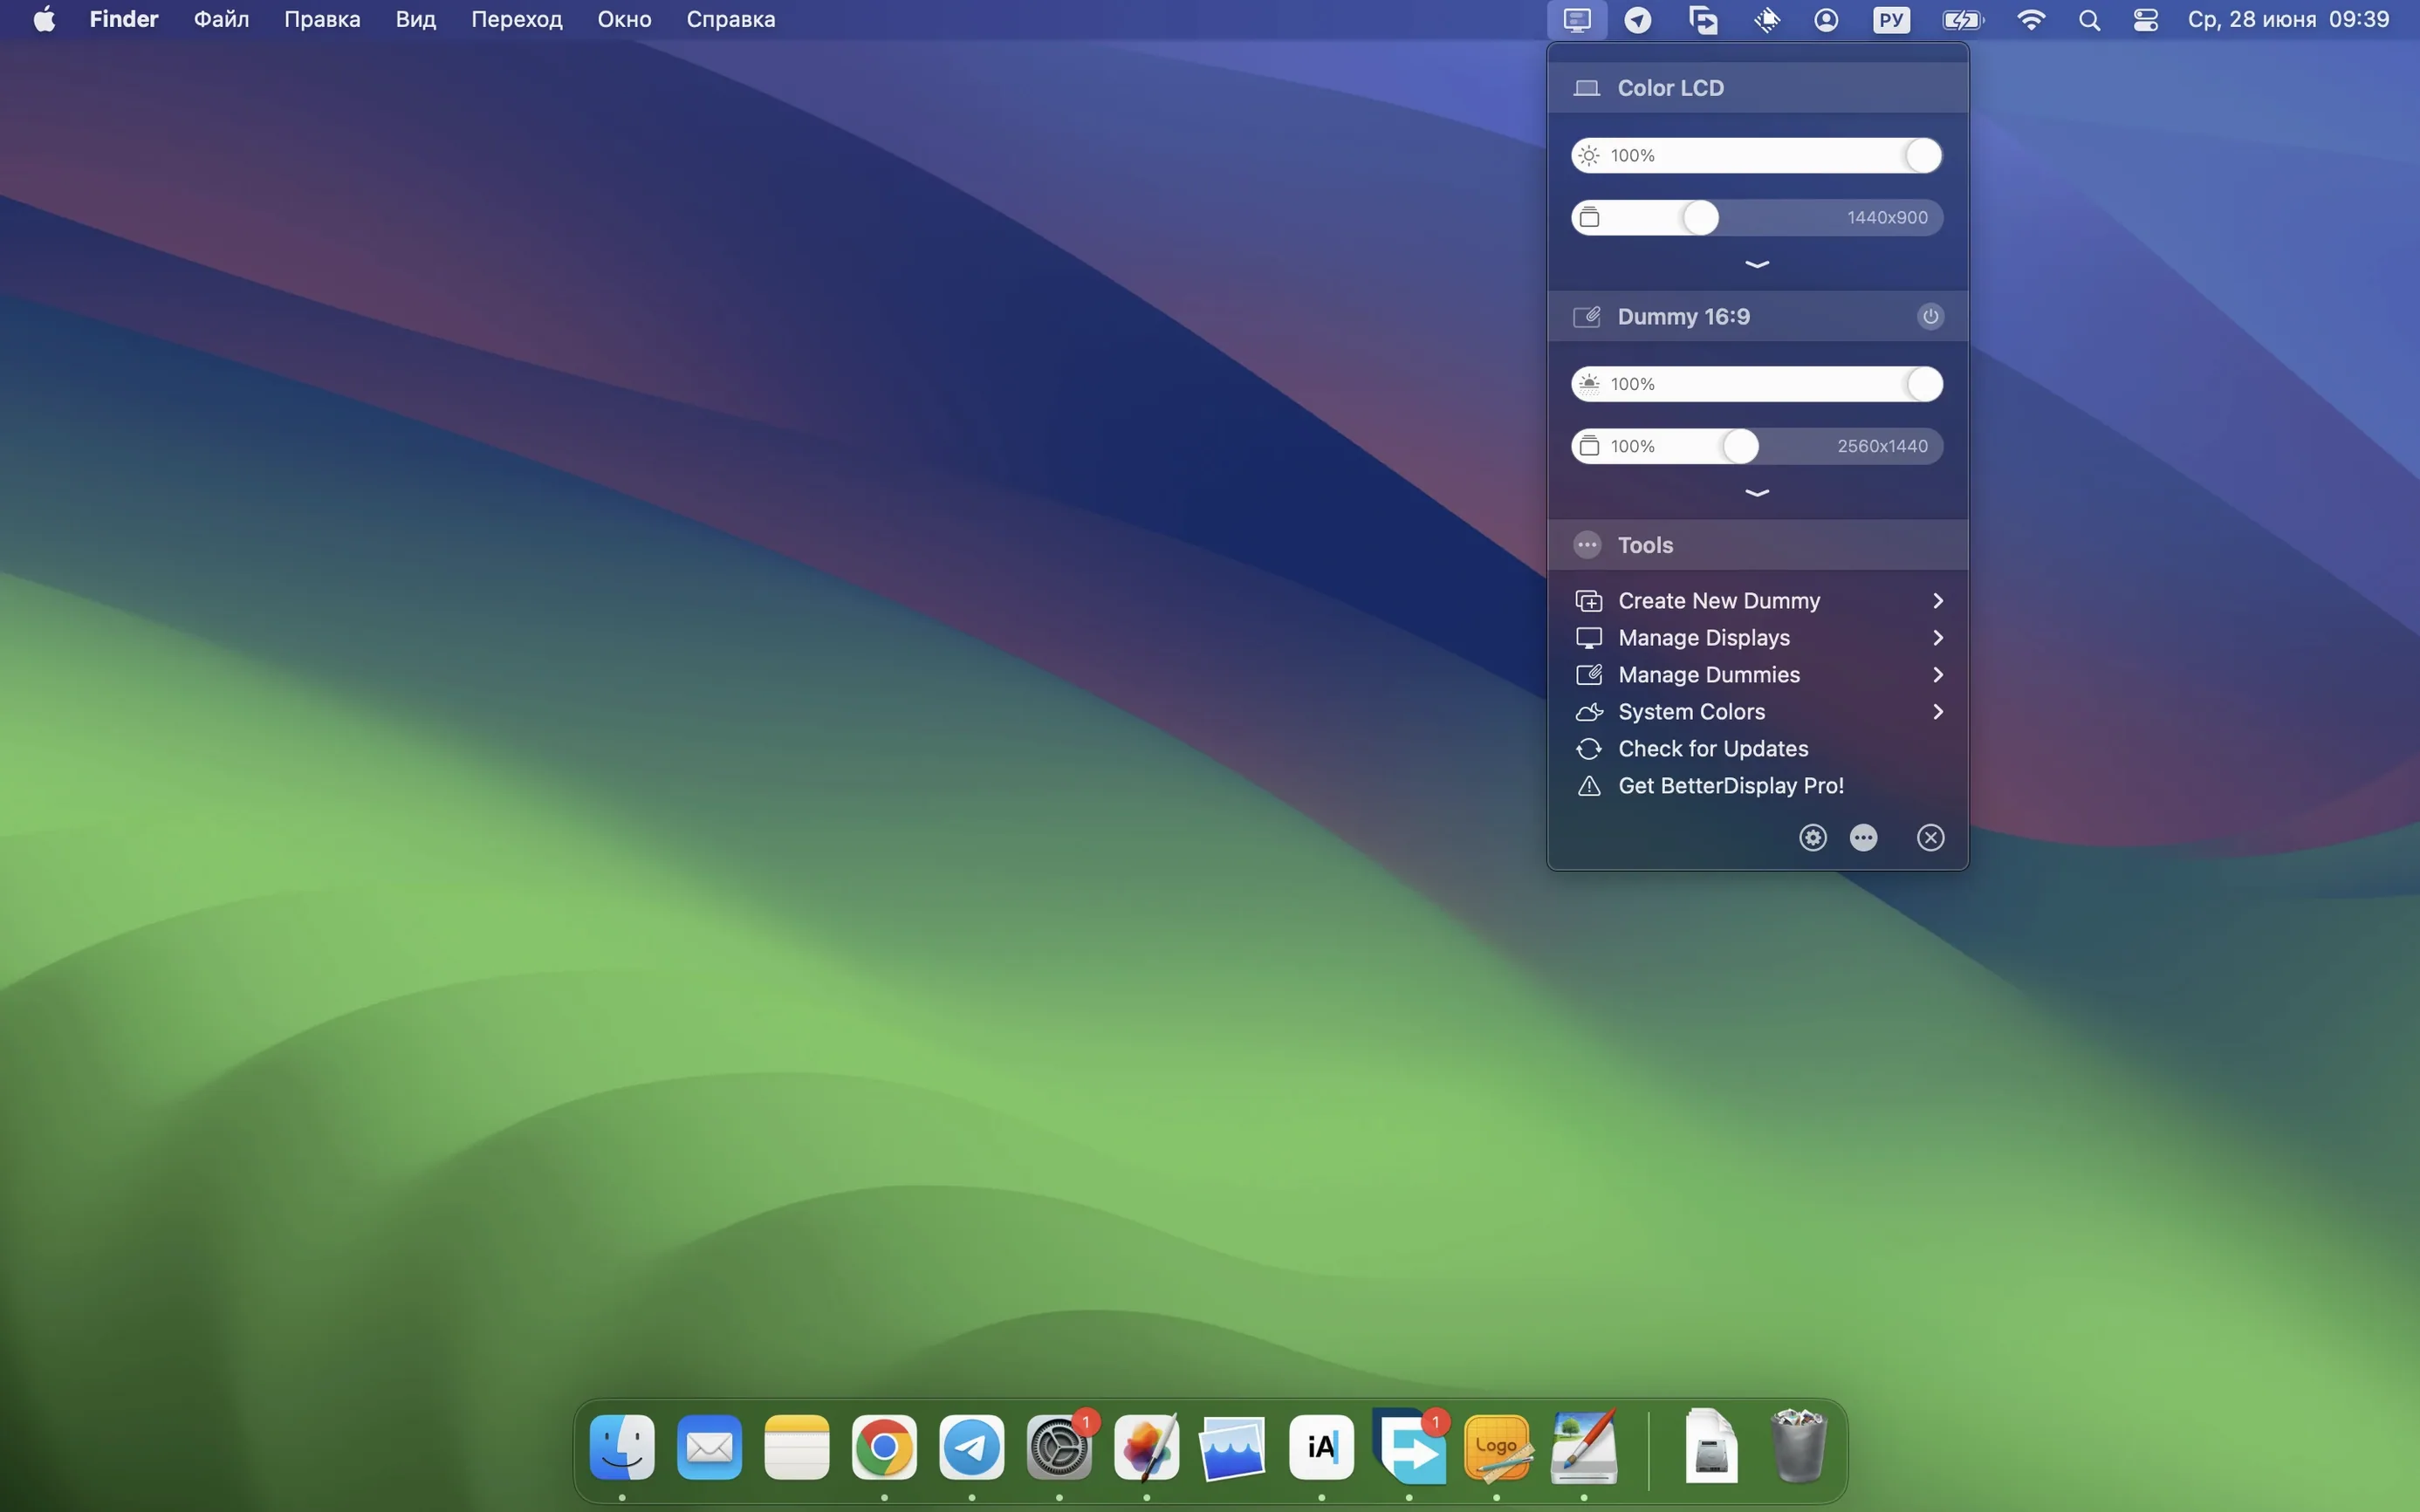
Bring up the menu bar icon and study the per-display dropdown. Every connected screen gets its own brightness slider, resolution list, and rotation option. Getting comfortable here saves trips into System Settings. If you run a triple-monitor desk, spend ten minutes naming each display under Preferences — the names replace generic model strings everywhere in the app.
Test a virtual display on day one. Create a 1080p dummy screen from the menu bar, then set your Mac to mirror to it. This trick gives screen-sharing apps a clean 16:9 canvas, avoids letterboxing on the receiving end, and lets you record at a fixed resolution regardless of what your physical panel runs. Delete it when the call ends.
If you use reference colour modes — photography, print proofing, video grading — load a custom 3D LUT early. The app applies it system-wide, not per-application, so check how Finder and Quick Look render colour-managed files before committing to a profile for client work.
Option-click for slider-only compact view
- Option-click the menu bar icon — reveals a compact view with sliders only, no resolution noise.
- Picture-in-picture for any display — right-click a screen in the menu and choose Show as PiP. A floating window appears with a live, scaled feed. Drag it over a full-screen editor or IDE to keep an eye on a system monitor panel without turning your head.
- Black dimming via hotkey — in the Keyboard pane, assign a shortcut to Full black dimming. One keystroke fades the panel to zero. Faster than putting the display to sleep, and the GPU keeps rendering.
- Colour profile switching tied to apps — create a Stream rule that triggers when Final Cut or DaVinci Resolve opens. The display shifts to your grading profile; quit the app, and it snaps back to a browser-friendly sRGB preset.
- Holding Shift while adjusting brightness — enables fine-step control, quartering the normal DDC increment. Useful for late-night sessions where one notch feels too bright.
The sharpening slider added in betterdisplay pro 5.0.6 lives under Image adjustments per display. Push it gently — a value between 0.20 and 0.40 cleans up scaled text on 1440p and ultrawide panels without haloing. Anything above 0.70 introduces visible edge artefacts on most screens, so treat it as a scalpel, not a loudness knob.
If you brought over display configs from an earlier better display pro download, open Device control configuration once. The simplified layout exposes DDC and HDMI-CEC options on a single pane. Switch inputs or power off a CEC-connected TV straight from the menu bar without hunting for a remote.
- macOS 13.3 or later
- Apple Silicon or Intel 64-bit Mac
Comments 0
Sign in to leave a comment.Sign inCreate an account
No comments yet. If a step is still there after you install it, say so.
More in Mac Apps
All in Mac Apps BetterTouchTool
Maps unused trackpad gestures and key sequences to the commands you repeat daily.
14 steps saved
 Beauty Box Photo
Smooths skin texture automatically while keeping eyes and hair sharp.
5 steps saved
 Updated
BetterZip
Lets you preview an archive’s contents without extracting it first.
5 steps saved
 BBEdit
Opens massive plain-text files and lets you edit them without a lag spike.
20 steps saved
 Binary Ninja
Lets you disassemble and decompile binaries to understand what compiled code actually does.
16 steps saved
 Bartender
Hides the menu bar icons you rarely need behind a single click.
20 steps saved
 Bitwig Studio
Combines linear recording with a modular sound design sandbox in a single workstation.
4 steps saved
 BAO Mask Avenger
Exposes every mask point as an animatable keyframe for detailed rotoscoping.