
PowerPoint for Mac is the standard presentation tool for teams who need to build decks that move beyond static bullet points. It handles slides for quarterly reviews, pitch decks, training modules, and conference talks. Part of the Office LTSC Standard for Mac 2024 suite alongside Word, Excel, Outlook, and OneNote, it runs on macOS 13 and later with support for both Intel and Apple Silicon Macs.
Slides that stay consistent from desktop to browser
Managers assembling monthly reports. Consultants building client proposals with consistent branding. Trainers who need reusable slide masters and animation timelines. The app works across desktop, tablet, and online environments, so a deck started on Mac finishes cleanly in a browser or on an iPad. Built-in layout tools, motion path effects, 3D models, and a library of icons mean less time nudging elements into place.
One file format replaces app-switching and email chains
Disjointed workflows where slide content lives in one app, visuals in another, and version control in email threads. PowerPoint keeps creation, editing, and viewing inside a single file format that colleagues can open without translation layers. Smart design suggestions speed up formatting decisions, and the animation pane gives frame-level control for reveals and emphasis without external timeline tools.
Faster co-authoring and smoother 3D model previews
Office suite version 16.93 shipped several refinements that affect daily slide work. The adjustments are practical, not flashy — tighter integration with OneDrive for co-authoring, faster rendering of 3D model thumbnails in the media browser, and improved memory handling when decks exceed 80 slides with embedded video.
Animations with multiple motion paths now preview more smoothly in the editing canvas. PowerPoint used to stutter on complex sequences before render; that lag is largely gone. Morph transitions between slides with heavy SmartArt graphics also resolve more cleanly on Apple Silicon machines. If you abandoned Morph last year because it broke your diagrams, it is worth revisiting.
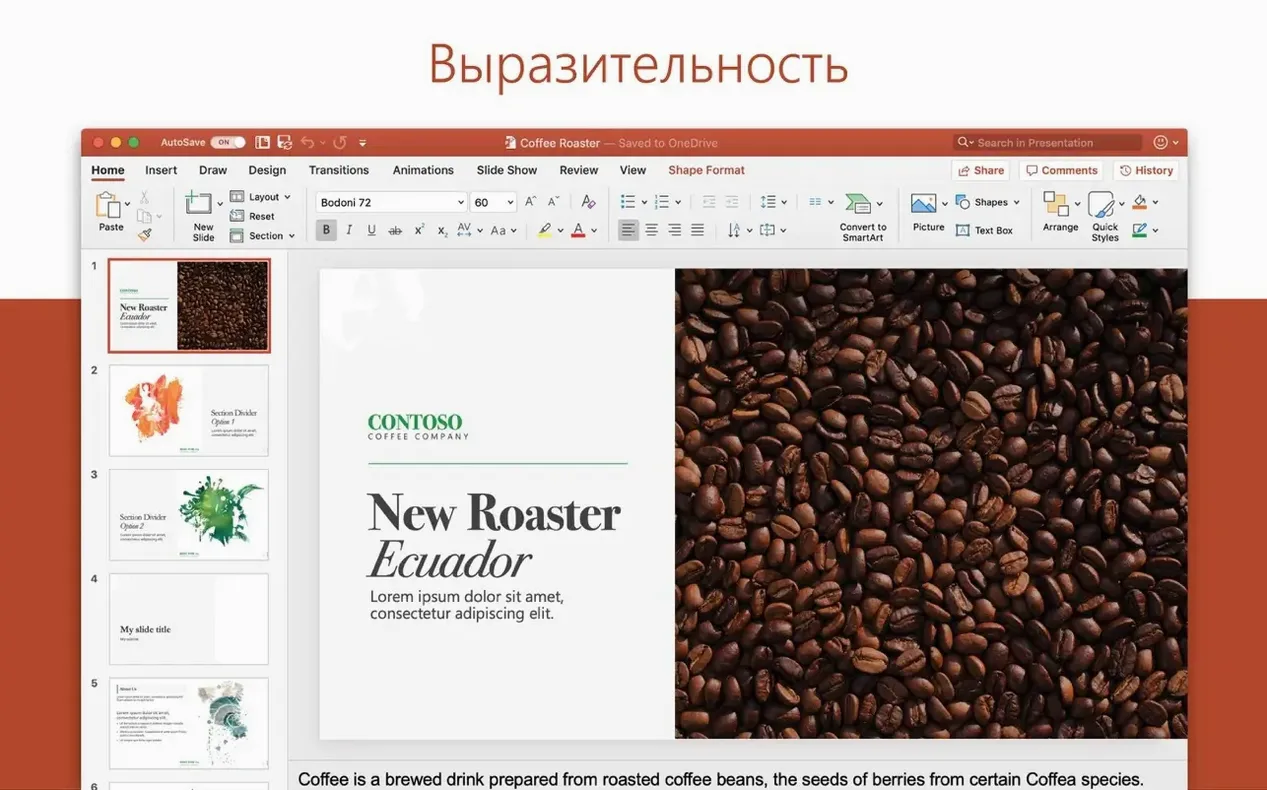
On the collaboration front, presence indicators in the slide sorter show edits from other authors with less delay. The ribbon layout adjusted slightly too — the Draw tab moved to a more persistent position, and the Search field in the toolbar now indexes slide notes, not just body text.
One quiet but useful fix: pasting Excel charts no longer strips custom colour palettes when the source workbook is open. That alone saves a dozen clicks per quarterly report.
Pin the Slide Master before your first real deck
Before building your first real deck, set up three things that make everything else faster.
- Pin the Slide Master view to your Quick Access Toolbar. If you work with branded templates, you will open Master view more often than the default ribbon suggests. Right-click the icon and pin it. While you are there, add Selection Pane — essential for managing layered objects on busy slides.
- Set default fonts for new text boxes. Create a blank text box, format it with your house font (size, colour, line spacing), then right-click and choose Set as Default Text Box. Every new box you draw will obey that style. No more selecting Calibri 18 and resetting it slide by slide.
- Turn off "Select an object to animate" prompts in the Animation Pane. In Preferences under View, uncheck the animation trigger popups. They slow down precise timeline work when you have 30 objects to key.
Also worth doing: open File > Options > Save and set AutoRecover to every 5 minutes. The default 10-minute interval is too wide for fast iteration sessions.
Workflow: turning a raw outline into a client-ready deck
Here is a repeatable path for converting a text outline into a polished set of slides, start to finish.
1. Import the structure. Open a new blank presentation, switch to Outline view (View > Outline), and paste your heading-list from a text file or Word doc. Each top-level line becomes a slide title; each indented line becomes a bullet. Fix the hierarchy in Outline view before touching visuals — it is much faster than dragging slide thumbnails.
2. Apply the slide master once. Go to View > Slide Master and assign your branded master to all slides. Check three layouts: title slide, section divider, and content slide. Ensure the footer fields (date, slide number) are positioned inside safe margins for screen sharing.
3. Build the data slides in batches. For slides that contain charts, open the linked Excel workbook and build each chart there first — keeping it live, not pasted as a picture. Drag the chart object onto the slide. Use the Format tab to lock aspect ratio and snap it to the guide grid. For tables, set alternating row colours in the Table Design tab immediately; retrofitting striping across 40 tables is tedious.
4. Animate for emphasis, not distraction. Open the Animation Pane. For each content slide, apply a single reveal animation to the main chart or diagram (Fade or Wipe, duration 0.5 seconds or less). Remove animations from decorative elements. Use the Start: After Previous timing setting to stagger bullet points automatically — no clicks needed. Test the sequence in Slide Show mode at least twice.
5. Review and export for the room. Run Review > Check Accessibility. It flags missing alt text on images and poor colour contrast in charts — both are easier to fix now than during a live presentation. Export to PDF for handout sheets, and save the native file to OneDrive or a shared folder. If the presentation will run on a different machine, embed fonts under File > Options > Save before closing.
This sequence takes about 45 minutes for a 20-slide deck once the master is set. The time saved comes from delaying design decisions until the content structure is locked.
- New: Office suite release 16.93 includes PowerPoint.
- macOS 13 or later
- Intel or Apple Silicon Mac
Comments 0
Sign in to leave a comment.Sign inCreate an account
No comments yet. If a step is still there after you install it, say so.
More in Office
All in Office Microsoft Outlook
Puts mail and calendar in one window so you stop switching apps.
8 steps saved
 Microsoft Word
Writes and reviews documents with tracked changes that open the same anywhere.
11 steps saved
 Microsoft Office
Gives a team six tools for documents, spreadsheets, and presentations.
19 steps saved
 Microsoft Excel
Builds budgets, forecasts and reports in spreadsheets the whole team can edit.
7 steps saved
 OmniFocus Pro
Flattens vague plans into tagged, location-aware actions you can actually complete.
13 steps saved
 OmniPlan Pro
Breaks a complex initiative into trackable tasks linked by dependencies and resources.
9 steps saved
 OmniReader Pro
Opens PDFs, ebooks and documents in one reader with notes and reading modes.
22 steps saved
 Updated
iA Writer
Strips away formatting so you focus on structure and phrasing, then export to any format.