
A client hands you an SD card that reads as unformatted. The shoot is irreplaceable, and macOS wants to initialize it. You run a quick scan, preview the .dng files that Disk Drill found in the raw sectors, and recover them to an external drive before the card goes back in the camera.
Rebuild a lost partition
When a partition table is damaged, the volume disappears from the Finder. Disk Drill scans the raw device for file-system signatures and reconstructs what it finds, including BitLocker and encrypted APFS volumes, so you can pick the right structure and pull your files back.
Recover data from a formatted device
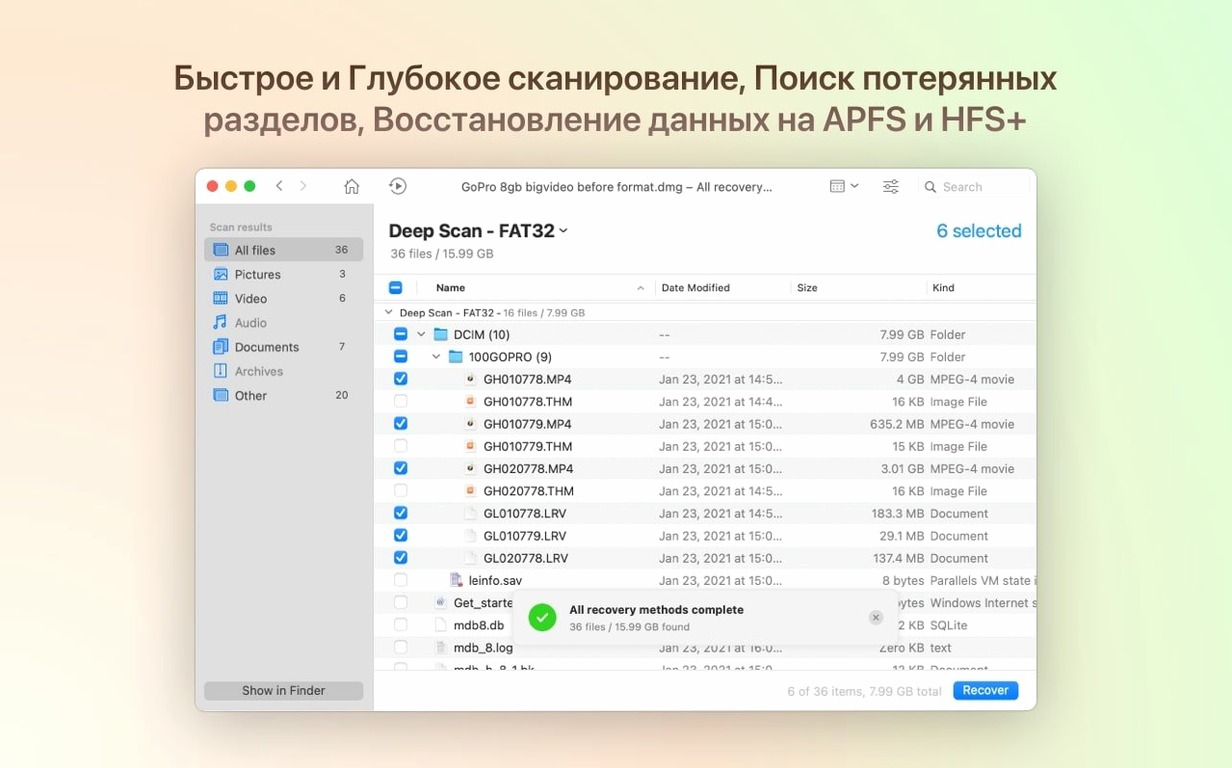
A quick format doesn’t erase data — it just marks the space as free. The deep scan ignores the new empty map and reads the underlying blocks. Recovered files keep their original names and folder structure when the scan picks up the previous directory.
Pull messages and contacts from an iPhone
Connect an iPhone or iPad and Disk Drill reads the backup areas directly. Call history, contacts and messages appear in a sortable list you can preview before recovery. The same direct approach works on Android devices.
Where Disk Drill fits in your toolset
Disk Drill isn’t a backup app — it’s the piece you reach for when Time Machine wasn’t pointed at a device, or when a volume corrupted between scheduled snapshots. Together they cover the two halves of data protection: prevention and rescue.
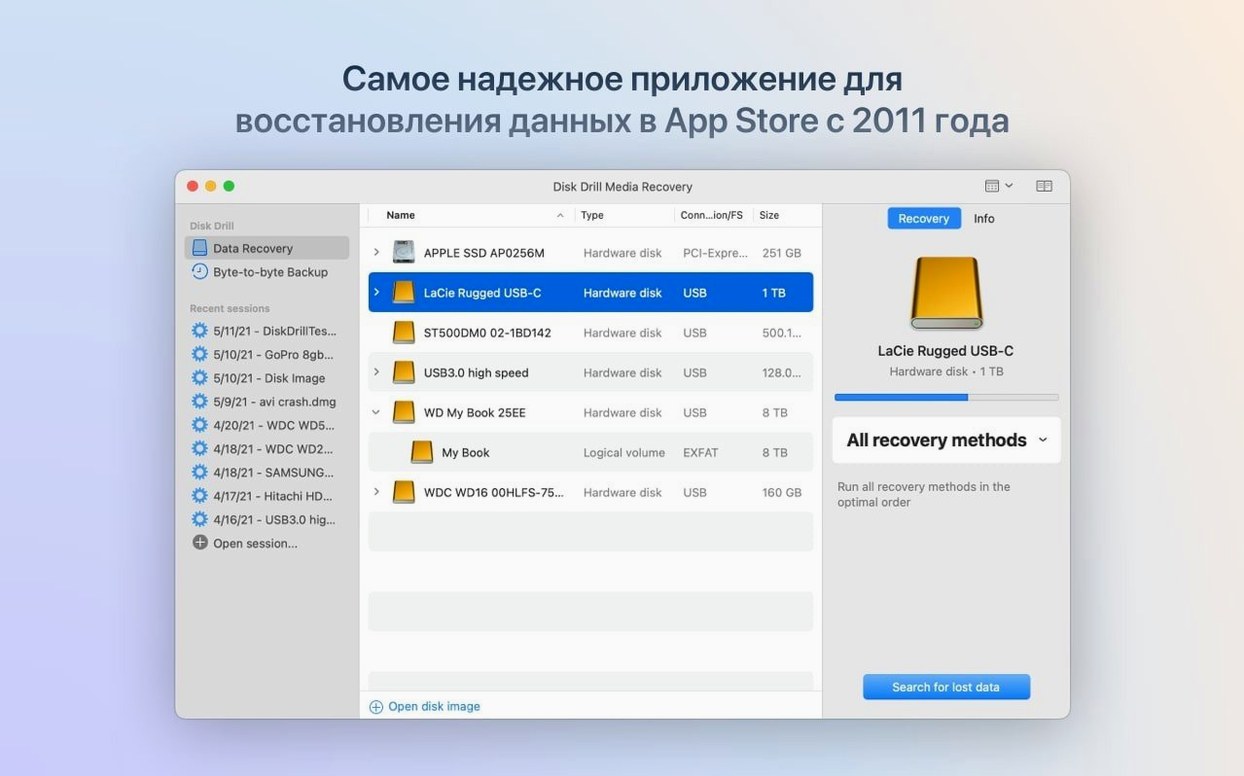
With Finder and Disk Utility, the relationship is sequential. Disk Utility sees a disk that won’t mount and offers First Aid. When First Aid fails — bad partition map, unrecognized file system, or a device that reports zero capacity — Disk Drill takes over. The scan runs beneath the logical layer that Disk Utility works with.
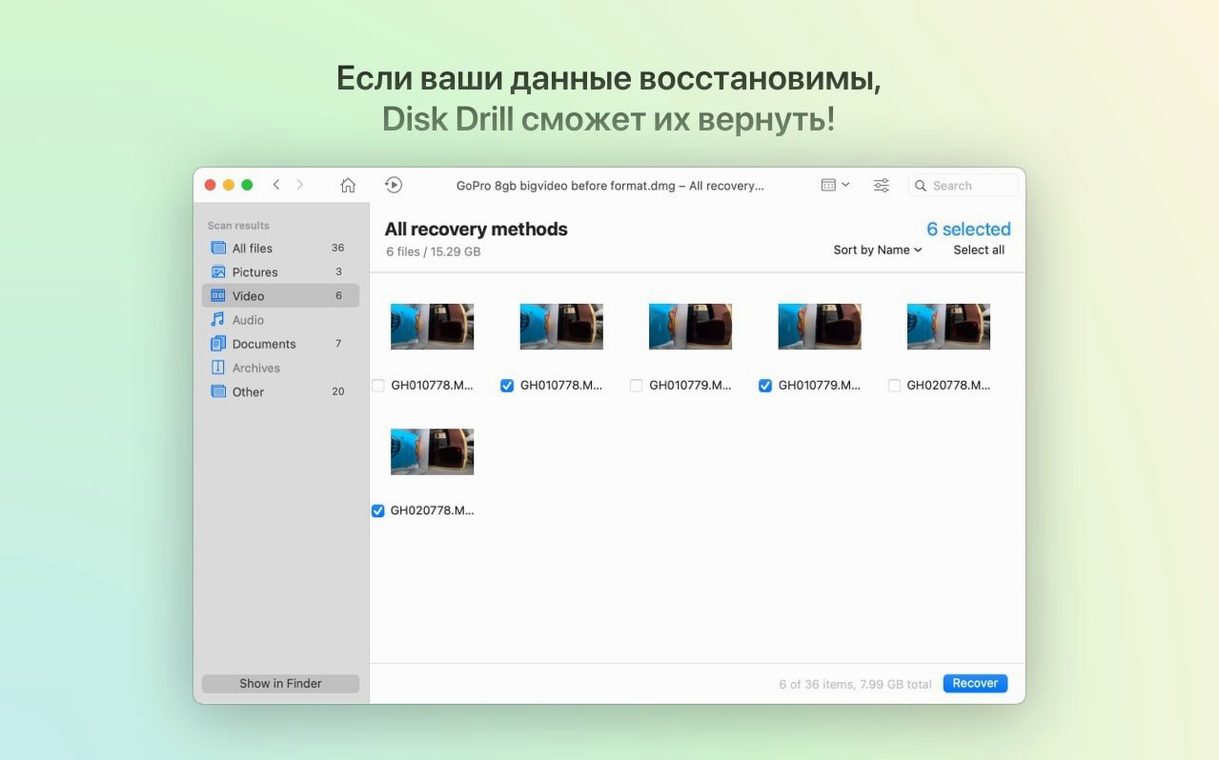
For photo and video pros, it sits alongside apps like Lightroom or Final Cut Pro. You pull a corrupt SD card, run a scan, preview the raw .cr3 or .r3d files inside Disk Drill’s window, and recover only the clips that preview cleanly. No need to import the whole card first.
macOS integration points that matter:
- Spotlight — recovered files are re-indexed once they land on a healthy volume, so searching picks them up without extra steps.
- Quick Look — the built-in preview uses the same spacebar gesture. Select a found file, tap Space, and you see the actual content before committing a recovery.
- Notification Center — long scans post a completion alert, so you can walk away and come back when it’s done.
BitLocker partitions finally resolve instead of showing unknown
The 6.3 line arrived in mid-2026 and tightened a handful of rough edges that users had been working around for years.
The biggest addition is BitLocker partition detection. A Windows-formatted external drive that previously showed as “unknown” now resolves into a recognizable volume you can scan. If you dual-boot or shuttle drives between Mac and PC, this removes a blind spot that used to require a separate Windows recovery tool.
For encrypted Mac volumes, the APFS handling improvement means fewer scans that stall mid-way on a locked container. The scanner now waits for the decryption challenge instead of skipping the volume silently — useful when a T2 or Apple Silicon Mac’s internal drive fails to boot but the data is still intact.
Three small fixes that change daily use:
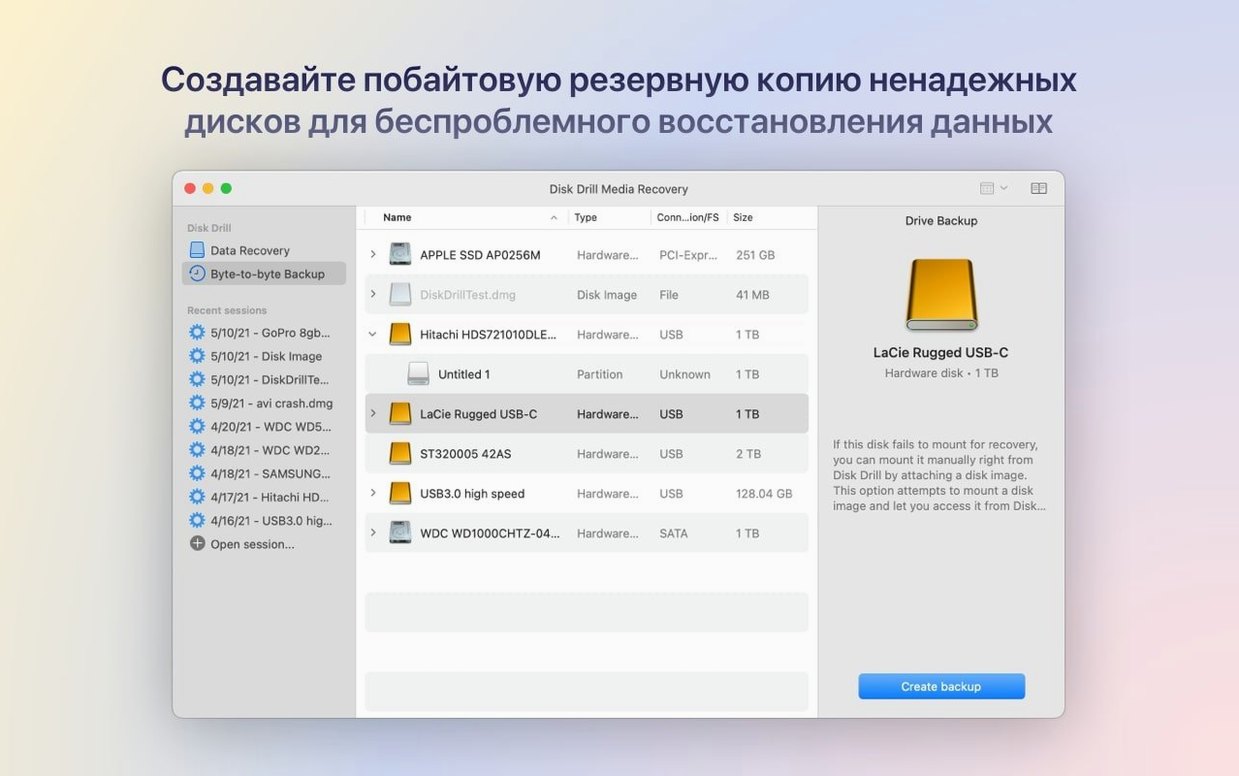
- Byte-to-byte DMG scans no longer fail — if you archived a failing disk as a DMG, you can now scan that image reliably instead of hitting an error partway through.
- .dng detection works again — photographers who lost raw negatives during an import crash will see them in scan results instead of an empty folder.
- iPhone photo grouping is faster — large camera rolls no longer hang while the preview pane sorts through thousands of HEIC and .mov pairs.
The ACR module — the part that reconstructs files by type when directory structure is gone — now recognizes .m4a audio and .rwl sidecar files. For podcasters and video editors who record direct to SD, this means voice memos and white-balance data aren’t invisible anymore.
Mistakes that cost time and recoverable data
Installing Disk Drill on the same drive you’re trying to recover
Every write to a failing or formatted volume can overwrite the very sectors you need. If the internal SSD is the target, mount the Disk Drill disk image on a different Mac, or boot from an external drive and run the scan from there. The same rule applies to the recovery destination: never write recovered files back to the source drive.
Skipping the preview step
The file list after a deep scan includes everything the algorithm found, including fragments that look valid but aren’t. Previewing a handful of files from each folder before hitting Recover catches the cases where a .jpg thumbnail shows a garbled mess. It takes an extra minute and prevents filling a recovery drive with unusable data.
Stopping a scan too early
Deep scan progress bars aren’t linear. The first 40% might map the directory quickly; the last 60% does the raw sector-by-sector pass where most orphaned files live. Let it finish, especially on large spinning drives where the full pass can take hours.
Assuming a quick scan is enough
Quick scan reads the existing directory and finds recently deleted files with intact metadata. If the volume was formatted, or the files were deleted weeks ago, the directory entries are likely gone. Always follow a quick scan with a deep scan when the first one comes up empty.
Recover a formatted camera card — end to end
A videographer formats a 128 GB SD card in-camera after offloading the morning’s footage, then realizes the offload failed. The card shows as empty in Finder. Here’s the recovery flow:
- Write-protect the card. Flip the physical lock switch on the SD card before inserting it. This prevents macOS from writing Spotlight indexes or .DS_Store files to the card, which would overwrite data.
- Insert the card and dismiss any initialization prompt. If macOS offers to initialize the card, click Ignore. Opening Disk Utility is unnecessary — Disk Drill sees the raw device regardless.
- Open Disk Drill and select the card from the device list. The card appears under “External drives.” Choose Deep Scan rather than Quick Scan, because a format wipes the directory.
- Filter for video files while the scan runs. Once the scan starts populating results, set the file-type filter to Video. This narrows the live list to .mp4, .mov, and the camera’s raw video format, so you can spot the right files early.
- Preview three or four files from different time ranges. Select a clip from the start, middle, and end of the shoot day. Hit Space for Quick Look. If all three play cleanly, the rest of the timeline is likely intact.
- Recover to an external drive with enough space. Click Recover, choose a folder on a healthy external SSD, and let the transfer run. Check the recovered folder — file names are often reconstructed, but the duration and thumbnail match the originals.
- Verify before reformatting the card. Open the recovered clips in the editing app and scrub through a few. Only then set the SD card lock switch back to writable and format it in the camera for the next shoot.
The whole process, from inserting the card to opening recovered clips, runs under fifteen minutes for a 128 GB card on a Thunderbolt reader — most of that is scan time, not manual work.
- New — Detects and recovers lost BitLocker partitions; adds .p8, .pfx and .m4a file support.
- Improved — Encrypted APFS partition handling is more reliable.
- Fixed — Byte-to-byte DMG scanning no longer fails; .dng files are detected correctly.
- macOS 10.15.7 or later
- Apple Silicon and Intel Macs
Questions I get before install
Can I see files before I recover them?
Yes. Disk Drill lets you preview any file the scan finds — images, documents, audio — so you recover only what you need.
Comments 0
Sign in to leave a comment.Sign inCreate an account
No comments yet. If a step is still there after you install it, say so.
More in Mac Apps
All in Mac Apps Depth Scanner
Generates a depth matte from any video clip or photo directly inside After Effects.
11 steps saved
 Dorico Pro
Engraves scores and parts with the precision a professional publisher expects.
20 steps saved
 Dehancer Pro
Emulates film stock colour and grain as a plugin inside your existing editing timeline.
18 steps saved
 Drama
Turns a static screen design into a clickable prototype on a single canvas.
5 steps saved
 Deep Glow
Generates physically accurate light falloff so glows bloom without clipping highlights.
8 steps saved
 DriveDx
Reads full drive-health diagnostics and warns you before a disk fails silently.
8 steps saved
 Dropover
Stages scattered files on a floating shelf until you reach the destination folder.
9 steps saved
 DaVinci Resolve Studio
Covers editing, colour, effects, and audio post-production inside a single application.