
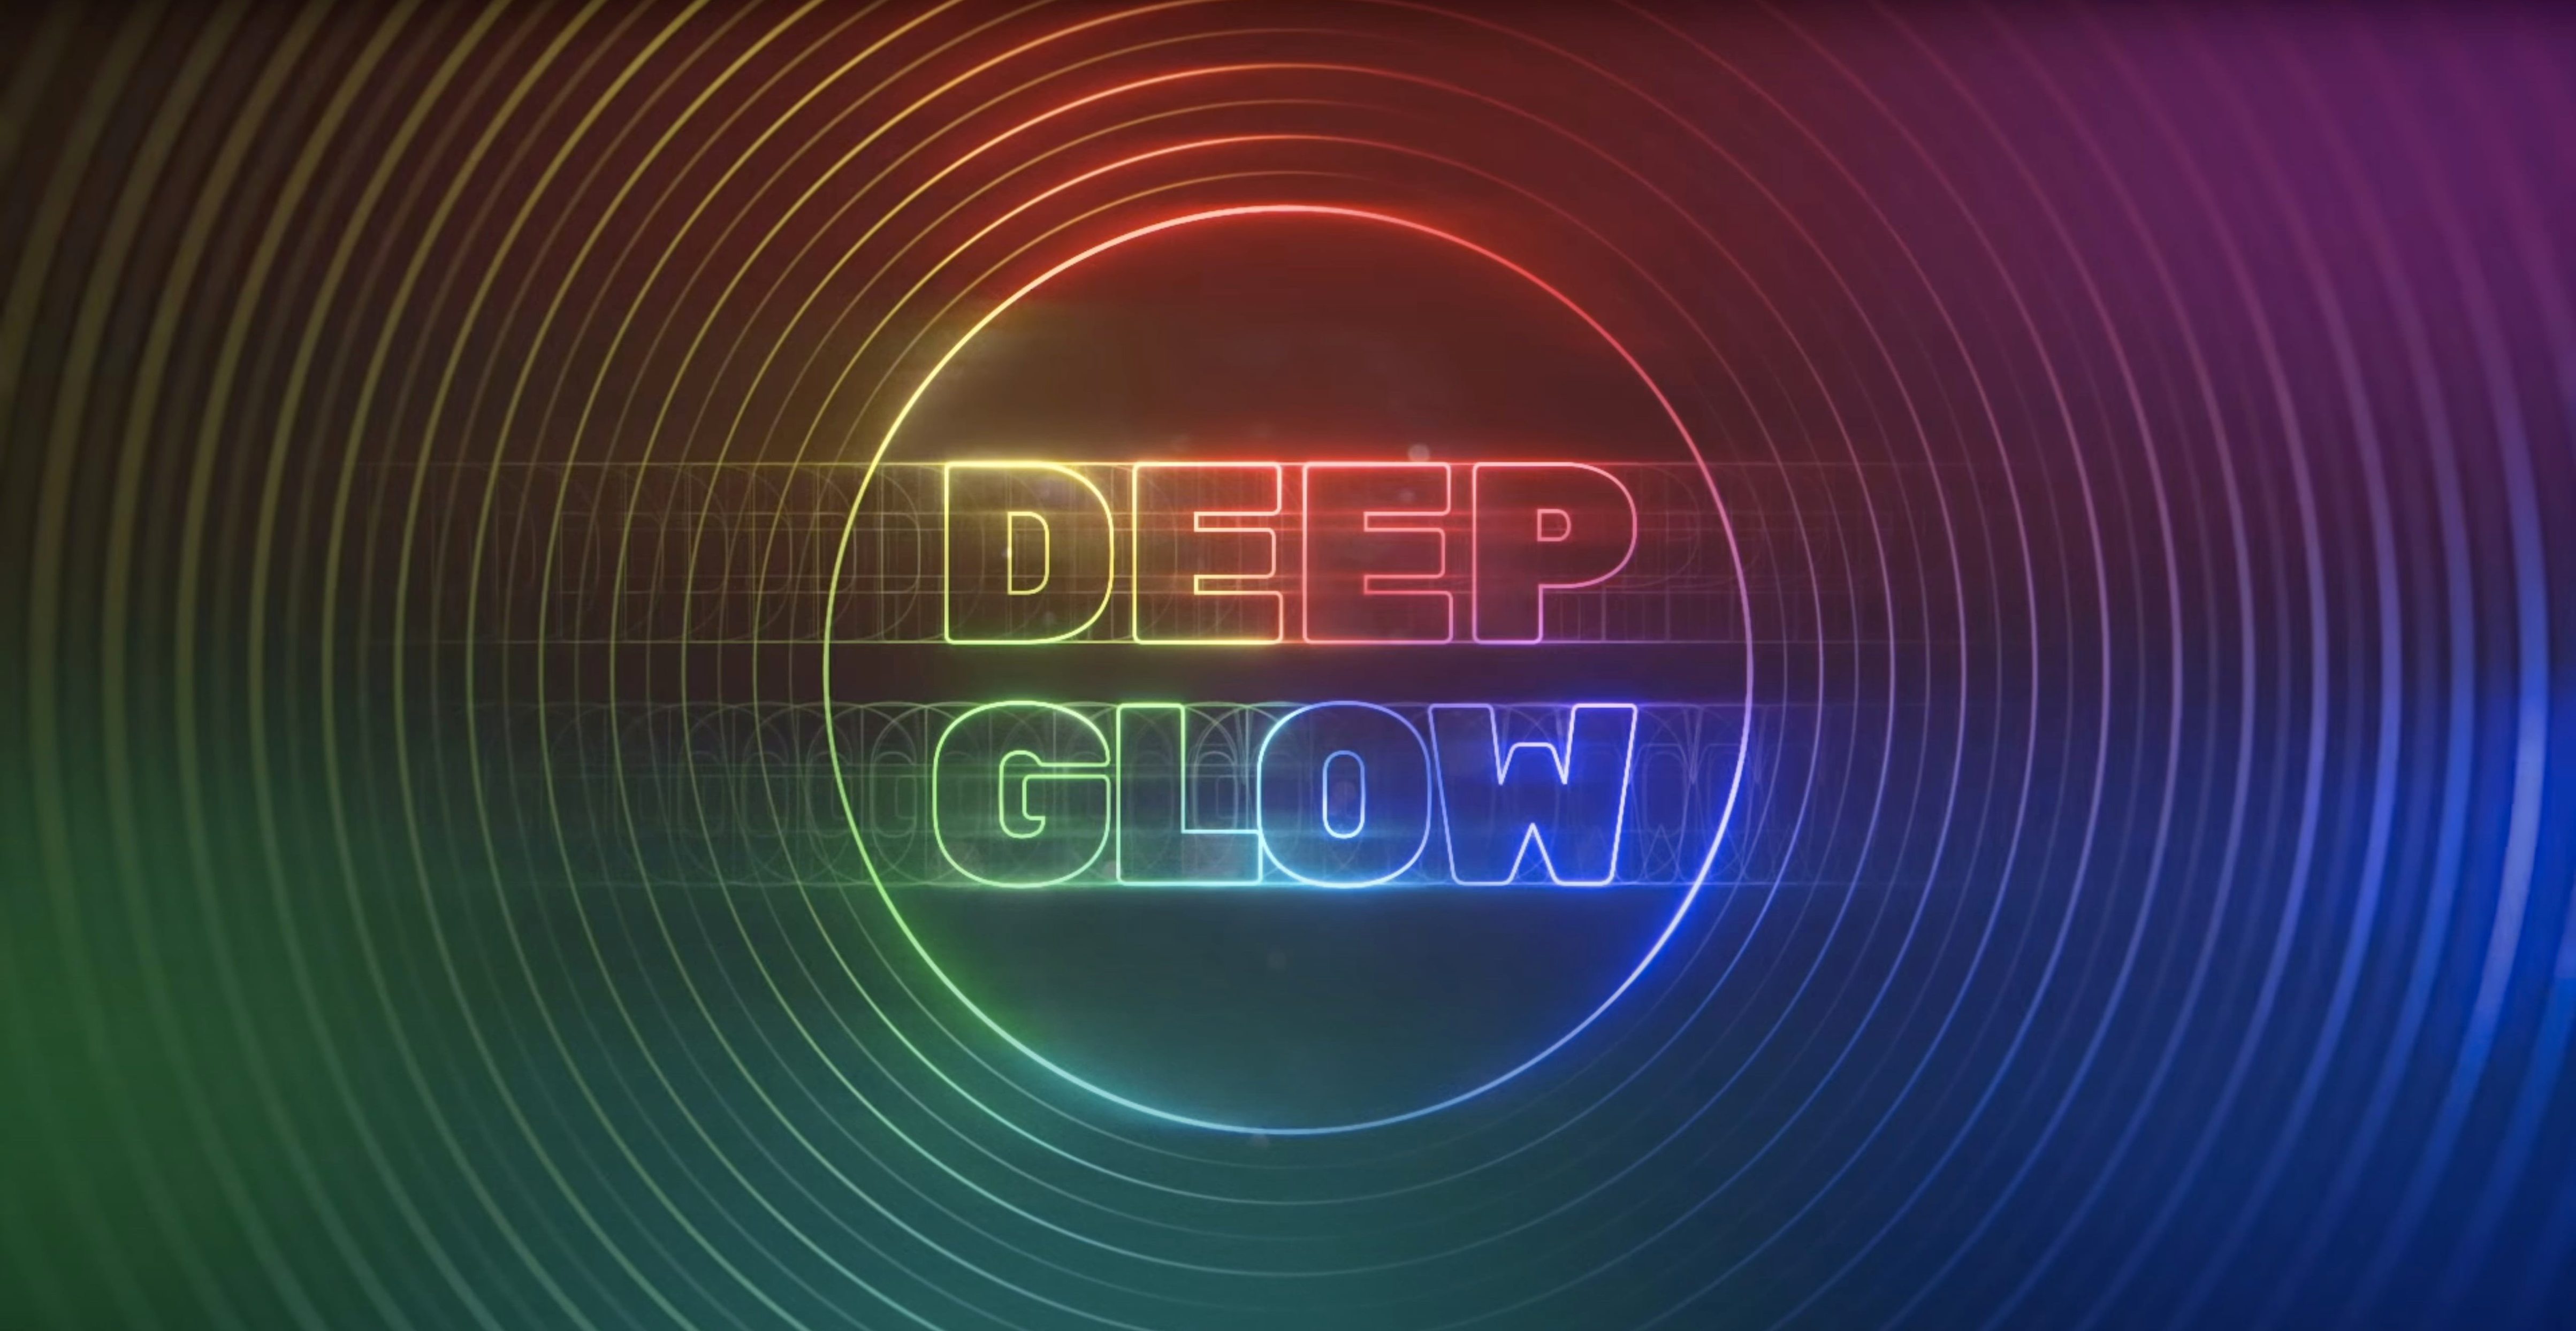
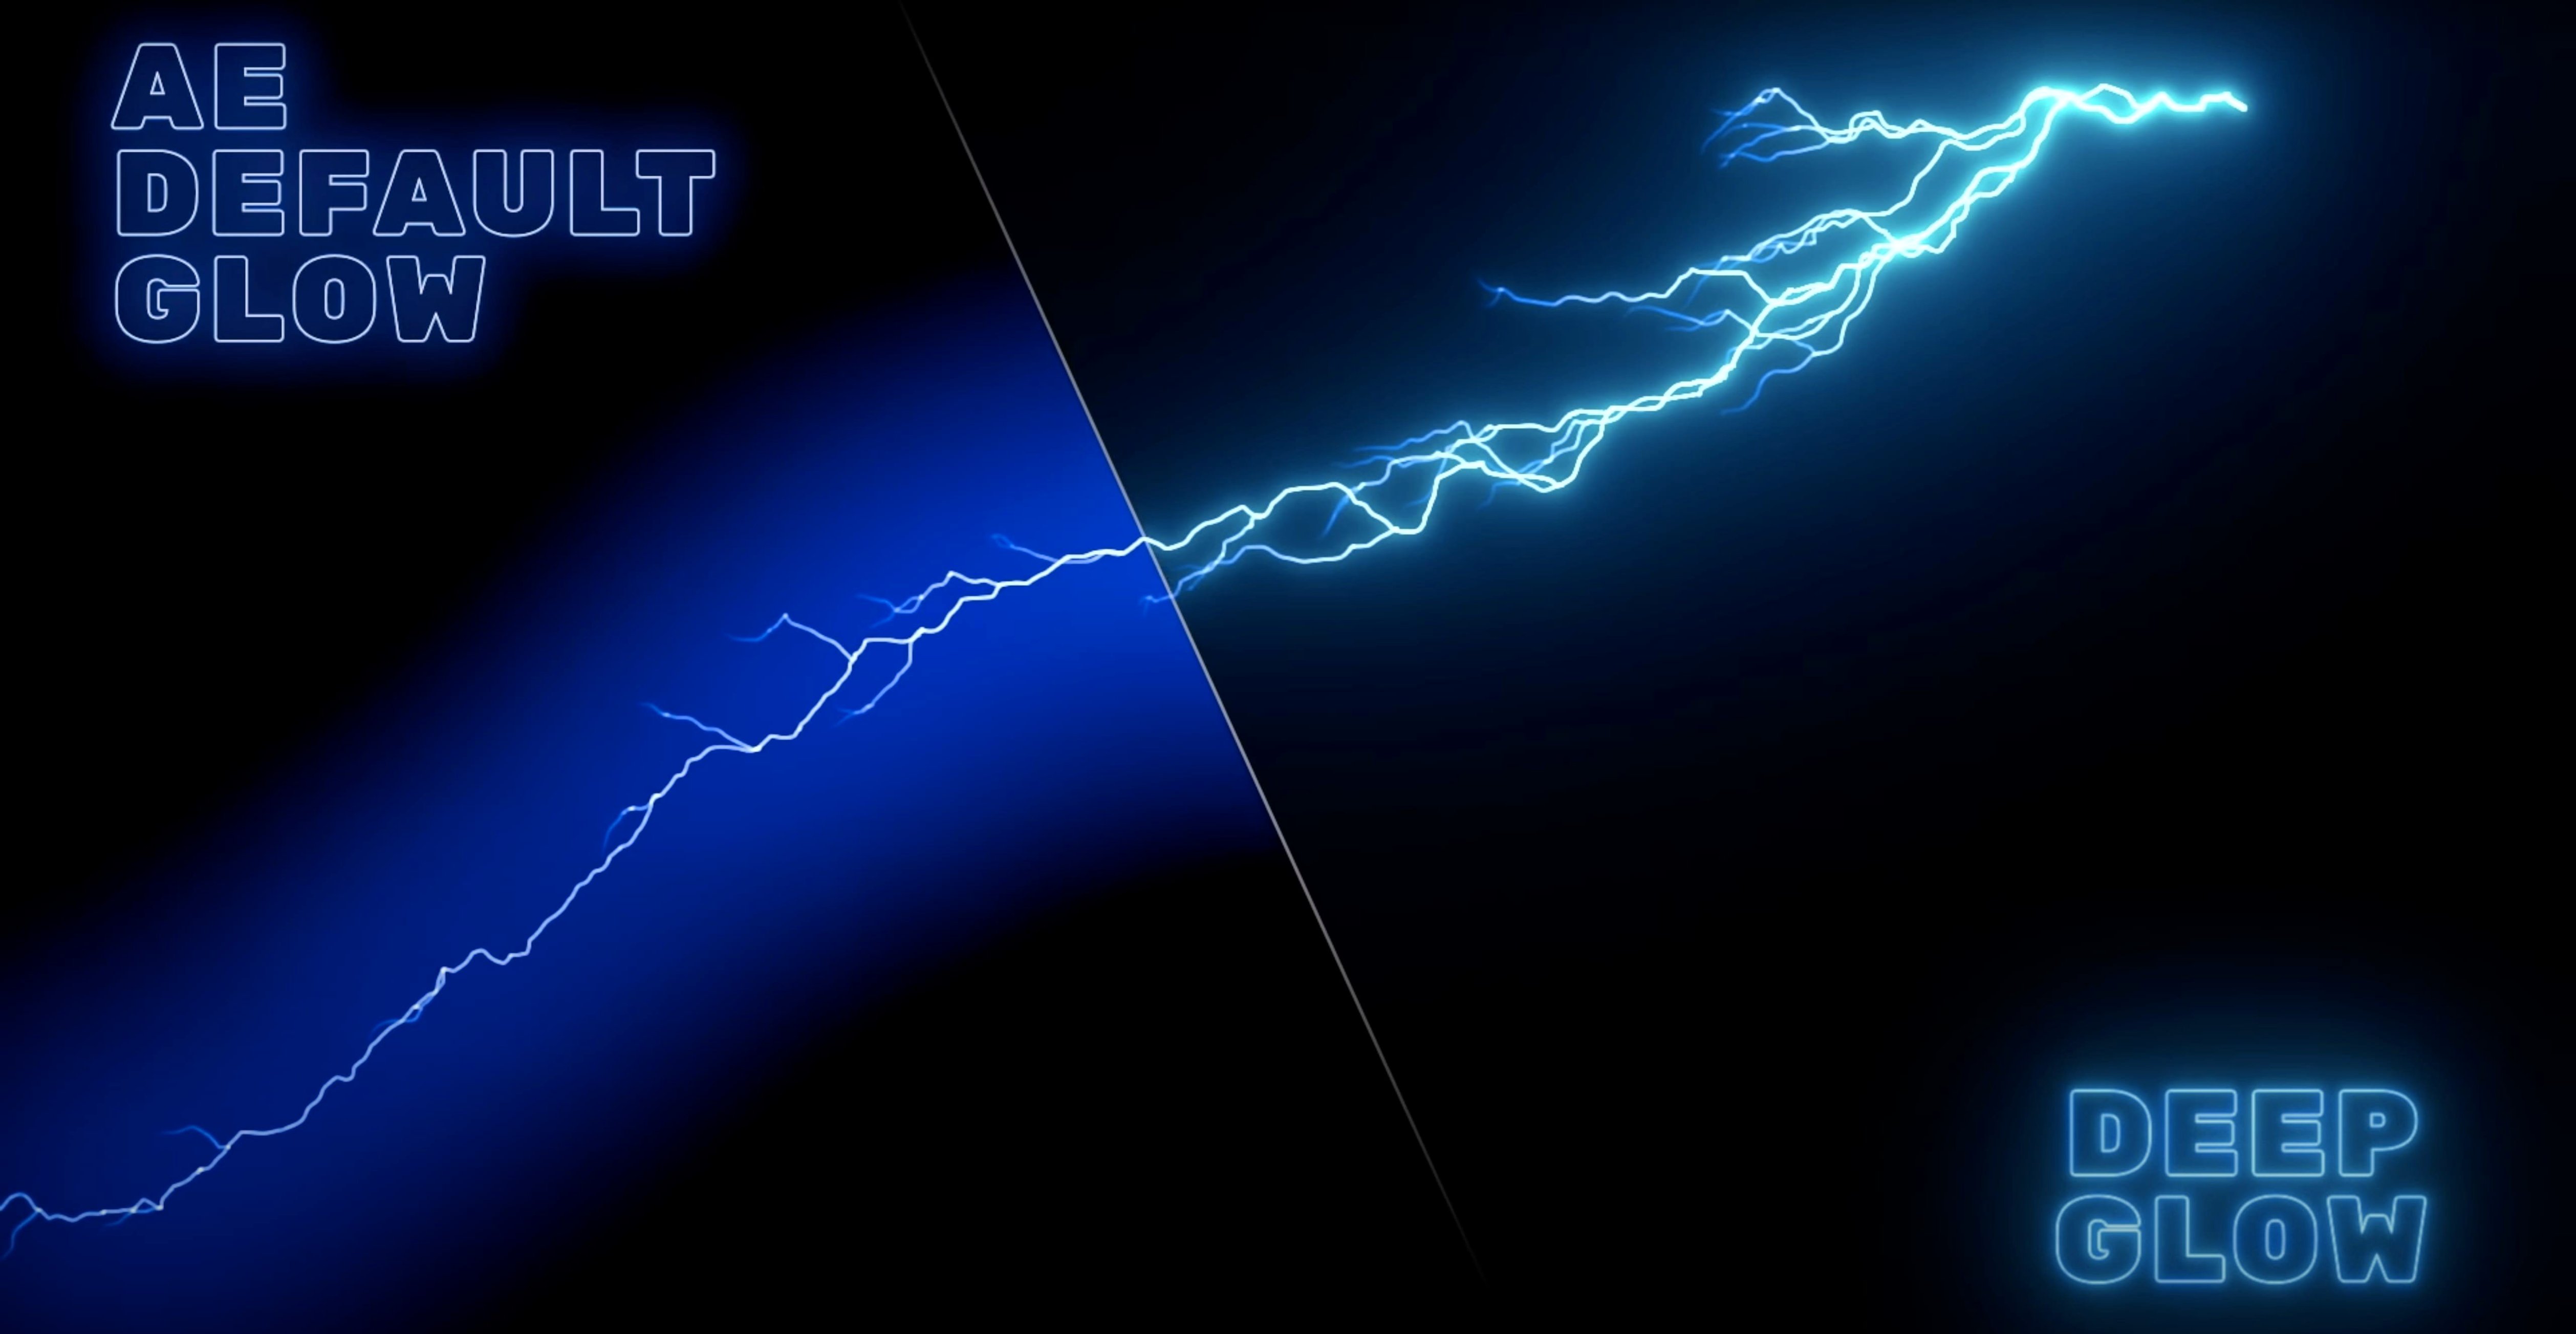
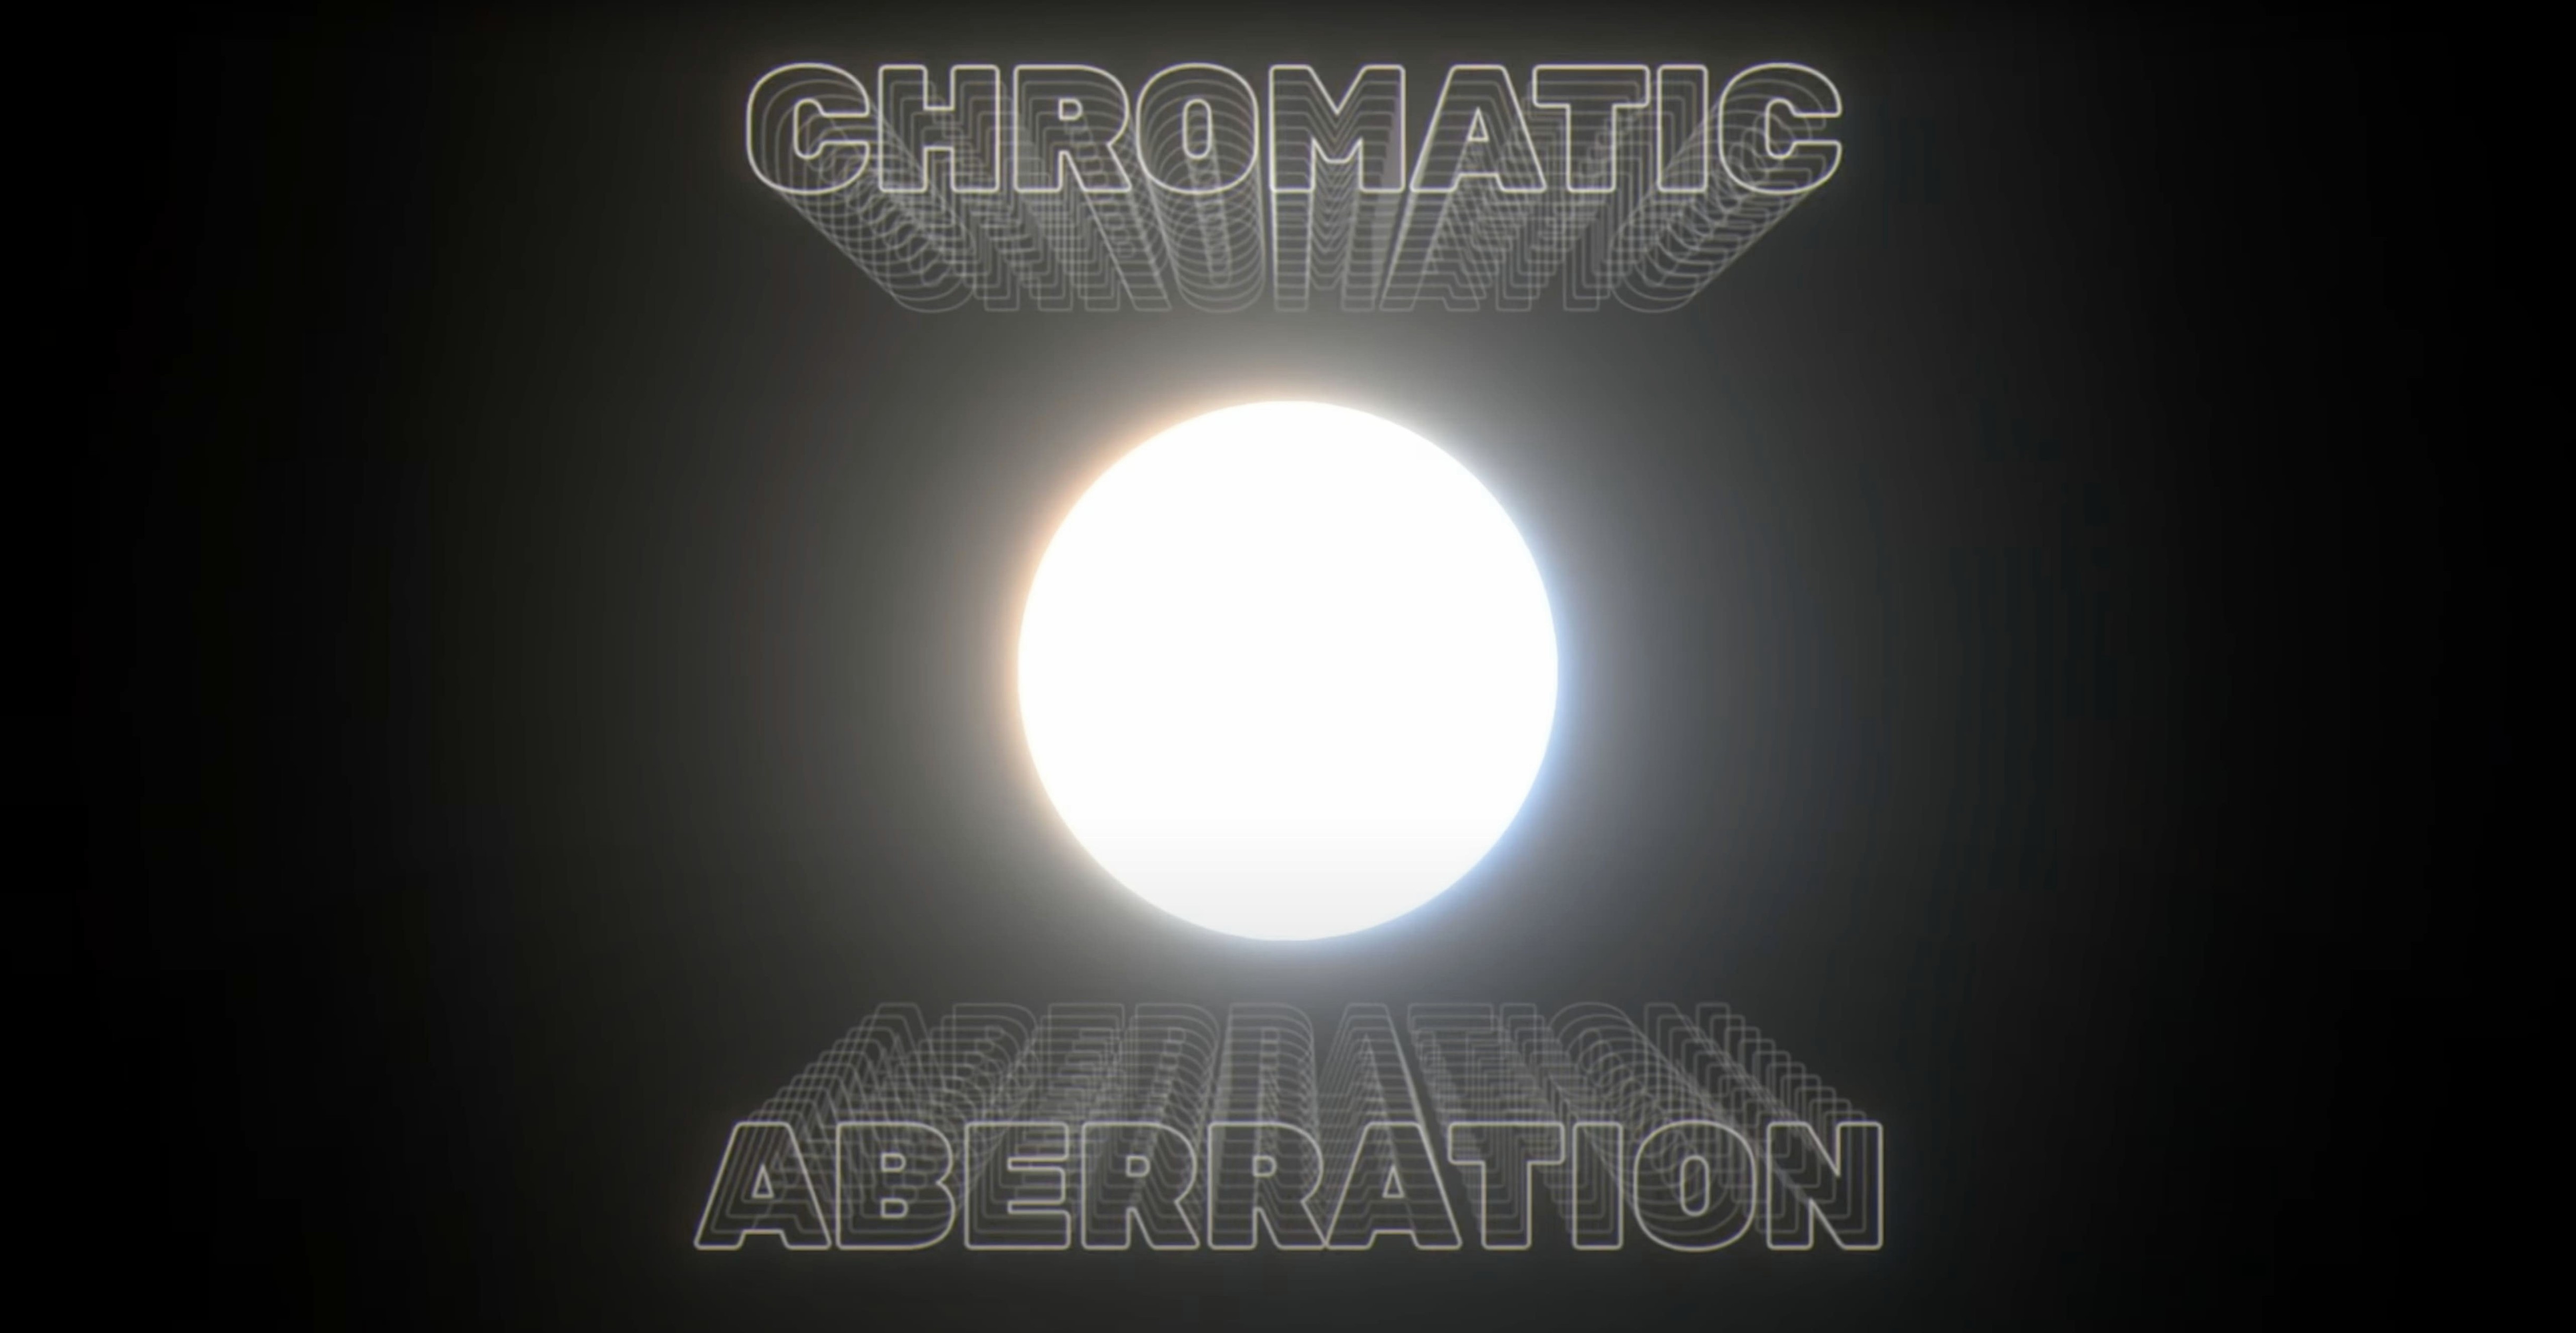
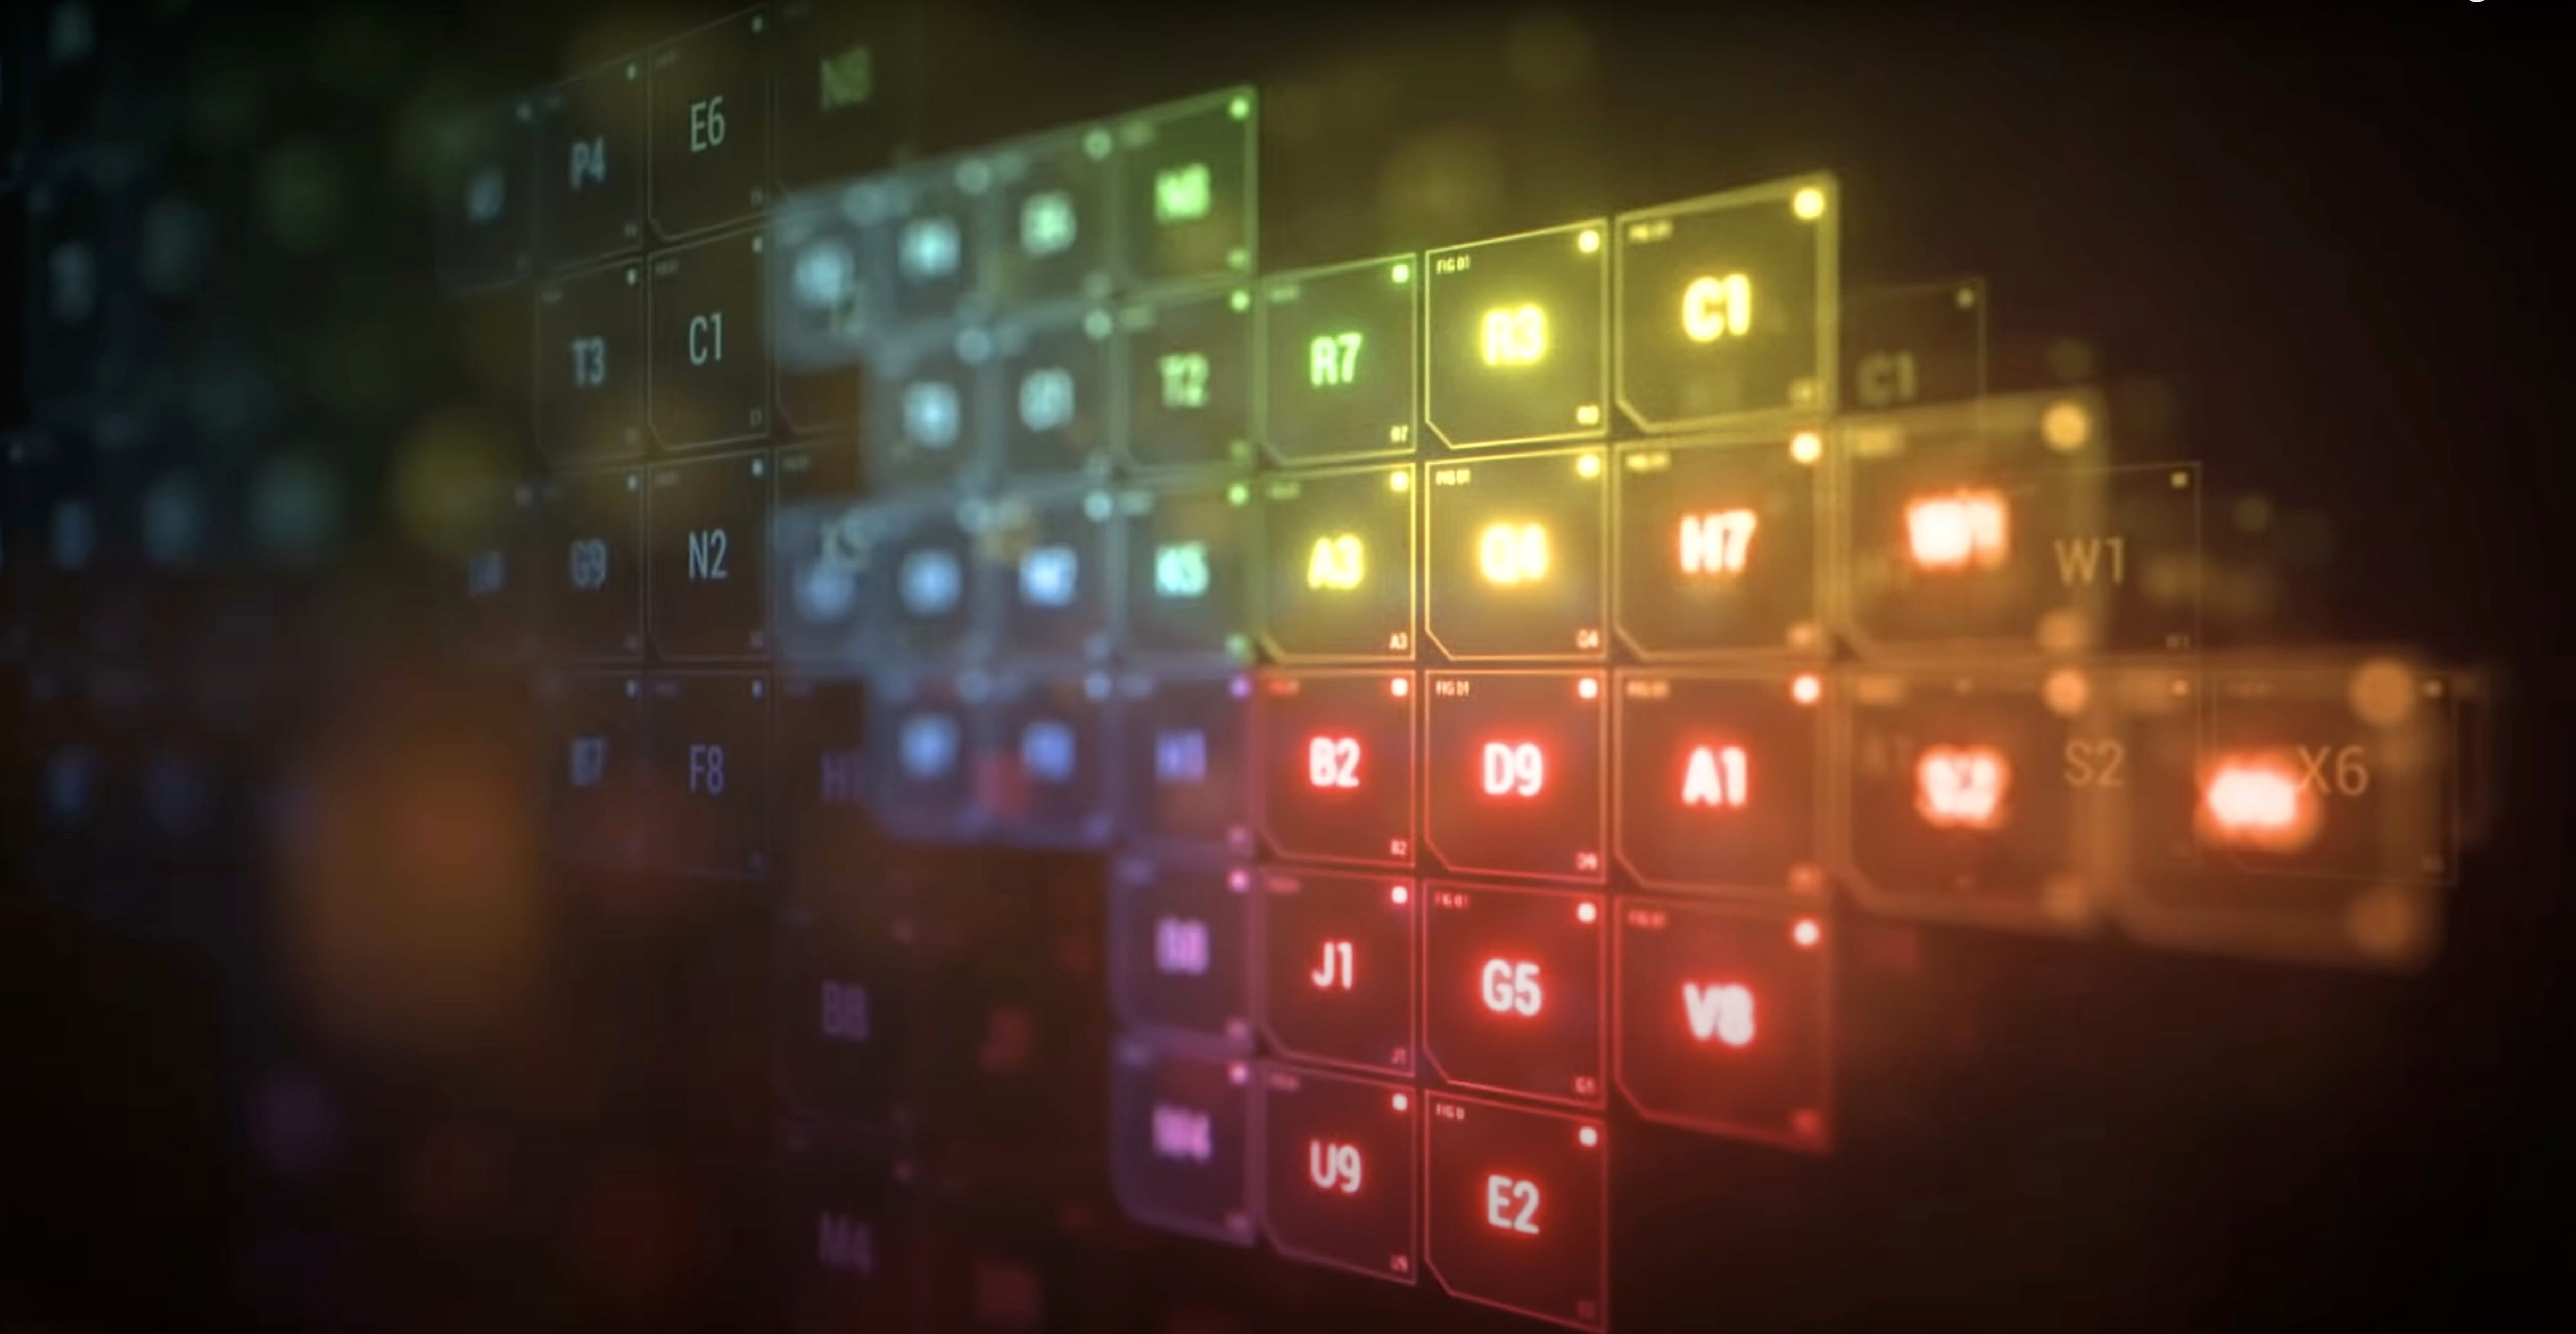

A stock Gaussian blur slapped onto a duplicate layer never quite sells the shot. Glows need physical falloff to feel like light, not a cheap filter. Deep Glow gives you that inverse-square roll-off inside After Effects, working natively in non-linear colour space so your highlights bloom without clipping.
Physical falloff and colour fidelity
The core of the plugin is its physically accurate falloff model. Instead of a uniform spread, brightness drops off rapidly from the source—exactly how light behaves. Because it processes in a non-linear working space, you avoid the harsh clipping that linear glows produce. The result sits naturally over live-action plates or motion graphics, preserving colour integrity across the frame.
Performance and refinement
Heavy glow effects can bring a timeline to its knees. Deep Glow includes a downsampling control that keeps the interface responsive while you dial in the look, then lets you step up the quality for final render. Compositing controls let you limit the effect to just the bright areas or subtly blend it back into the source, so the glow reinforces the shot instead of overpowering it.
Drop Downsampling for a Snappy Preview
Out of the box, Deep Glow gives you a solid starting point, but three controls make an immediate difference once you adjust them.
- Downsampling — Set to 4x or 8x while you work. The preview stays snappy and you avoid the frustration of waiting for every parameter tweak to refresh. Switch to 1x only for final export.
- Composite — The default blends the glow over the source, but switching to Screen or Add often produces a cleaner integration with bright footage. For stylized work, try Behind to push the glow underneath the source layer.
- Source Threshold — Zero applies glow to every pixel, which muddies shadows. Pull it up to around 0.1–0.2 immediately. You isolate the glow to your actual highlights and the contrast of the shot holds together.
Also check the Colour Space dropdown matches your project settings. If you work in a wide-gamut timeline and leave the plugin on sRGB, the falloff math skews and the glow looks anaemic.
One Glow Slider Alone Won't Deliver Intensity
New users often chase an intense look by cranking Glow Intensity alone. The plugin responds best when you balance intensity against Glow Radius and Source Threshold together. Pushing one slider to 300 while leaving everything at default rarely works.
Another common slip: ignoring the Quality setting during export. A timeline that previewed fine at 4x downsampling will render with banding artefacts if you forget to set quality to High and downsampling to 1x before sending to Media Encoder. Check those two fields as part of your pre-render checklist.
Beginners also tend to apply Deep Glow directly to footage without pre-composing. If your source has a matte or alpha channel, the glow bleeds into transparent areas in unexpected ways. Pre-compose the layer, apply the glow to the pre-comp, and control the matte separately. You save yourself a half-hour of troubleshooting.
Finally, don't overlook the Grain controls. Newcomers dial them up without realizing the grain scales with the glow radius. A small radius with heavy grain looks like noise; a large radius with light grain adds texture that reads as atmosphere. Match them deliberately.
Real-world scenario: title sequence for a documentary
A motion designer is finishing a cold-open title sequence for a climate documentary. The footage shows drone aerials of melting glaciers, with white title cards fading in over the ice. The titles need to feel luminous but not gaudy.
She applies Deep Glow to the text layers and sets the composite mode to Screen. Radius stays modest at 35 pixels to keep the glow tight around the letterforms. Source Threshold sits at 0.18 so only the brightest parts of the white text trigger the effect—no glow bleeding into the thin strokes of the serif. She adds a subtle grain at 0.4 to give the light a faint particulate quality that matches the snow blowing across the drone shots.
For the final shot, where the title lingers over a dark crevasse, she pushes the radius to 80 and drops intensity slightly so the glow spreads without blowing out. The downsampling stays at 2x during client revisions, then flips to 1x for the final ProRes export. The titles feel grounded in the scene, as if lit by the ice itself.
For Artists Already Thinking in Mattes and Layers
Deep Glow rewards After Effects users who already think in layers and mattes. If you build comps with adjustment layers, track mattes, and pre-comps, the plugin slots into that workflow naturally. Compositors moving between After Effects and a dedicated finishing tool get particular value—the non-linear colour handling means the glow doesn't fall apart when the project gets handed off for grading.
Motion designers working on broadcast titles and bumpers gravitate toward it for the grain controls. The ability to add texture to a glow without leaving After Effects cuts out a round-trip to another plugin. Those doing sci-fi or fantasy UI work find the physical falloff model sells holographic and neon treatments faster than stacking blurs, because the brightness taper reads as light behaviour rather than a post effect.
It's less suited to users who prefer single-click presets with no parameter exposure. Deep Glow expects you to shape the result. If your After Effects muscle memory already includes keyboard shortcuts for revealing modified properties, you'll feel at home. If you usually drag a Glow effect from the Effects panel and accept the default, the learning curve is steeper—but the threshold-and-radius combination is worth the hour it takes to internalize.
- Adobe After Effects
- Apple Silicon or Intel processor
Questions I get before install
Does Deep Glow work on Apple Silicon Macs?
Yes, the plugin supports both ARM (Apple Silicon) and x86 64-bit architectures.
Comments 0
Sign in to leave a comment.Sign inCreate an account
No comments yet. If a step is still there after you install it, say so.
More in Mac Apps
All in Mac Apps Dehancer Pro
Emulates film stock colour and grain as a plugin inside your existing editing timeline.
21 steps saved
 Depth Scanner
Generates a depth matte from any video clip or photo directly inside After Effects.
9 steps saved
 DaVinci Resolve Studio
Covers editing, colour, effects, and audio post-production inside a single application.
13 steps saved
 Disk Drill
Recovers lost files from a disk that macOS wants to reinitialize.
11 steps saved
 DataSpell
Combines notebooks, datasets, and a Python console for focused data exploration.
22 steps saved
 Updated
DataGrip
Reads your database schema and catches query mistakes before you run them.
11 steps saved
 Dorico Pro
Engraves scores and parts with the precision a professional publisher expects.
17 steps saved
 Updated
Dash
Gives developers instant offline access to API docs and code snippet libraries.