Version 3.8.4 ships a round of refinements that tighten up the HUD animations and polish the now playing layout. The core workflow for setting it up stays straightforward.
Setting up a custom volume HUD
- Install MediaMate and grant it accessibility access when prompted.
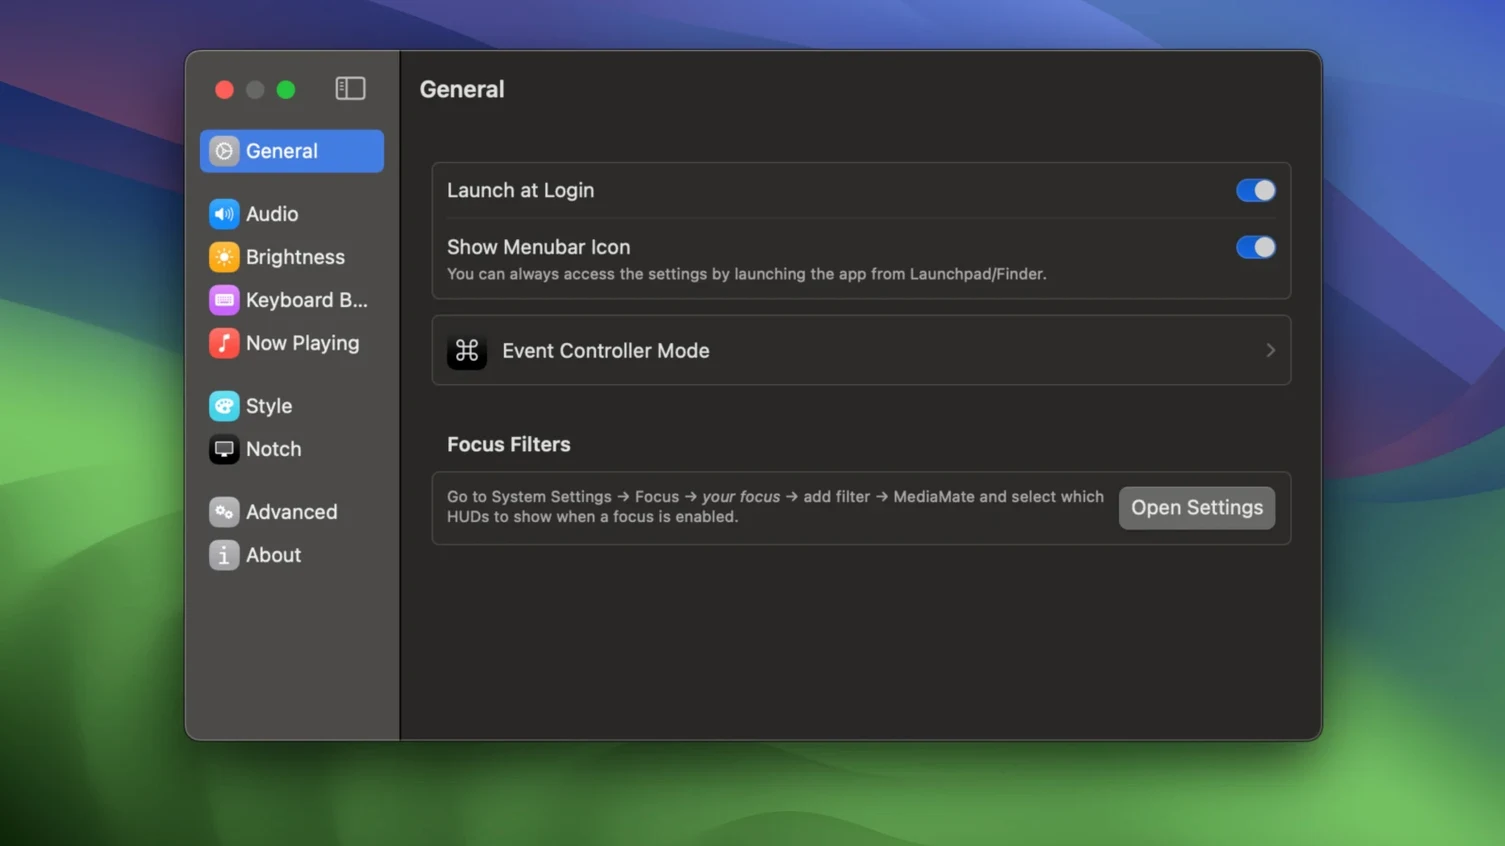
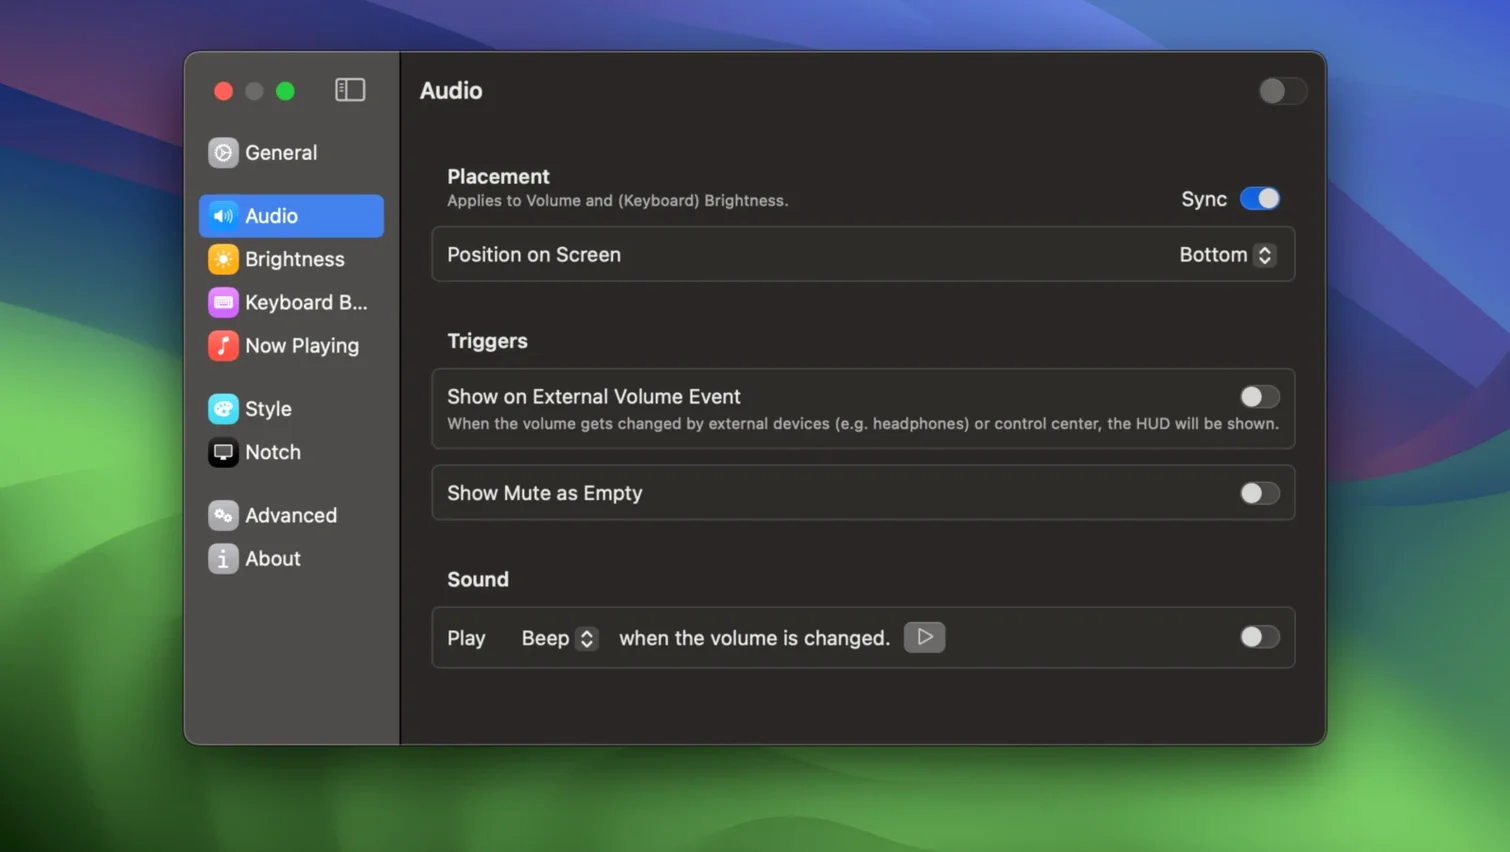
- Open the app's settings and select a HUD style for volume. Pick from the compact bar or the minimal indicator.
- Adjust the keyboard backlight style in the same panel. Match it to the volume HUD or set a separate look.
- Enable the Now Playing HUD and choose its position on screen. The HUD shows the current track and artist with a small album art thumbnail.
- Press a volume key. The stock macOS overlay is gone. Your chosen HUD appears instead.
The app swaps out three system overlays — volume, brightness, and keyboard backlight — with a single, consistent design language. The now playing display keeps the current media item visible without pulling focus from your work.
Touch Bar Macs get native-feeling HUDs again
Touch Bar Mac owners — the physical keys that remain (volume, brightness) trigger HUDs that feel native to the machine again. The app's separate mode keeps everything responsive on those models.
People who ride the volume keys during calls — a quick tap shows exactly where you sit without a giant block covering your presenter notes. The compact bar disappears faster than the stock overlay, too.
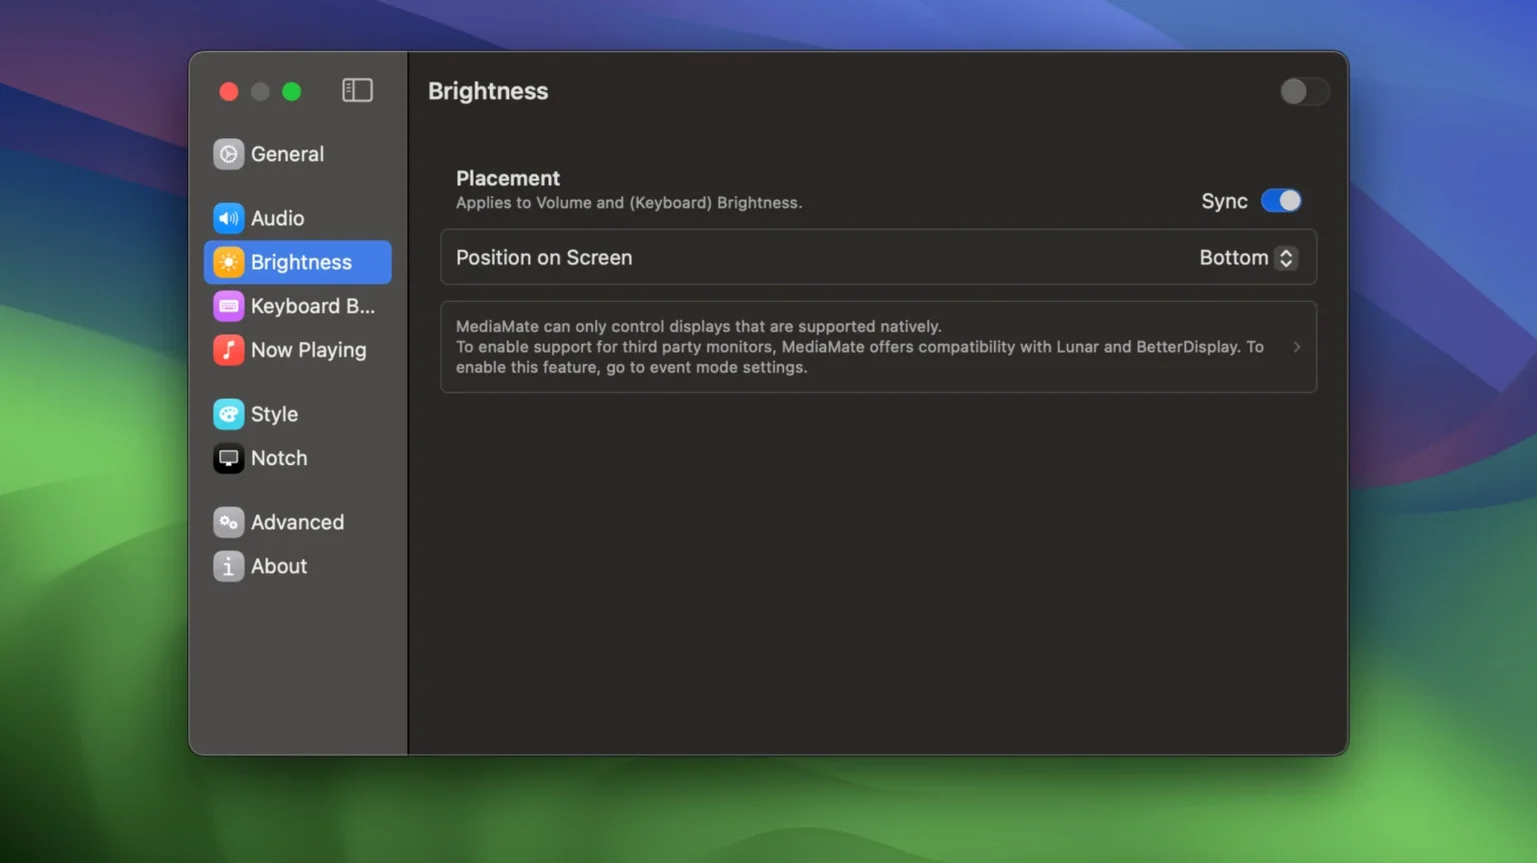
Anyone running a monitor without DDC support — brightness adjustments through the keyboard still show a clean indicator, even when the display itself doesn't talk back. The visual feedback stays consistent across setups.
Users who keep music running while coding or writing — the now playing HUD sits in a corner, out of the way, and surfaces track changes without an app switch. Album art is large enough to recognise, small enough to ignore.
HazeOver dims windows, MediaMate tames overlays
MediaMate vs. HazeOver — HazeOver dims background windows to focus attention. MediaMate handles system overlays. The tools don't compete; they complement. If your goal is a quieter Mac interface, you run both.
MediaMate vs. Vivid — Vivid doubles screen brightness for outdoor work. MediaMate replaces the brightness HUD. Someone working outside on a MacBook Pro might use Vivid for the panel and MediaMate to see the adjustment level without the stock block.
MediaMate vs. the macOS overlay — the stock HUD is large, centred, and slow to fade. MediaMate gives you placement control, size control, and a design that matches across volume, brightness, and keyboard backlight. The now playing display has no macOS equivalent at all.
A mediamate mac setup feels like a small OS patch — the kind Apple ships two years later. The difference is you get it in version 3.8.4, on your terms.
- macOS 13 Ventura or later
- Apple Silicon or Intel processor
Questions I get before install
Which macOS versions does MediaMate support?
MediaMate runs on macOS 13 Ventura and later, on both Intel and Apple Silicon Macs.
What does MediaMate replace on my Mac?
It replaces the built-in macOS volume HUD, and adds custom overlays for brightness, keyboard backlight, and the currently playing media item.
Comments 0
Sign in to leave a comment.Sign inCreate an account
No comments yet. If a step is still there after you install it, say so.
More in Mac Apps
All in Mac Apps Mela
Collects recipes, scans printed pages, and plans meals without the clutter.
6 steps saved
 Maschine
Builds beats with a pattern sequencer, sampler, and synth in one system.
8 steps saved
 MAMP PRO
Runs separate Apache, MySQL, and PHP hosts for every local project.
23 steps saved
 MainStage
Switches sounds silently during a live set, pulling patches straight from Logic.
21 steps saved
 Magnet
Snaps windows into halves, thirds, and quarters with keyboard shortcuts.
23 steps saved
 Updated
Magic Disk Cleaner
Finds temporary files immediately and lets you clear them in one click.
12 steps saved
 Updated
Magic Battery
Shows wireless device charge levels in the menu bar at a single glance.
23 steps saved
 Millumin
Maps projection surfaces onto real-world stages in minutes, not hours.